Fire Roasted Salsa Canning Recipe
This post may contain affiliate links, which means that I may receive a commission if you make a purchase using these links. As an Amazon Associate I earn from qualifying purchases.
Discover the ultimate roasted salsa recipe! Elevate your salsa with rich, smoky flavors from veggies roasted on the grill or in the oven. Perfect for canning and enjoying year-round.
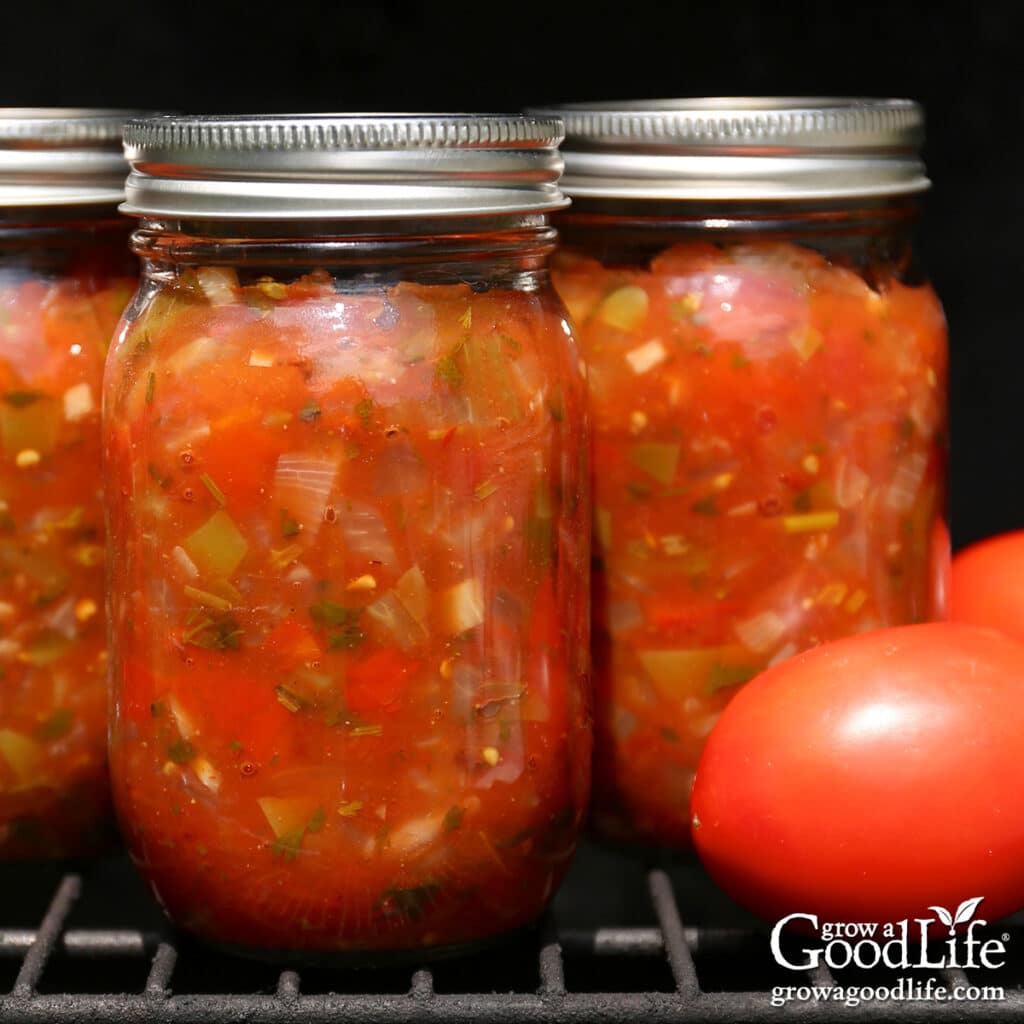
This roasted salsa recipe is a must-try if you want to elevate your salsa game. Roasting the vegetables adds a depth of flavor that fresh salsa can’t match, giving your homemade salsa a rich, smoky taste that’s perfect for any occasion. Whether dipping chips, topping tacos, or adding a flavorful twist to your favorite dishes, this roasted salsa will become your go-to recipe.
Not only does this recipe deliver on taste, but it’s also perfect for preserving using a water bath canner. By canning this roasted salsa, you can enjoy the vibrant flavors of summer all year round. Imagine opening a jar of your homemade salsa in the middle of winter and being transported back to those warm, sunny days. It’s a great way to make the most of your garden harvest or farmers’ market finds.
Follow our detailed steps to create and home can this delicious fire-roasted salsa, and you’ll have a pantry stocked with jars of goodness, ready to enhance any meal.
About the Ingredients
This roasted salsa recipe is made from tomatoes, jalapeños, onions, garlic, cilantro, and bottled lime juice to ensure the perfect balance of flavors and acidity. Use freshly harvested vegetables from your garden or purchased from your local farmers’ market for the best results.
- Tomatoes: Fresh tomatoes form the foundation of this salsa. It’s important to select firm, high-quality tomatoes with no signs of decay or insect damage. Paste or plum tomatoes, such as Amish Paste, Roma, and San Marzano, are ideal because they have meaty flesh, thick walls, small seed cavities, and low water content, contributing to a thicker and more flavorful salsa.
- Jalapeños: Choose healthy green or red jalapeño peppers with smooth skin and no insect damage. Jalapeños add the perfect amount of heat and a distinctive flavor to the salsa.
- Onions: Select firm, medium-sized onions (approximately 6 – 8 ounces) with healthy papery skins and no signs of mold. Onions provide a subtle sweetness and depth of flavor to the salsa.
- Garlic: Opt for firm, healthy garlic cloves with no damage or mold. Garlic adds a robust and aromatic element to the salsa, enhancing its overall taste.
- Fresh Cilantro: Harvest healthy cilantro foliage, rinse well, and air dry before use. Remove the leaves from the stems, chop, and measure by loosely packing. Use the amount specified in the recipe to maintain the safety of the canning recipe. You can add fresh cilantro when serving the salsa for an extra burst of cilantro flavor.
- Bottled Lime Juice: Using commercially bottled lime juice is essential because it ensures a consistent level of acidity, which is important to maintain the proper pH for safe canning.
By carefully selecting and preparing these ingredients, you’ll create a delicious roasted salsa that can be canned and enjoyed year-round.
Safe Adjustments
While canning recipes are thoroughly tested for safety as written, you can make some minor ingredient adjustments to this recipe without compromising its safety.
Swap the Peppers
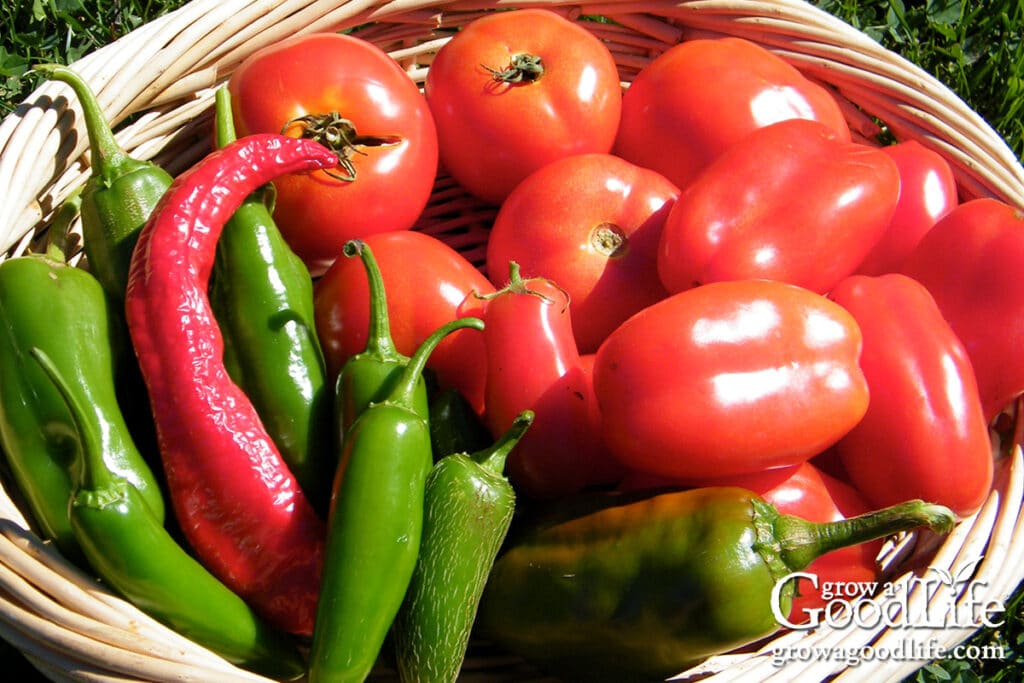
Although this recipe calls for jalapeño peppers, you can substitute any variety of sweet or hot peppers. This allows you to experiment with different types of peppers to customize the heat and create your own signature salsa. When substituting, be sure to use an equal amount of peppers to maintain the safety of this canning recipe. You can reduce or omit the peppers but do not increase the amount.
- For mild salsa, consider using bell peppers (green, red, orange, or yellow), long green chili peppers (Anaheim, Colorado, or New Mexican), sweet banana peppers, or other mild peppers of your choice.
- For medium salsa, mix mild and hot peppers, such as bell peppers, Cubanelle peppers, New Mexico chili peppers, and poblano peppers.
- For hot and spicy salsa, use a mix of hot chili peppers such as serrano peppers, cayenne peppers, habanero peppers, Hatch chili peppers, Hungarian hot wax peppers, Scotch bonnet peppers, and tabasco peppers. For a super-hot salsa, add some ghost peppers.
Some peppers, such as Anaheim, Colorado, and Poblano, have tough skin that can be removed after roasting.
Use Any Bulb Onion
You can use any variety of bulb onion, including red, yellow, white, sweet, or a mix in this recipe. A medium-sized onion weighs about 6 to 8 ounces. You can reduce or omit the onions but do not increase the amount.
Adjust the Seasoning
- Cilantro: The recipe calls for fresh cilantro, but you can substitute dried cilantro, using about 2 1/2 tablespoons. If you don’t like cilantro, leave it out.
- Add Sugar: You can add a small amount of granulated sugar to sweeten the salsa to your taste.
- Add Ground Spices: To enhance the flavor, feel free to add up to a teaspoon of ground spices, such as chili powder, cayenne powder, or ground cumin.
- Salt: Any salt, including canning salt, sea salt, and kosher salt, can be used. You can safely reduce or eliminate the salt if you prefer.
By making these safe adjustments, you can customize your roasted salsa while ensuring it remains safe for canning.
Steps for Canning Roasted Tomato Salsa
This roasted salsa recipe is adapted from the “Salsa Ranchera” recipe found in The All New Ball Book of Canning and Preserving. Before starting, it may be helpful to review the information on using boiling water bath canners on the National Center for Home Food Preservation website.
Scroll down for the complete recipe, but here are the detailed steps to making and canning roasted tomato salsa:
Step 1: Gather Your Kitchen and Canning Equipment
You will need:
- Water bath canner with a canning rack
- 4 pint-sized canning jars, or 8 half-pint jars
- Canning lids and ring bands (new lids for each jar; bands can be reused)
- Canning tools: jar lifter, funnel, and bubble popper
- Kitchen scale
- Food prep gloves
- Basic kitchen supplies: tongs, knife, cutting board, large pot, large prep bowls, measuring spoons, ladle, and clean kitchen towels
Give everything a thorough wash in hot soapy water and rinse thoroughly to remove all suds. Carefully inspect your jars, paying particular attention to the rims, and eliminate any that show signs of damage, cracks, or chips. Set everything aside to air dry on clean kitchen towels.
Step 2: Roast the Vegetables
Rinse the tomatoes and peppers well under clean running water. Peel the onion, cut into 1/2-inch rings, and discard the ends. Peel and finely chop the garlic, remove the stems, chop and measure the cilantro, measure the bottled lime juice, and set the garlic, cilantro, and lime juice aside for now.
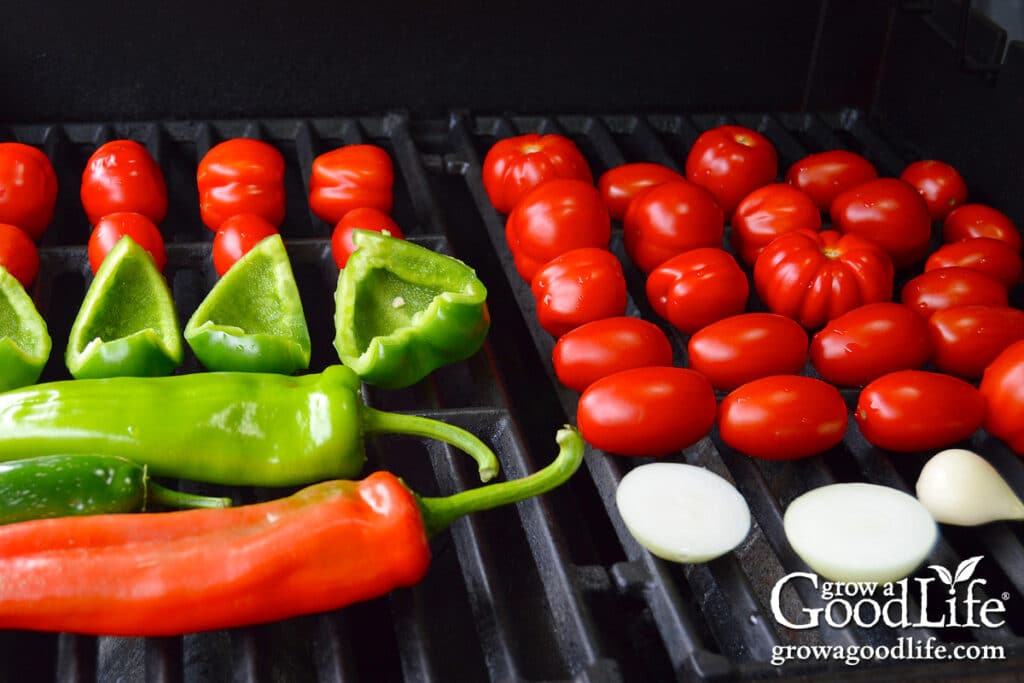
You can use a grill or your oven to roast the vegetables:
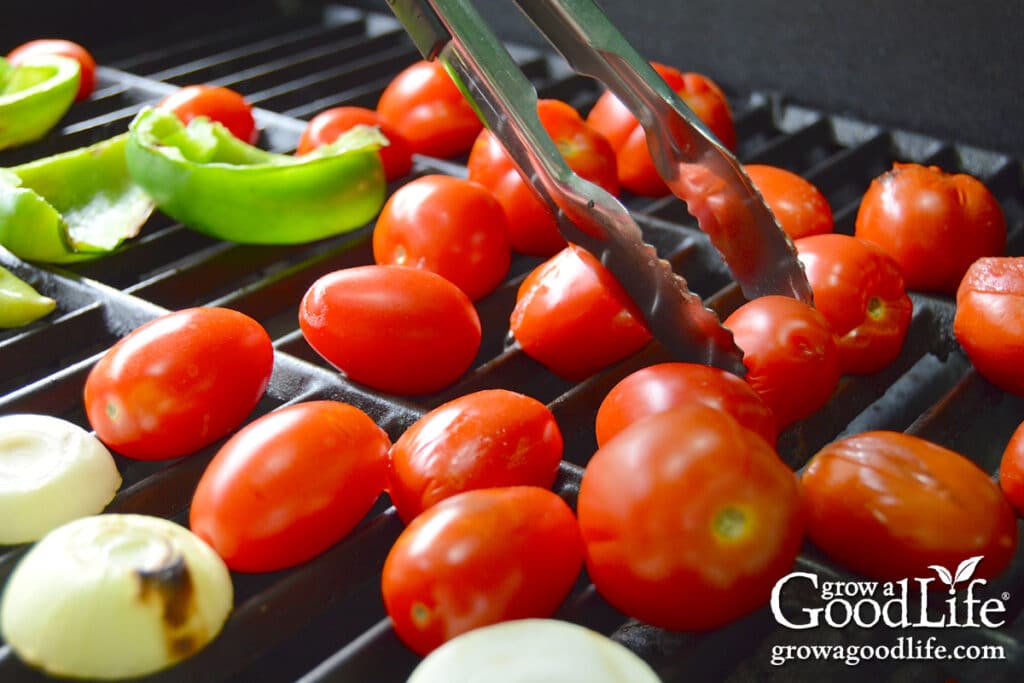
- For grilling: Preheat your grill to around 400˚F. Arrange the tomatoes, jalapeño peppers, and onion slices on the grate and grill them over an open flame until the vegetables are charred on all sides, turning frequently for even roasting.
- For roasting in the oven: Preheat the oven to 425˚F. Place tomatoes, jalapeno peppers, onion slices, and garlic on large rimmed baking sheets. Roast in the preheated oven until the vegetables have softened and charred slightly, about 20 to 30 minutes, turning frequently for even cooking.
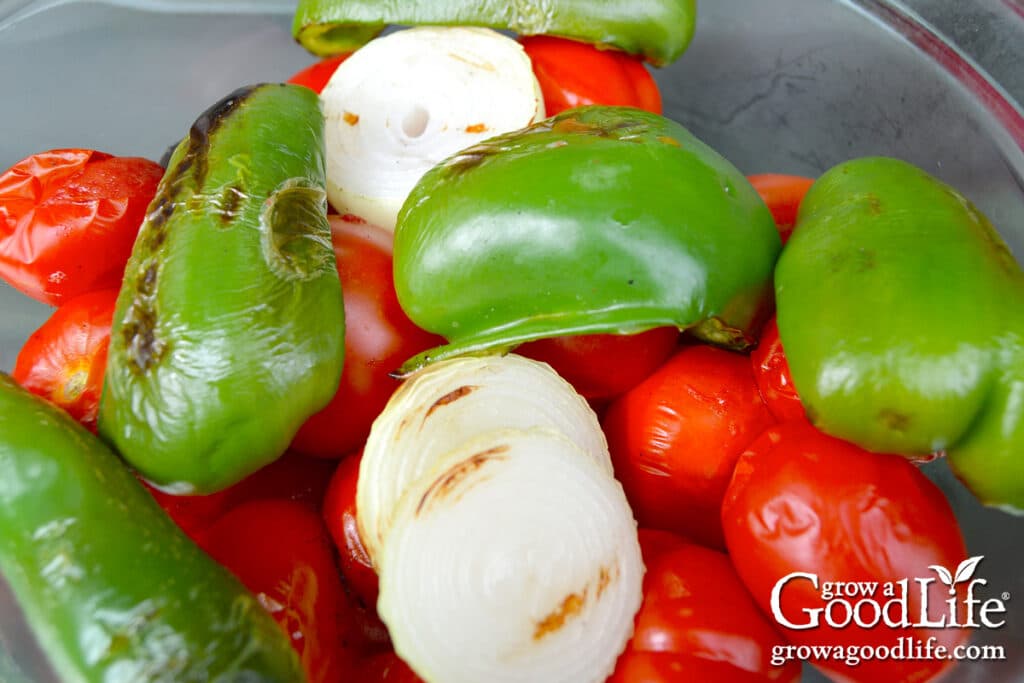
After roasting, transfer the vegetables to a heatproof bowl, cover with a towel, and set aside to cool slightly.
Step 3: Warm the Canner and Jars
Meanwhile, place your water bath canner on the stove. Insert the jar rack into the pot, put the jars upright in the canner, and fill with enough water to cover the jars. Bring to a simmer (180˚F) for 10 minutes and keep warm.
Step 4: Make the Salsa
Once the vegetables are cool enough to handle, remove the tomato skins, core, and chop the tomatoes. Wear food prep gloves to protect your hands from the hot pepper juices. Then, remove the stems and seeds and finely chop the jalapeños. Coarsely chop the onions.
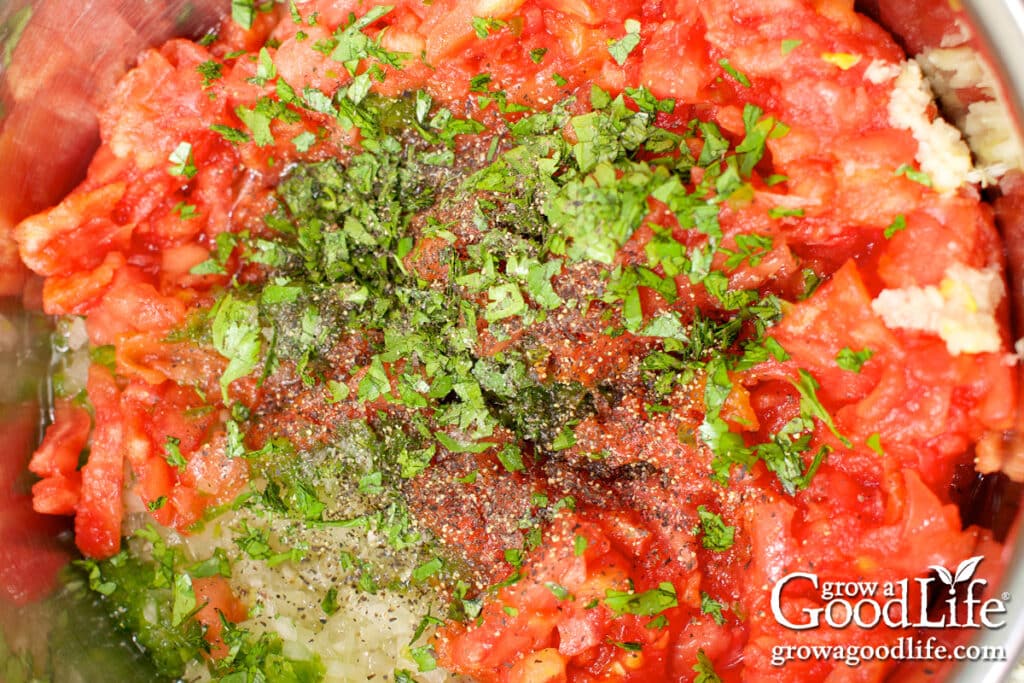
Add the chopped vegetables and finely chopped garlic to a large saucepot. Bring the pot to a boil, then reduce the heat and let it simmer, stirring frequently, until heated through, about 5 minutes. Stir in the cilantro, lime juice, salt, and pepper.
Step 5: Fill the Jars
Spread a kitchen towel on the counter. Use the jar lifter to remove one jar from the canner, draining the water back into the canner. Place the jar on the towel, keeping the remaining jars in the canner to stay warm.
Use the canning funnel and ladle to fill the warm jar with the hot salsa, leaving a 1/2-inch headspace. Run the bubble popper through the jar slowly to release any air bubbles. Adjust the headspace again if needed to maintain 1/2-inch.
Wipe the rim with a clean towel to remove any residue. Add the lid and secure it with a screw band until it is fingertip-tight. Return the jar to the canner. Repeat with the remaining jars.
Step 6: Process in a Water Bath Canner
Once all the filled jars are in the canner, adjust the water level so it is at least 2 inches above the tops of the jars. Cover the pot and bring it to a boil. Once the water boils vigorously, set a timer and process for the times indicated in the recipe below.
Step 7: Cool and Store the Jars
When the processing time is complete, turn off the heat, remove the lid, and let the canner cool and settle for about 5 minutes. Spread a dry kitchen towel on the counter.
Use the jar lifter to remove the hot jars from the canner and place them on the towel, spacing them several inches apart. Keep the jars upright, and do not tighten bands or check the seals yet. Let the jars sit undisturbed for 12 to 24 hours to cool.
After 12 to 24 hours, check to ensure the lids are sealed by pressing on the center of each lid. Refrigerate any jars that failed to seal and consume within a week.
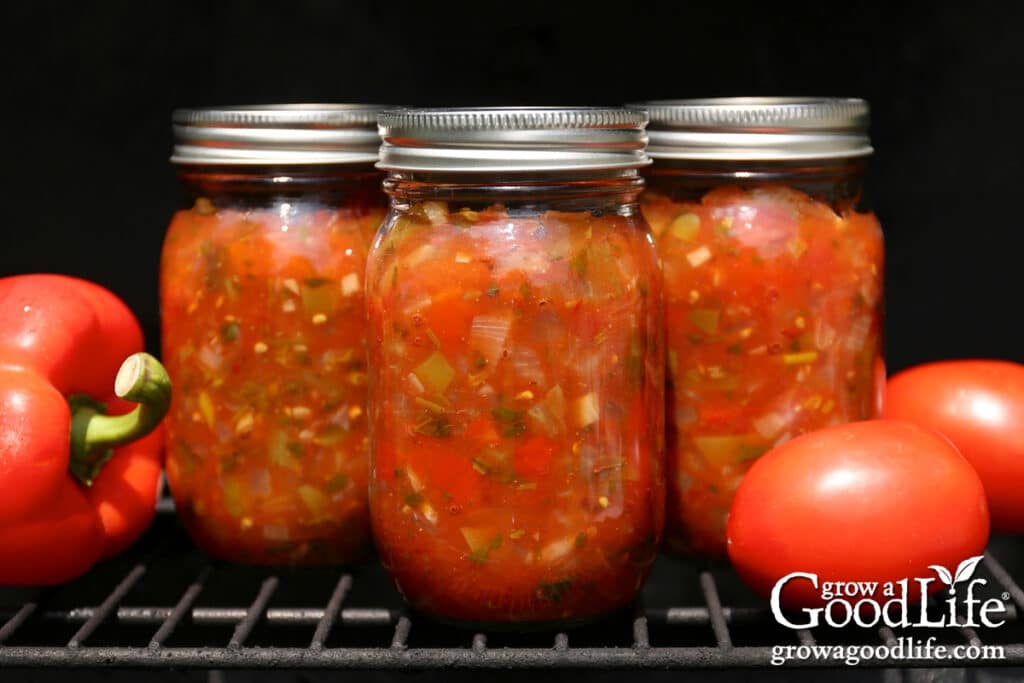
Prepare your jars for storage by removing the ring bands and washing them thoroughly in warm, soapy water to eliminate residue. Dry the jars, then label and date them. Store in a cool, dark place between 50 and 70˚F. Let the salsa sit for 2 to 4 weeks to develop flavor. Use within 12 to 18 months for the best quality. This recipe yields about 4 pints or 8 half-pints.
Enjoy Your Delicious Roasted Salsa
The smoky, rich flavors created by roasting the vegetables on the grill or in the oven add an irresistible depth of flavor. There are countless ways to enjoy your homemade fire-roasted salsa:
- Dipping: Serve it with tortilla chips for a classic snack.
- Topping: Add it to enchiladas, tacos, burritos, fajitas, or quesadillas for an extra burst of flavor.
- Mixing: Stir it into soups, stews, or chili to enhance the taste with a smoky twist.
- Garnishing: Use it as a topping for grilled meats, fish, or roasted vegetables.
- Spicing Up: Mix it with scrambled eggs or omelets for a flavorful breakfast.
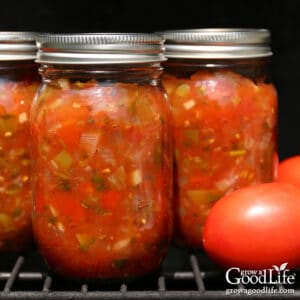
Fire Roasted Salsa Canning Recipe
Ingredients
- 3 pounds plum tomatoes
- 3/4 pound jalapeño peppers
- 1 medium white onion peeled and cut into 1/2-inch rings
- 4 cloves garlic finely chopped
- 1/2 cup chopped fresh cilantro
- 1/3 cup bottled lime juice
- 1 teaspoon salt
- 1/2 teaspoon ground black pepper
Instructions
Roast the Vegetables:
- Preheat your grill to 400˚F. Arrange the tomatoes, jalapeños, and onion slices on the grate and grill until the vegetables are charred on all sides, about 20 to 30 minutes. (You can also arrange on a baking sheet and roast in a 425˚F oven.)
- Transfer the vegetables to a heatproof bowl, cover with a towel, and set aside to cool.
Prepare the Canning Equipment:
- Wash your jars, lids, screw bands, and canning tools in hot soapy water. Rinse thoroughly to remove all suds. Set aside to air dry on a clean kitchen towel.
- Place the jar rack into the water bath canner, place jars in the canner, and add water to cover. Bring the canner to a simmer (180˚F) for 10 minutes, and keep the jars hot until you are ready to fill them.
Make the Salsa:
- Once the vegetables are cool enough to handle, slip off the tomato skins, core, and chop. Remove the jalapeño stems and seeds and finely chop (wear gloves to protect your hands). Coarsely chop the onions.
- Add the chopped vegetables and garlic to a large saucepot. Bring the pot to a boil, then reduce the heat and let it simmer, stirring frequently, until heated through, about 5 minutes. Stir in the cilantro, salt, pepper, and lime juice.
Fill the Jars:
- Spread a kitchen towel on the counter. Use your jar lifter to lift a jar from the canner. Drain the water back into the canner and place it on the towel. Keep the remaining jars in the canner so they stay hot.
- Use your canning funnel and ladle to fill the jar with hot salsa, leaving 1/2-inch headspace.
- Remove any air bubbles, adjust the headspace again if necessary, wipe the rim, center a lid on the jar, and screw on the band until it is fingertip tight. Place the jar in the canner and repeat until all the jars are filled.
Process in a Boiling Water Bath Canner:
- Adjust the water level in the canner so that it is 2 inches over the tops of the jars.
- Cover the canner, and bring it to a boil. Once the water boils vigorously, start a timer and process half-pint and pint jars for 20 minutes at altitudes of less than 1,000 ft. (adjust the processing time for higher altitudes – see notes).
- When the processing time is up, turn off the heat, remove the canner lid, and let the canner cool down and settle for about 5 minutes.
Cool and Store the Jars:
- Spread a dry kitchen towel on the counter. Use the jar lifter to remove the jars from the canner and place them on the towel. Keep the jars upright, and don’t tighten bands or check the seals yet. Let the jars sit undisturbed for 12 to 24 hours to cool.
- After 12 to 24 hours, check to be sure the jar lids have sealed by pushing on the center of the lid. The lid should not pop up. If the lid flexes up and down, it did not seal. Refrigerate any jars that failed to seal and use up within a week.
- Remove the screw-on bands and wash the jars. Label, date, and store your jars in a cool, dark place for 12 to 18 months. Allow 3 to 4 weeks for the salsa to develop its flavor. Once the jar is open, store in the refrigerator, and use it within a week.
- Yields about 8 half pints or 4 pints.
Notes
Nutrition
You May Also Like These Salsa Canning Recipes:
- Tomato Jalapeño Salsa Canning Recipe
- Zesty Salsa Recipe for Canning
- Spicy Green Tomato Salsa Verde Canning Recipe
If you loved this recipe, consider adding our eBook, Grow a Good Life Guide to 50 Salsa Canning Recipes, to your resource library. This 72-page eBook is packed with a variety of delicious salsa recipes, including classic tomato salsas to roasted and grilled salsas to tomatillo and delicious fruit blends, all safe for water bath canning. It’s the perfect guide to help you preserve your garden harvests.
