Homemade Applesauce for Canning
This post may contain affiliate links, which means that I may receive a commission if you make a purchase using these links. As an Amazon Associate I earn from qualifying purchases.
Do you love going apple picking in the fall? Here is a great way to preserve apples by turning them into homemade applesauce and canning it to enjoy all winter.
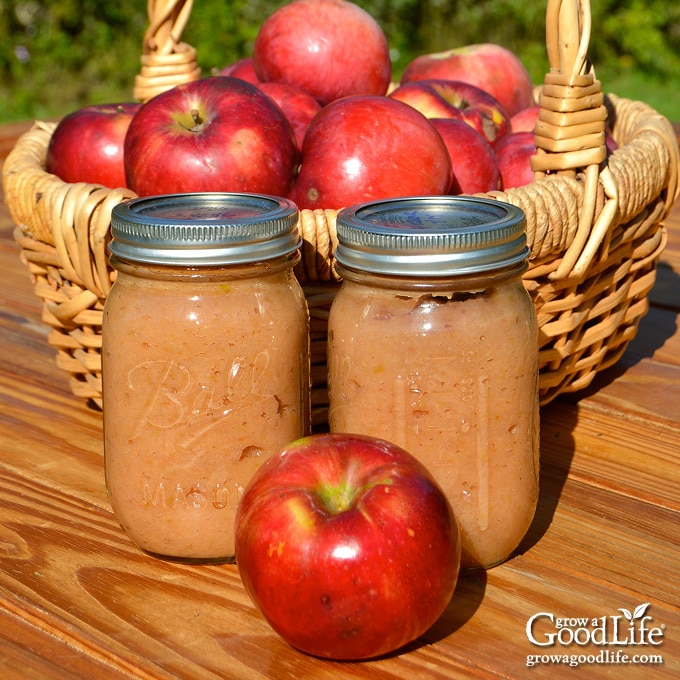
We are blessed with a glorious apple harvest from our trees this year. I am trying to keep up and preserve all the apples that I can. I have canned spiced apple jelly, apple slices, and apple juice for our food storage shelves. I have also dehydrated apples and made cinnamon apple chips. However, the trees are not finished yet, and we are still picking several baskets full every day.
The quickest and easiest way to process a lot of apples is to make applesauce. This is also a good way to use up those imperfect apples too. Just cut away the bad spots before processing.
Helpful Tips for Making Applesauce
Unlike many canning recipes, apples do not need additional ingredients to make them safe for canning. Freshly harvested apples are high in acid and have enough natural sugar to preserve well when canned using a boiling-water canner. Here are tips for making applesauce:
Types of Apples
Any apple variety can be used to make applesauce, including Cortland, Macintosh, and Rome. If you use apples that are naturally sweet, you won’t need to add sugar at all. If you prefer a tart applesauce, combine some tart with sweet apples.
- Sweet apple varieties include Ambrosia, Cameo, Crispin, Fuji, Gala, Golden Delicious, Honeycrisp, Rome Beauty, and Sunrise.
- Tart varieties include Braeburn, Ginger Gold, Granny Smith, Gravenstein, Jazz, Jonathon, and Pink Lady.
Since there are so many regional varieties, you may not see your type on the list. If you are picking apples from a local orchard, ask which apples are best for the kind of applesauce you want to achieve.
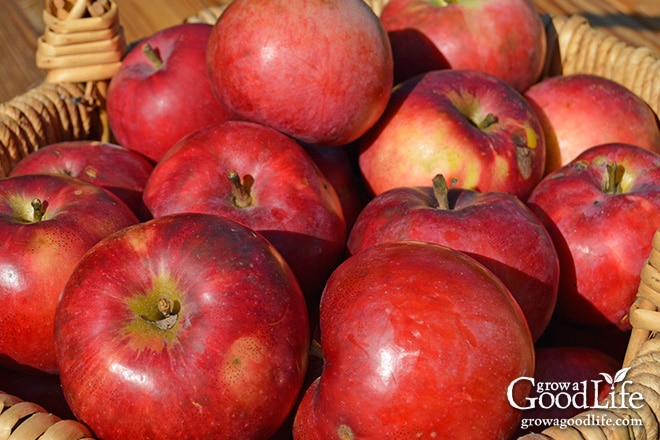
Over mature, slightly soft, or minimally damaged apples are perfect for making applesauce since you will be removing the peels and cooking the fruit to a pulp. You can cut off bad areas as long as the rest of the fruit is good.
Don’t preserve apples that are rotten, badly damaged, or infested with worms or bugs. Additionally, avoid any that have been resting on the ground for a longer than a day, or partially eaten by deer or other wildlife. Windfall apples are likely to contain bacteria and mold spores.
Ways to Puree the Apples
There are many different ways to prepare your apples for applesauce. The way you decide to make a batch depends on the tools you have on hand.
- Food Strainer: I prefer my applesauce smooth with a consistent texture. I skip peeling the apples and use a food strainer after cooking to separate the skins and smooth out the applesauce. I do cut out the cores before cooking though, because the seeds get all jammed up in the screen.
- Food Mill: A food mill has a bowl with holes in the bottom, and a crank with a blade that crushes the food and feeds it through the holes, pureeing the cooked apples, and leaving behind the skins. You will want to core the apples before cooking so the seeds don’t jam up the food mill.
- Food Processor: You can use an immersion blender, regular blender, or even a food processor to blend out the chunks for a smooth applesauce. Just peel and core the apples before cooking since you won’t be straining the sauce to eliminate the skins. Let the sauce cool slightly, and then blend it in batches.
- Potato Masher: If you like your applesauce chunky, or don’t have the tools mentioned above, you can simply crush the cooked apples with a potato masher for a lumpy applesauce. Peel and core your apples before cooking.
Flavoring Applesauce
You can add dried spices, such as allspice, cinnamon, cloves, ginger, or nutmeg. Lemon juice brightens the flavor of the apples and helps maintain the color. Add any flavorings during the last 5 minutes of cooking.
You can also sweeten if desired with sugar or honey. Taste the applesauce after you puree it to decide if it needs some sweetening. Add a little at a time and keep in mind that applesauce tends to taste sweeter once it cools.
How to Avoid Siphoning
One of the most frustrating issues I have had when canning applesauce is siphoning. This is when the contents of the jar expand and boil out of the jar when processing in a water bath canner.
Not only do you end up losing some applesauce, but it also makes a sticky mess in your canner. More importantly, it could prevent your jars from sealing if food gets stuck between the rim of the jar and the canning seal.
Some siphoning is ok if the jars were correctly processed and sealed. Here are some tips to reduce the chances of siphoning:
- Cook the applesauce: Since applesauce is thick, it tends to hold air. Additional air is introduced when the apples are pureed into sauce. Cooking the applesauce will drive out most of the air. After pureeing the apples, bring the mixture to a boil, reduce heat, and maintain a simmer (180˚F) to keep the applesauce hot while filling the jars.
- Thin the applesauce: Dense applesauce will hold more air. You can safely add a little water while cooking to thin it out a bit.
- Fill to the proper headspace: Headspace is the space in the jar between the lid and the food. Maintain a 1/2-inch headspace to accommodate expansion during processing.
- Remove air bubbles: Gently run a bubble popper or a rubber spatula through each jar after filling to release air bubbles. You’ll want to slowly swish it through. Vigorous stirring will only introduce more air.
- Avoid over-tightening the lids: If the lids are screwed on too tightly, air can become trapped in the headspace, causing pressure to build up inside the jar during processing. This pressure can lead to the contents boiling over. To prevent this, screw the bands on just until you feel resistance, and then give them a gentle nudge more. This ensures that the lids are secure enough to stay in place while still allowing air to escape during processing.
- Avoid temperature fluctuations: Siphoning is also caused by rapid changes in temperature. Be sure to preheat your jars in the canner, and maintain a simmer (180˚F). Fill your jars one at a time to keep everything hot. Adjust the heat while processing to maintain a steady gentle boil. When processing time is complete, turn off the heat, uncover, and let the jars rest in the canner for 5 minutes before removing them. This helps to equalize the temperature gradually.
Steps for Making and Canning Applesauce
Before you begin, it may be helpful to review this article on water bath canning at the National Center for Home Food Preservation website.
This applesauce recipe for canning is from the USDA Complete Guide to Home Canning. A more detailed and printable recipe can be found at the bottom of this article, but these are the general steps for making and canning homemade applesauce:
Step 1: Gather your kitchen equipment
You’ll need:
- Water bath canner with canning rack
- 9 pint sized canning jars
- Lids and bands (new lids for each jar, bands can be reused)
- Kitchen scale
- Food strainer or food mill (or another method to puree the applesauce)
- Plus basic kitchen supplies such as a large 10-quart pot, towels, knife, large spoon, and a cutting board.
Step 2: Prepare your apples
Weigh the apples, and rinse well under running water. If you are using a food strainer or food mill to puree the apples, you can cook the apples with the skins, and the strainer will filter them out. Peel your apples before cooking if you are using another method to blend the applesauce. The peelings may harbor bacteria, so it needs to be removed before canning. You can use the peelings and cores to make apple scrap vinegar.
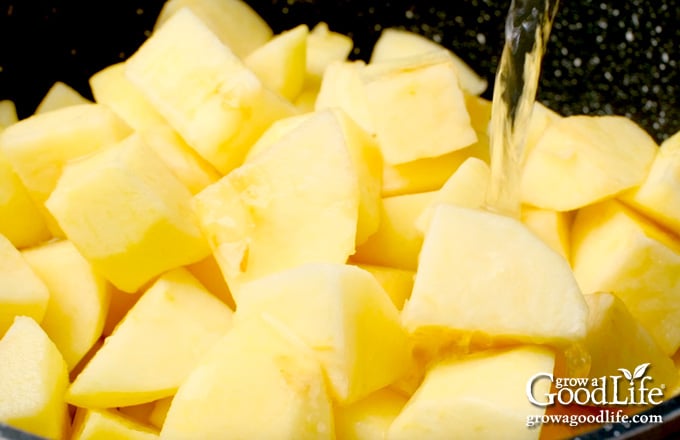
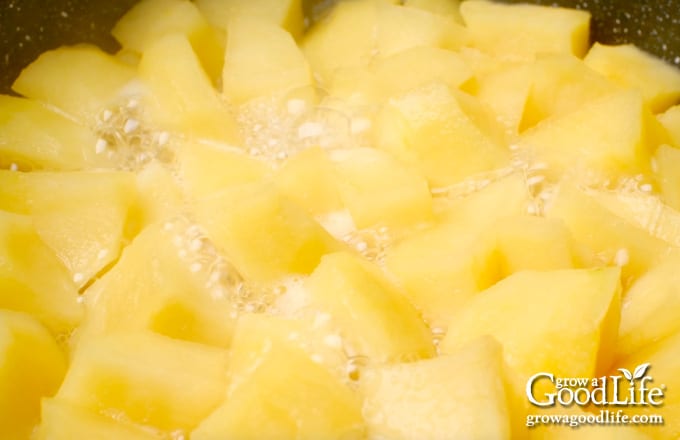
Cut out the cores, trim off bad spots, cut into chunks, and place the prepared apples into your large pot. Add just enough water to the pot to prevent sticking, and cook the apples until they are soft. Let the cooked apples cool slightly before pureeing.
Step 3: Prepare your canning gear
While the apples are cooling, wash your jars, lids, bands, and canning tools in warm, soapy water. Rinse well, and set the lids, bands, and tools aside to air dry until you are ready to use them.
Place the jar rack into the water bath canner, set the jars upright in the canner, and add enough water to cover. Bring the canner to a simmer (180˚F) for 10 minutes, and keep hot.
Step 4: Strain the cooked apples
Run the cooled applesauce through a food strainer or food mill to smooth out the sauce and remove skins. Skip the pureeing step and use a potato masher if you prefer chunky style sauce.
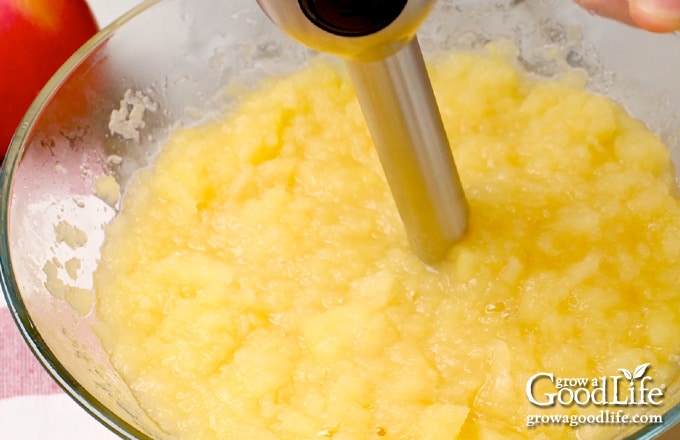
Step 5: Reheat the applesauce and add flavorings
Return the apple pulp to your saucepot. Taste the applesauce and add sugar, lemon, cinnamon, and any other spices, if using. Start out with just a little and adjust until you are happy with the flavor. Bring the applesauce to a boil over medium-high heat while stirring to prevent sticking.
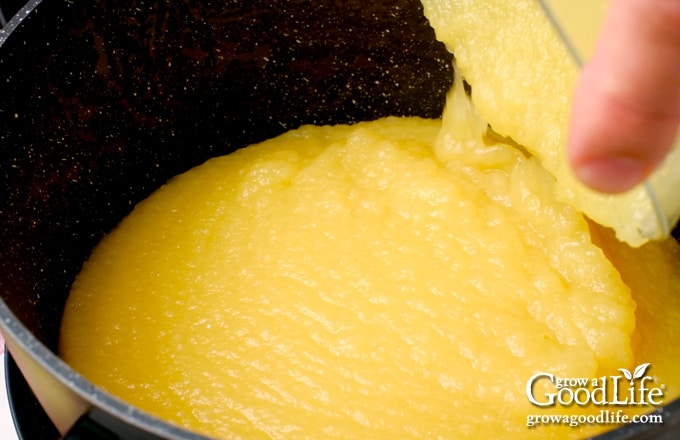
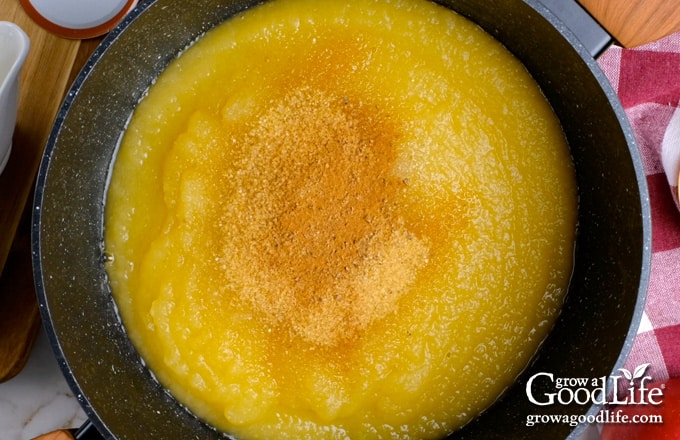
Step 6: Can the applesauce
Lay a kitchen towel on the counter. Use the jar lifter to remove a hot jar from the canner, drain, and place on the towel. Keep the remaining jars in the canner, so they stay warm.
Place the canning funnel on the jar, and ladle hot applesauce into the jar. Leave a 1/2-inch headspace.
Gently run the bubble popper through to release air. Wipe the jar rim with a damp towel to remove residue. Center a lid on the jar, place the band over the lid, and screw it on until fingertip tight. Place the jar back into the canner, and repeat with the rest of the jars.
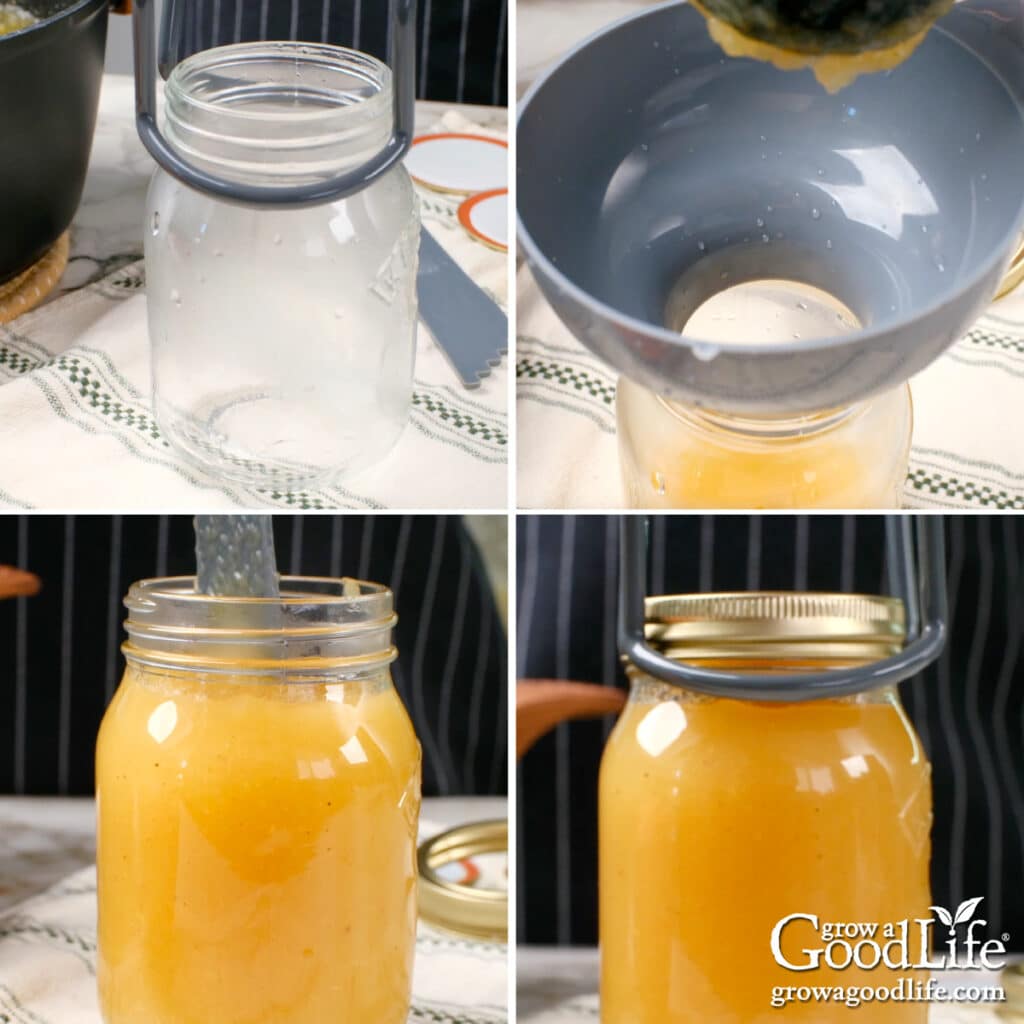
Adjust the water level so it is covering the jars by two inches, bring the canner to a boil, and process for the times indicated in the recipe below. Remove the jars from the canner, and cool completely. Test the seals, label, date, and store in a cool, dark location for 12 to 18 months.
Homemade Applesauce for Canning
Ingredients
- 14 pounds apples
- 1/2 cup water
- 1/4 cup lemon juice fresh or bottled (optional)
- sugar (optional)
- cinnamon (optional)
Instructions
Prepare the Apples
- Rinse the apples well under cold running water. Peel the apples if you are not using a strainer to puree the applesauce. Otherwise remove the cores, cut the apples into chunks, and add to your saucepan.
- Add just enough water to the pot to prevent sticking, about 1/2 cup.
- Cook the apples over medium-low heat to soften, about 10 to 15 minutes. Stir occasionally to prevent burning. After the apples are soft, turn off the heat and let the apples cool.
Prepare the Canning Equipment
- Wash your jars, lids, bands, and canning tools in hot soapy water, and rinse well. Set aside to air dry on a clean kitchen towel.
- Place the jar rack into water bath canner, place jars in the canner, and add water to cover. Bring the canner to a simmer (180˚F) for 10 minutes, and keep the jars hot until you are ready to fill them.
Strain the Apples
- Run the cooled applesauce through a food strainer to remove skins, and to puree the sauce. Skip if you prefer a chunky applesauce.
- Return the apple pulp to your saucepot. Taste and add sugar and other flavorings, such as cinnamon, and any other spices, if using. Start out with just a little and adjust until you are happy with the flavor. Thin with water, if the puree is too thick.
- Bring the applesauce to a boil (212˚F) over medium-high heat while stirring to prevent sticking, and keep hot as you fill your jars.
Can the Applesauce
- Spread a kitchen towel on the counter. Use your jar lifter to remove a jar from canner, drain, and place on the towel. Keep the remaining jars in the canner, so they stay hot.
- Use your canning ladle and funnel and add applesauce to warm jars leaving 1/2-inch headspace.
- Wipe the rims of the jars with a clean, damp towel. Center a lid on the jar, and screw on the band until it is fingertip tight.
- Use the jar lifter to place the jar back into the canner, and repeat with the remaining jars. Try to leave some space in between the jars.
- Once the jars are all in canner, adjust the water level so it is at least two inches above the jar tops.
- Cover the canner and bring to boil over medium-high heat. Once water boils vigorously, continue boiling pints for 15 minutes at altitudes of less than 6,000 ft. Adjust processing time for your altitude if necessary (see notes).
- When processing time is complete, turn off the heat, remove the cover, and let the canner cool down and settle for about 5 minutes.
- Spread a dry kitchen towel on the counter, remove the jars carefully from canner, and place on the towel. Leave about 1-inch in between jars. Keep the jars upright, and don't tighten bands or check the seals yet. Let the jars sit undisturbed for 12 to 24-hours to cool completely.
- After the jars have cooled for at least 12 hours, check to be sure jar lids have sealed by pushing on the center of the lid. The lid should not pop up. If the lid flexes up and down, it did not seal. Refrigerate the applesauce and use within a week.
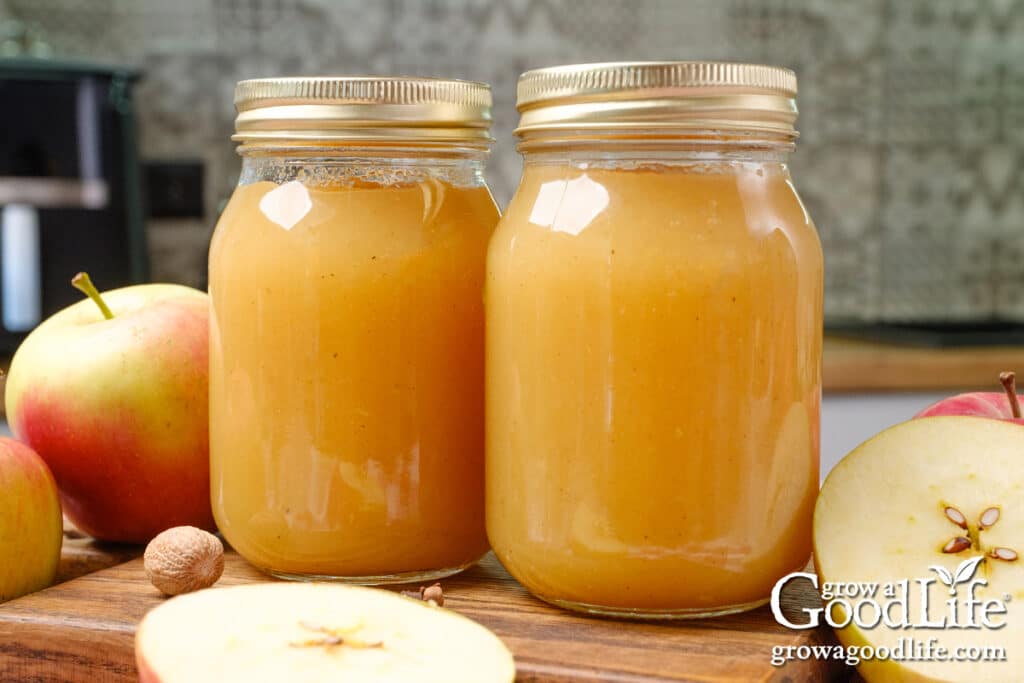
- Remove the bands and wash the jars well with warm soapy water to remove any residue. Label, date, and store in a cool, dark place, between 50 to 70 degrees F. Use within 12 to 18 months. Refrigerate the juice once opened and consume within a week. Yields about 9 pints.
Notes
Nutrition
Note: This recipe was originally published on October 15, 2015. It has been reviewed and updated in 2024 with additional information, new photos, and a video showing the detailed recipe.
You May Also Like:
- Apple Butter Canning Recipe
- Crockpot Applesauce
- How to Make Apple Scrap Vinegar
- Other Ways to Preserve Apples
If you love salsa, consider adding our eBook, Grow a Good Life Guide to 50 Salsa Canning Recipes, to your resource library. This 72-page eBook is packed with a variety of delicious salsa recipes, including classic tomato salsas to roasted and grilled salsas to tomatillo and delicious fruit blends, all safe for water bath canning. It’s the perfect guide to help you preserve your garden harvests.


Easy recipe. Good instructions! I was able to get 13 pints out of 15 lbs apples. I added a little maple syrup to sweeten it a little. Canning now!
Thank you, Sarah! I am so happy you enjoyed the recipe.
New to canning, do I need to add any lemon juice or citric acid to my jars before canning?
Kayla, Welcome to the world of canning! There’s no need to add additional lemon juice or citric acid to your jars for this applesauce recipe. The lemon juice included in the recipe is optional and used for flavor, not for safety. Just follow the recipe as written, and you’re good to go!
My mom used to do all the “hot” portions of preparing the jar, lids and boiled applesauce, She would put the hot sauce into a hot jar, put on the hot lid then screw it on tight with, then loosen just barely. Then she would turn the jars upside down to seal them. I did this and when I turned them back upright, I checked the lids and they all were tight and sealed. my concern came when I realized I did not “air” the sauce in the jars before putting on the seals. There are air pockets. Will the air pockets allow the sauce to rot in the sealed jars?
Virginia, Unfortunately, the method of turning jars upside down to seal them isn’t considered safe for home canning. Modern safety guidelines recommend water bath canning for applesauce. This ensures that any bacteria or mold present in the jar or sauce is eliminated through proper heat processing. As for the air pockets in your jars, they can be a concern because they can trap bacteria, which could lead to spoilage, even if the jars appear sealed. I recommend refrigerating or freezing the jars you processed this way, and if you plan to make another batch, it’s best to follow the recipe and water bath canning method to ensure safe preservation.
for step 2 under processing cans, once I have simmered for 10 minutes and I am keeping the jars hot, do I turn off the stove or keep them at a simmer?
Jen, After simmering the jars for at least 10 minutes, keep the jars at a simmer so they stay warm. The jars need to stay warm to prevent thermal shock when you fill them with hot contents.
easy to follow. I used Macintosh apples, added a little sugar only because I added a little cinnamon. turned out great. thanks
When do you use the lemon juice?
Annette, The lemon juice is added with the other flavorings in step 2 under “Strain the Apples.”
About how many pints and/or quarts of applesauce will 14 pounds of apples make? I just want to make sure I have enough jars ready. Thanks!
Amy, Since the recipe yields about 9 pints of applesauce, to be on the safe side, I’d recommend prepping 10 to 12 pint jars or 5 to 6 quarts. Having a few extra jars ready ensures you’ll have enough on hand to accommodate any variations in yield.
Can I mix pears and apples to make apple pear sauce?
Stacie, Yes, you can.