Homemade Apple Scrap Vinegar
This post may contain affiliate links, which means that I may receive a commission if you make a purchase using these links. As an Amazon Associate I earn from qualifying purchases.
Did you know you could make apple scrap vinegar simply by combining apple peelings and cores with water and sugar, and let it ferment until it turns into vinegar?
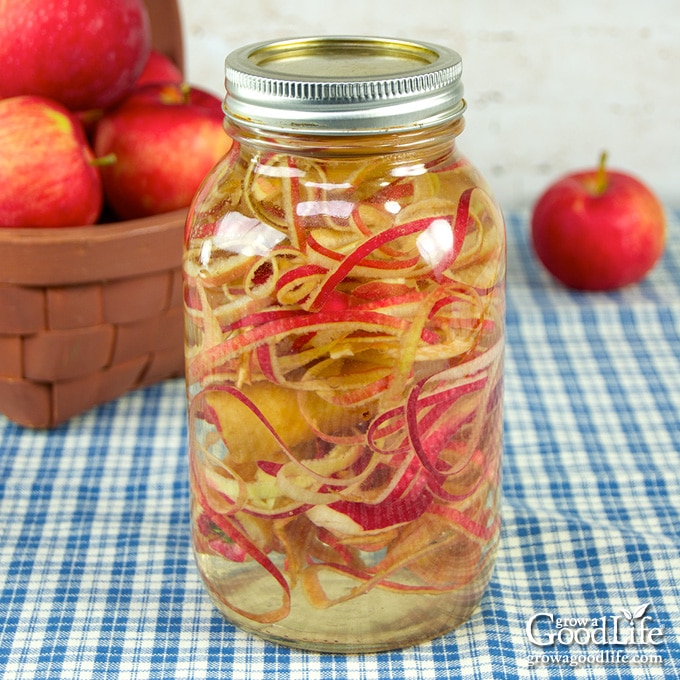
Whether you are processing a bushel of freshly picked apples for applesauce, baked cinnamon apple chips, or apple pie, be sure to save those scraps!
The mild apple flavored vinegar is delicious drizzled on fall salads and roasted veggies, in a marinade for meats and vegetables, and added to soups and stews to balance flavors.
Tips for Making Vinegar from Apple Scraps
Apple scrap vinegar is just as it sounds. It is made from the apple peelings and cores left behind after using apples for other things, such as apple jelly, apple pie, applesauce, or canned apple slices.
While homemade apple cider vinegar is made from the juice of crushed apples, and relies on natural yeast and sugars in the fruit for fermenting, apple scrap vinegar is made with a combination of apple peelings, cores, water, and sugar to start the fermentation.
Apple scrap vinegar can be used in similar ways as apple cider vinegar, but the flavor is milder and less acidic than real apple cider vinegar.
Use Quality Apples
The quality of your apples makes all the difference in the flavor of your apple scrap vinegar. Use fresh organic apples, and wash fruit well under running water before peeling. You can use bruised apples, but trim out areas that are rotten or moldy.
Save Your Apple Scraps
Apple scraps can be frozen until you are ready to make vinegar. Save your apple cores and peels from baking, preserving, and freshly cored apples in a freezer bag until you have enough to pack a jar. No need to thaw before using.
Use Non-Chlorinated Water
Chlorine is a chemical used to treat city water to keep it free from bad bacteria that can make you sick. Chlorinated water will also kill the microbes that ferment the apples and turn them into vinegar.
If your tap water contains chlorine, simply fill a container with water, leave it open, and let it sit out at room temperature for several days. The chlorine will evaporate from the water.
Use a Food Safe Container
Look for a container that is easy to cover with a coffee filter to prevent fruit flies from invading, but allows a large surface at the top of the container to be in contact with air.
A wide mouth jar, fermenting crock, or even an enameled stone slow cooker crock will provide a larger surface area with air will benefit your vinegar fermentation.
Avoid metal and plastic containers because they can leach into the vinegar.
Keep Everything Clean
Before proceeding with your ferments, wash your jars, utensils, and hands with warm, soapy water, rinse well, and air dry on clean kitchen towels. This will help prevent unwanted microbes and bacteria.
Steps for Making Apple Vinegar from Scraps
All you need to make apple vinegar is apple scraps, a large jar, sugar, water, and time in a warm area to let everything ferment. Here are the illustrated steps to make apple scrap vinegar. Please scroll down to the end of the article for the full recipe.
Step 1: Fill a Jar
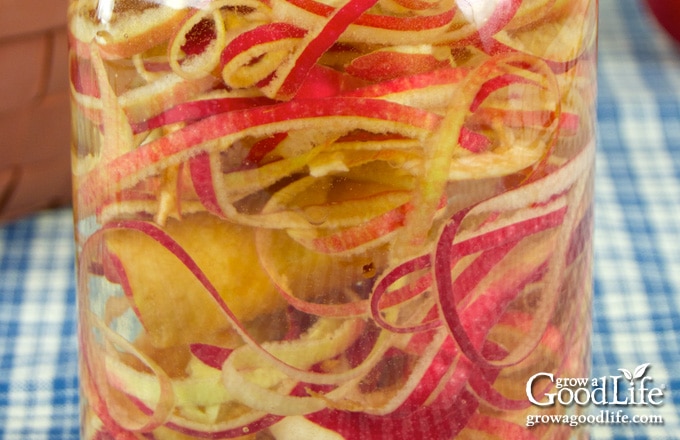
Place the apple peels and cores in a large clean jar. Push down on the scraps to squish them towards the bottom half of the jar.
Combine about one cup of water with the sugar, and stir to dissolve. Pour the sugar water over the apples, and then fill the jar with water leaving several inches of airspace at the top. Fill to the area just before the jar curves inward towards the opening.
The extra sweetener will work with the natural sugars in the apples to give the bacteria plenty of fuel to kick-start the fermentation process that will convert the sugars into alcohol, and then to vinegar. You can also add a bit of unpasteurized raw apple cider to get the ferment started.
Step 2: Cover the Jar
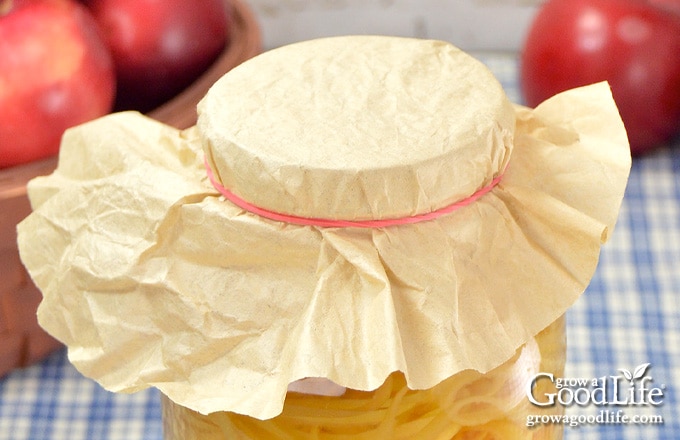
Place the coffee filter or cheesecloth over the jar opening, and secure it with a rubber band or canning ring (just the ring, not the lid). The fermentation needs oxygenation. The coffee filter will keep out dust and fruit files, but allow your fermenting apples to breath as it develops into vinegar.
Step 3: Let it Ferment
Place the jar in a warm, dark location, out of direct sunlight. Around 80 to 85 degrees Fahrenheit is an ideal temperature for fermenting. Lower temperatures will take a little longer. Consider placing the jar in a pie plate to catch any overflow.
You should begin to see bubbles on the surface within a few days. Once your ferment begins to bubble, stir every day with a clean utensil to incorporate air into the mixture, and keep your apple scraps submerged to prevent mold.
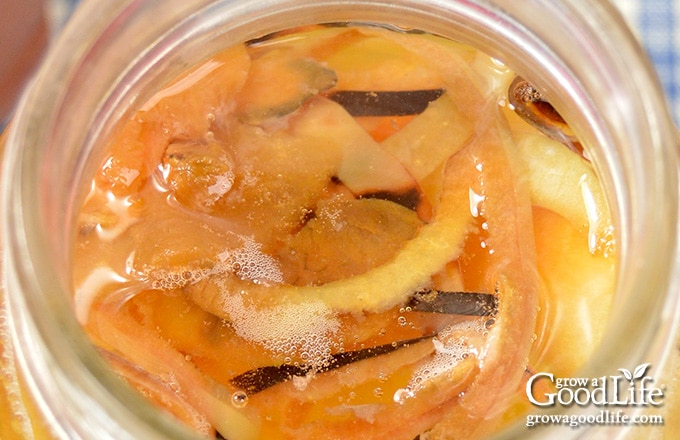
If you don’t think you will remember to stir daily, use a fermenting weight to keep the apple pieces from floating to the top.
Continue fermenting until the bubbles stop, about 2 weeks.
If you do see fuzzy, blue, black or pink mold on the surface of your apple scrap vinegar, discard and start over with fresh ingredients and clean equipment.
Step 4: Strain Out the Apple Scraps
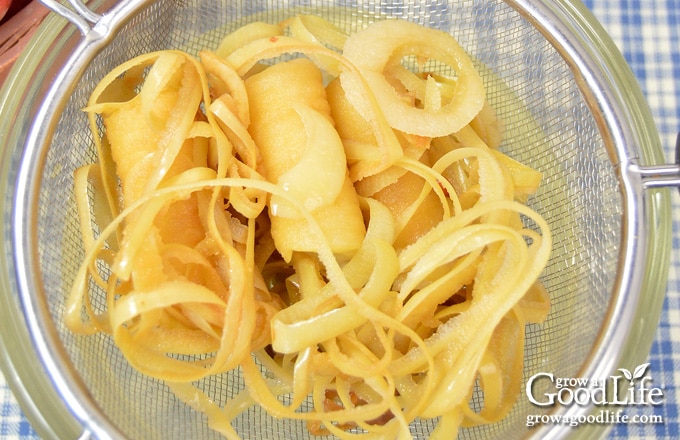
Once the bubbling has ended, strain the ferment through a cheesecloth lined colander into a large bowl. Squeeze as much liquid from the scraps as you can.
Step 5: Resume the Ferment
Discard the apple scraps and pour the liquid into a new, clean jar. Cover the jar with a fresh coffee filter and secure it with an elastic band or canning lid. Place the jar back in the warm location and let it continue fermenting until it develops a tart vinegary flavor, another 2 to 4 weeks.
During this time, your apple scrap vinegar may become cloudy as it continues to ferment. It will clear up a bit as the alcohol is consumed and transformed. You may see a fleshy colored film forming on the surface of the ferment. This is called a Scooby or The Mother, and it’s a natural part of the vinegar fermentation process.
A vinegar mother, also called the mother of vinegar is a gel like material made of cellulose and acetic acid bacteria that develops during the fermentation process. These organisms, along with oxygen, produce the vinegar.
Step 6: Store the Apple Scrap Vinegar
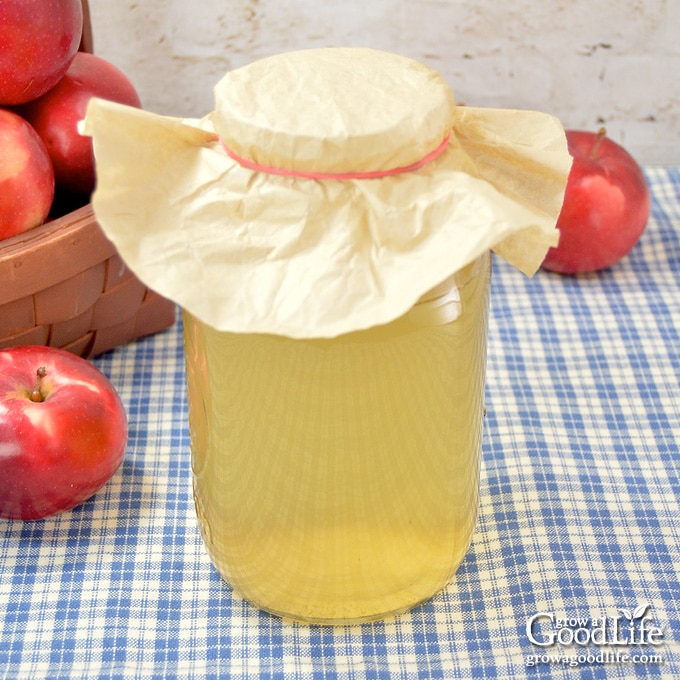
Once you are happy with the flavor of your vinegar, seal, and store the jar. I store my homemade vinegar in the refrigerator where it will last up to a year. The vinegar continues to evolve even after the ferment is finished. As the vinegar ages, the sharp flavor mellows and suspended solids drop to the bottom making the vinegar even clearer.
You can pasteurize or heat-treat the vinegar for longer storage at room temperature. Pasteurizing the vinegar will kill bacteria that may cause your vinegar to spoil over time.
To Pasteurize: First, sterilize your jars like you would for canning, by boiling them in a large pot of water for 10 minutes. Elevate the jars with a canning rack, so they don’t touch the bottom of the pot. After boiling, keep the jars warm until you are ready to fill them.
Add the apple vinegar to a large pot. Attach a candy thermometer to the pot. Turn the burner on to medium-high heat and warm to between 140 and 160˚F. Do not boil, but adjust the heat to keep the vinegar at this temperature for 30 minutes.
Fill the sterilized jars with hot vinegar, cover, and let the jars cool undisturbed for several hours. Store in a cool location out of direct sunlight for a year or longer.
Check the vinegar for spoilage before using and discard any that shows signs of mold, bubbling, cloudiness, or sliminess. Even if there is no sign of spoilage, taste the vinegar before using to make sure the flavor is still good.
Ways to Use Apple Scrap Vinegar
For the most part, use apple scrap vinegar the same way you would use commercial raw cider vinegar. The only exception is canning recipes. The pH level in homemade vinegar isn’t easy to measure and may not be high enough to can safely. Stick to commercial vinegars with 5% acetic acid to ensure safe preserving.
- Flavor Foods: The flavor of apple scrap vinegar is lighter than the traditional apple cider vinegar, making this a great choice for salad dressings, finishing vinegar for roasted veggies and meats, and will add a bit of tartness to drinks and teas.
- DIY Household Cleaners: Consider using apple scrap vinegar in your favorite DIY household cleaners that call for vinegar. Fill a spray bottle with half apple scrap vinegar and half water, give it a shake to combine, and use it to clean your kitchen counters, windows, and bathroom sink.
Homemade Apple Scrap Vinegar
Ingredients
- Apple scraps from about 12 apples
- 2 tablespoons sugar
- water
Instructions
- Place the apple scraps in a quart-sized jar. Push down on the scraps to squish them towards the bottom half of the jar.
- Combine about one cup of water with the sugar and stir to dissolve.
- Pour the sugar water over the apples, and then fill the jar with water leaving several inches of airspace at the top.
- Cover the jar with a coffee filter and secure it with a rubber band or canning ring (just the ring, not the lid).
- Place the jar in a warm, dark location, out of direct sunlight. 80-85˚F is an ideal temperature. You should begin to see bubbles on the surface within a few days.
- Once your ferment begins to bubble, stir daily to keep your apple scraps submerged and prevent mold. Continue fermenting until the bubbles stop, about 2 weeks.
- Once the bubbling has ended, strain the ferment through a cheesecloth lined colander into a large bowl. Squeeze out as much liquid from the scraps as you can.
- Discard the apple scraps and pour the liquid into a new jar. Cover the jar with a fresh coffee filter and secure it with an elastic or canning lid.
- Place the jar back in the warm location and let it continue fermenting until it develops a tart vinegary flavor, another 2-4 weeks.
- Once you are happy with the flavor of your vinegar, cap, and store in the refrigerator for up to a year.
Nutrition
You May Also Like:
Good planning is key to a successful vegetable garden
Whether you are new to growing your own food or have been growing a vegetable garden for years, you will benefit from some planning each year. You will find everything you need to organize and plan your vegetable garden in my PDF eBook, Grow a Good Life Guide to Planning Your Vegetable Garden.


I am doing this now. In fact, today I transferred to new jars. My question is: can I use airlocks instead of filter/cheesecloth? That’s how I started the scraps and it’s been two weeks. Should I use the cheesecloth top for next two weeks or are airlocks ok to use?
I noticed, the strained vinegar is separating. Is that normal? I did use a fine mesh strainer and then poured through same strainer lined with cheesecloth.
Thanks
Daneen, Airlocks are OK to use. A little sediment is normal. It should settle to the bottom of the jar as the apple cider ferments.
Mine was started in a crock with weights and cheese cloth on top. It smells like apple vinegar. I poured it from the crock, and noted a pink “ sludge” on the weights. No mold, but slightly cloudy.
Did the straining with colander and then cheese cloth. It’s cloudy but smells good and the fruit flys are trying to get into it. Does this sound okay? I gave a picture of both the scraps and the strained product. Is there a way to share?
Thanh’s!
Wendy
Wendy, by your descriptions, it sounds like your ferment is ok. A little pink sludge is probably Kham yeast biofilm. As long as your ferment smells like apples, it is good. Discard if the liquid develops a rotten or sour fragrance. Mold will appear powdery and fuzzy. If you notice blue, black, or pink mold on the surface of your apple scrap vinegar, discard it and start over with fresh ingredients and clean equipment.
I am at the 12 day mark. Each day, when I stir my mixture, I notice a bubble pink and white surface. Is this normal? I have 2 jars going and one smells yeasty still but the other seems like it has turned from a yeasty smell to a more mild smell. Again, is this normal? Thanks for your help.
Melanie, If you see a white or slightly pink film on the surface, it is probably a Kham yeast biofilm. The pink tinge could be from the red apple peels. Remove it with a spoon. As long as your ferment doesn’t smell rotten or sour, you are ok. Mold looks powdery. If you see fuzzy, blue, black, or pink mold on the surface of your apple scrap vinegar, discard it and start over with fresh ingredients and clean equipment.
This is my second year using your apple scrap recipe and I am very excited. Last year my apple scrap vinegar turned out great and I am assuming this year will be the same, thank you for sharing!
Hi,
My apple scrap vinegar turned very pink by week two with a pink Scooby type of growth on top. I removed the Scooby, strained out the scraps and bottled it into canning jars with paper lid for off gassing. It is still pink and a new Scooby type of thing has grown over it again, three weeks later. Should I throw it out? I would really appreciate a response and, thank you for any help in this matter, I am new to fermenting and think this is a failed experiment.
Again Thank You,
Mary
Mary, Pink is ok. I’ve had all colors, from brown, yellow, and pink. The color of your final apple vinegar will depend some on the color of the apple skins and the type of bacteria in your air. It is also normal for your fermenting vinegar to grow a thick rubbery mother, or scoby. Your vinegar is fine as long as it has no visible mold, smells, and tastes like vinegar.