How to Grow Potatoes: Trench and Hill Method
This post may contain affiliate links, which means that I may receive a commission if you make a purchase using these links. As an Amazon Associate I earn from qualifying purchases.
What could be more satisfying than the flavor of freshly dug potatoes lifted straight from your own garden? Learn how to grow potatoes using the traditional trench and hill method.
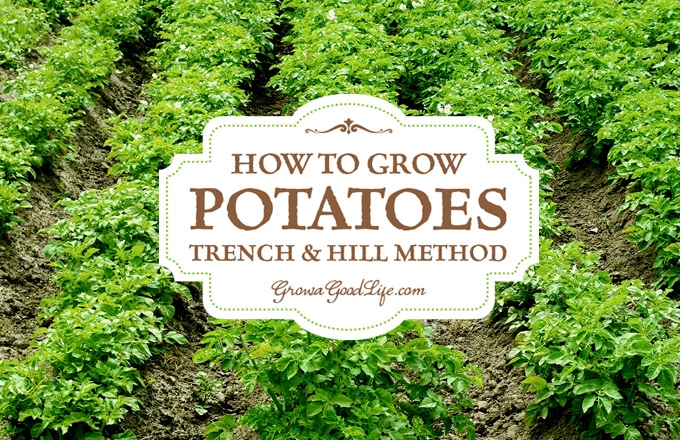
You can’t beat the flavor of freshly dug potatoes from your own garden. Potatoes are a staple crop that can feed you almost all year because they store well in a root cellar or cool basement.
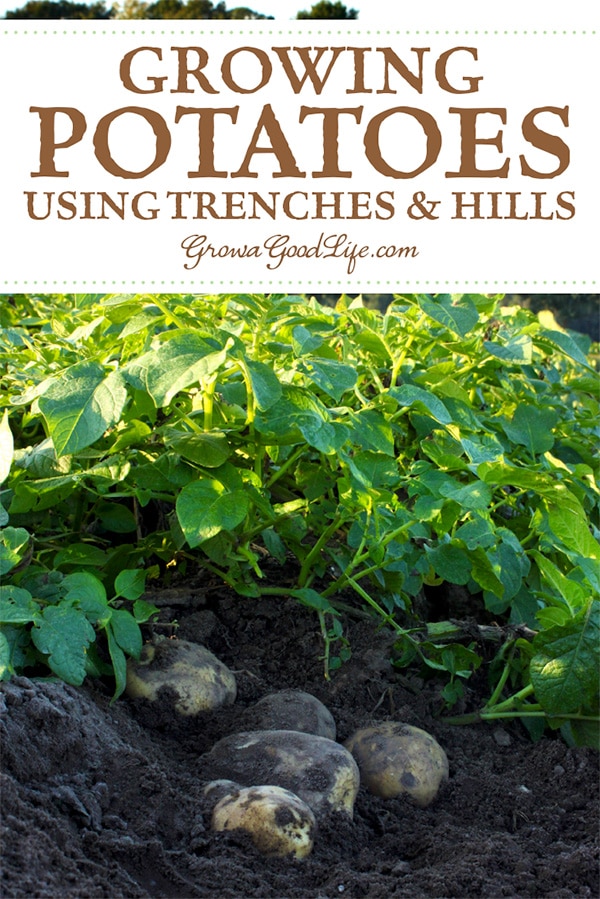
One of the methods of planting potatoes is the trench and hill method. This involves digging trenches, piling the soil in between the trenches, planting the seed potatoes, and hilling the potato plants as they grow.
This is the traditional method of growing potatoes that farmers have used for centuries only scaled down for the backyard garden. The hilling method is ideal if you have good-quality soil and a large garden space.
How to Grow Potatoes: Trench and Hill Method
After you have sourced your seed potatoes, figured our when to plant, and prepared the potato seeds for planting, you are ready to dig your trenches.
Step 1: Plot out your potato bed
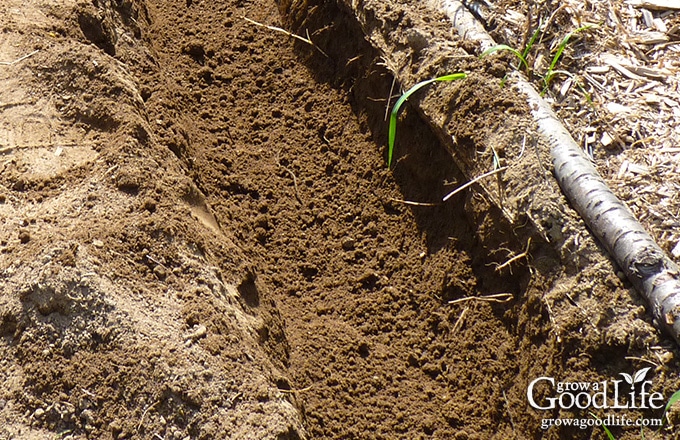
Remove all weeds, measure out your rows, and dig trenches about 4-6 inches deep and two feet apart. Mound up your soil in between the rows. You will be using this soil to hill your potatoes later.
Step 2: Add amendments
Once the trench is dug, add some finished compost and an organic fertilizer to the bottom of the trench and work it into the soil.
Step 3: Plant your potato seed
Place your potato seeds about 12-inches apart and cover with just 4 inches of soil. Water the newly planted potato bed very well. Your potato plants should emerge from the soil in about two weeks. It may take longer if the soil is still cold.
Step 4: Hill the potato plants
As the potatoes grow, pull the soil from the mounds in between the trenches to cover the new growth.
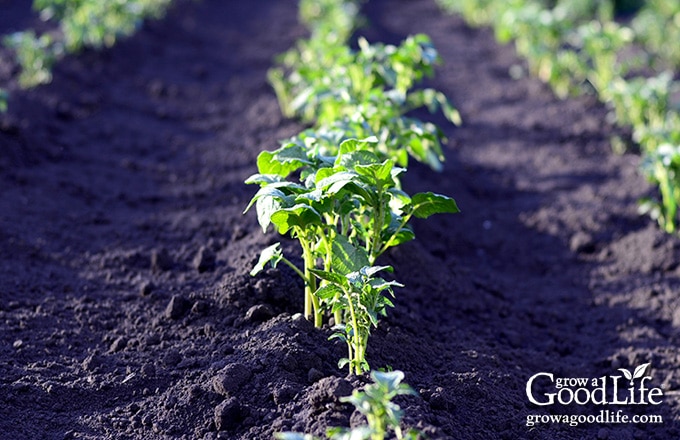
When the plants are 6-8 inches tall, begin hilling the potatoes by gently mounding the soil from the center of your rows around the stems of the plant. Mound up the soil around the plant until just the top few leaves show above the soil.
Two weeks later, hill up the soil again when the plants grow another 6-8 inches. Repeat the process of hilling and building up the soil as the plants continue to grow until there is about 12-18-inches of soil around the plant.
Step 4: Mulch the potato bed
Mulch thickly with straw or shredded leaves to keep the soil cool, weed-free, and to cover any tubers that grow close to the surface to prevent them from turning green.
Step 5: Harvest your potatoes
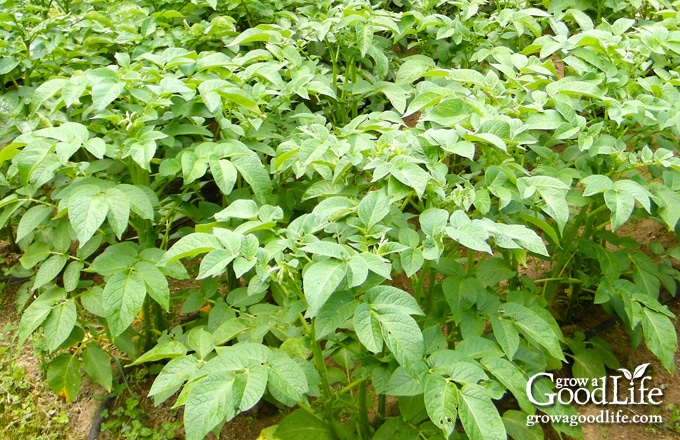
Baby potatoes are delicious. Once the potato plants bloom, you can begin harvesting potatoes as needed for meals. Dig carefully beneath the soil and pull out what you need. Try not to damage too many roots so the plant can continue growing. If you are growing potatoes for storage, allow the tubers to remain in the ground to mature fully.
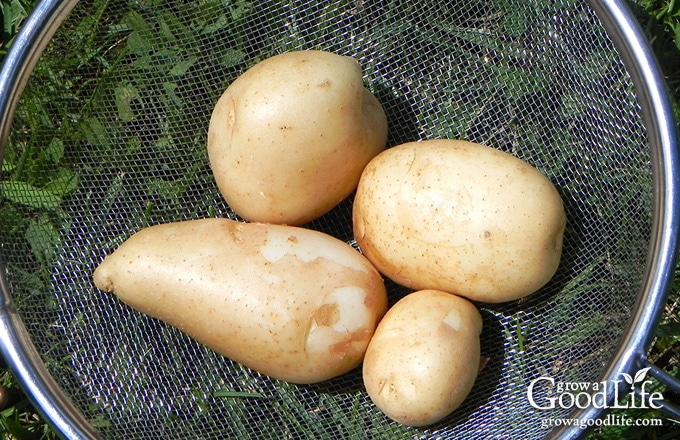
I enjoyed a great harvest for my first attempt at growing potatoes. Although the potato crop I grew using the trench and hilling method was successful, I didn’t like the extra labor involved in hilling, the messy appearance of the garden, and the wasted space in between the rows. The following year, I tried growing potatoes using the John Jeavons’ Grow Biointensive method. Visit this article to learn another way to grow potatoes: Planting Potatoes the Biointensive Way.
Want to Learn How to Grow Potatoes?
You will find everything you need to start growing potatoes in my PDF eBook, Grow a Good Life Guide to Growing Potatoes. Whether you are striving for a few gourmet fingerling potatoes or a large crop for winter food storage, this guide will show how you can grow your own, organic, homegrown potatoes.
You May Also Like:
- Sourcing Seed Potatoes for the Backyard Garden
- Chitting Potatoes Gives them a Head Start
- 6 Ways to Grow Potatoes
- 5 Steps to Storing Potatoes for Winter
- Baked Seasoned French Fries Recipe
- Harvest Hearty Beef Stew Recipe
- 8 Great Tips for Growing Potatoes
Good planning is key to a successful vegetable garden
Whether you are new to growing your own food or have been growing a vegetable garden for years, you will benefit from some planning each year. You will find everything you need to organize and plan your vegetable garden in my PDF eBook, Grow a Good Life Guide to Planning Your Vegetable Garden.


Your soil and procedure looks terrific GM. I think you had better start thinking about storage facilities. :o) John
EG: I find it difficult to believe that you suck at growing anything.
KitsapFG: Your blog was a huge help in showing me how to plant potatoes. Thank you! I am watching your new method closely as well.
Daphne: Thanks!
Ribbit: Thank you! We will see how it goes.
Thomas: The trenches were only 6-9 inches deep. I think the mounded soil in between the trenches made them look deeper. I wonder if the potatoes sprouting in your pots is due to the soil being warmer than the ground?
Granny: I hope you are right. I have never grown potatoes before. I am looking forward to baby red potatoes. I didn’t know when I could steal some. Thanks!
Wow! Lookin good! I can’t wait to see the harvest.
That looks like a very nice potato plot. Good luck with them.
You are off to the potato races! I think you will find that you will get a good harvest from your plot.
I am doing a different approach with my potato patch this year from my normal and am hoping for even greater yeilds as a result. I was happy to see that the potatoes are breaking ground in the bed over the past few days so it looks like my new deeper planting method may prove to be a winner.
It looks like you have an excellent plan for potatoes. I suck at growing them! Maybe you’ll have better luck than me….
Hopefully they perform well for you! Those are some mighty trenches that you dug! My potted potatoes have sprouted already but still no signed of the ones I planted in the ground.
Oh, I’ll bet you are going to have a fine potato harvest! Just don’t forget to steal a few of those baby reds anytime after the plants blossom. Just carefully reach your fingers down into the soil and feel around for them. I also planted Norlands and Kennebecks, and hope our infestation of wire worms doesn’t do too much harm to them this year.