10 Steps to Starting Seedlings Indoors
This post may contain affiliate links, which means that I may receive a commission if you make a purchase using these links. As an Amazon Associate I earn from qualifying purchases.
Growing your own seedlings from seed offers you more flexibly and control over your garden. You can choose your favorite varieties, grow the number of plants you need, and work within the planting dates that suit your growing area.
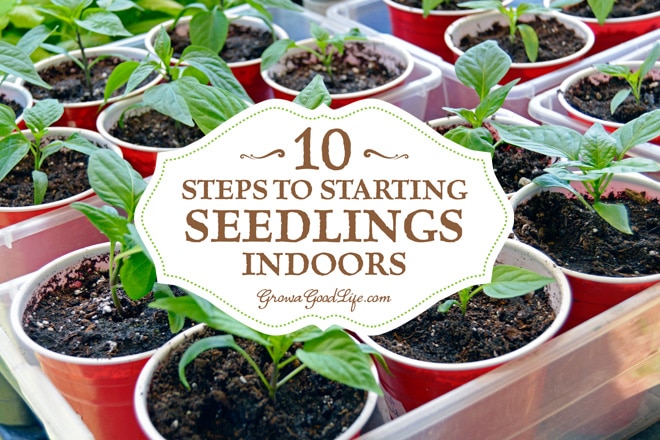
Growing your own seedlings offers a number of benefits:
- It is less expensive than purchasing nursery seedlings.
- There is a greater selection of seeds available in comparison to the standard plant varieties at most nurseries.
- It provides a little gardening therapy during the winter months when the ground is under a layer of snow.
A key to any successful garden is planning. The first step is to decide what you want to grow and make a seed list. Then it is helpful to plot out your garden beds so you have an idea on how many transplants you will need to grow. Developing a seed-starting schedule ahead of time will provide a guideline so you know when to start your seeds. You can read more about each process at the links below:
- How to Choose Which Vegetables to Grow
- Tips for Making a Seed List
- How to Map Your Garden Beds
- How to Develop a Seed Starting and Planting Schedule
Once you are organized, here are ten steps to starting seedlings indoors:
10 Steps to Starting Seedlings Indoors
Step 1: Set up a lighted seed starting area:
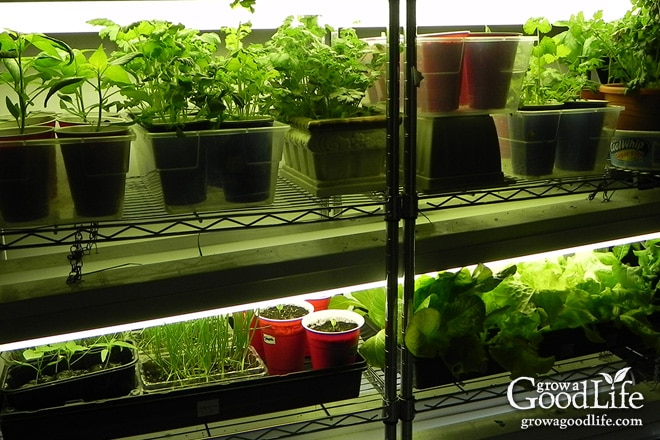
In order to grow healthy seedlings, you will need some supplemental lighting. Seedlings need at least 12-16 hours of light each day. I set my timer on my lights for 16 hours on, then 8 hours off. Keep the lights about 2-inches above the seedlings. Adjust as the plants grow. See How to Assemble a Grow Light Shelving System.
Step 2: Gather growing containers to start your seedling:
These can be seed-starting flats, peat pots, toilet paper rolls, newspaper pot, or any recycled container with a few drainage holes poked into the bottom. You can omit growing containers all together by using a soil block maker to compress the soil into a cube. Whatever container you choose, wash them with warm soapy water and rinse well. Place them in leak proof trays or containers to prevent water from dripping. Read more about the benefits of using Soil Blocks for Growing Seedlings.
Step 3: Prepare your seed starting soil:
Use new seed starting mix that’s made for growing seedlings. Using soil from your garden or re-use potting soil from your houseplants can introduce disease to your young and vulnerable seedlings. Starting with fresh, sterile, seed starting mix will help ensure healthy seedlings.
Pre-moisten the seed starting mix before filling your containers. Use a clean bucket or bowl and mix a little warm water into the seed starting soil. You will want the soil mix slightly damp, but not soaking wet. Fill your containers with pre-moistened seed starting mix to within 1/2-inch of the top of the container. Press gently to remove any air pockets.
Step 4: Sow your seeds:
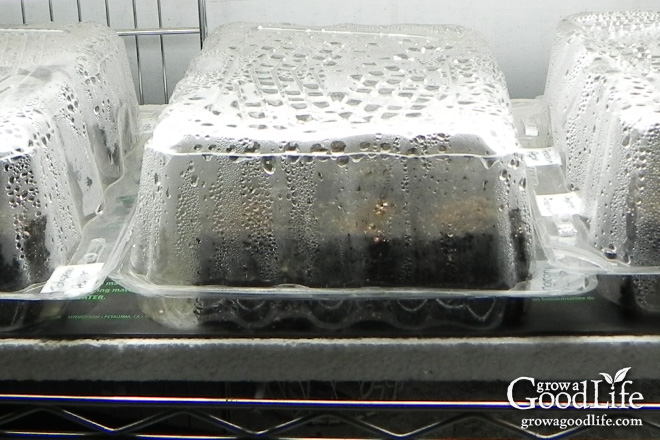
Check the seed packet instructions to see how deep to sow your seeds. Poke holes into the soil in the center of your containers and sprinkle 2 or 3 seeds. Cover the seeds with soil, press down gently so the seed makes contact with the soil, and mist the soil surface with water. Label the containers with the seed variety and sowing date. Cover the containers with a humidity dome to keep in moisture.
Alternatively, you could pre-sprout your seeds and actually SEE the seeds sprout before planting into your containers. See the Benefits of Pre-sprouting Seeds.
Most seeds need temperatures of 65°F to 75°F (18°C to 24°C) to germinate. Place the trays in a warm location near a heat source, on top of a refrigerator, or use a seedling heat mat.
Check your seed trays daily for germination, mist with water if the soil surface has dried out, and wait for seeds to emerge from the soil. Once the seeds sprout, remove the humidity dome and place the trays under lights. Keep the lights within 2-inches of the tops of seedlings.
Step 5: Keep soil moist but not soggy:
Use a mister or turkey baster to water the young plants when needed. The goal is to keep the soil moist but not soggy. Too much water will encourage mold. As the seedlings grow and the roots begin to grow into the soil, water the plants from underneath by adding water to the leak proof tray or setting the containers in a tray of water so the roots can draw in moisture. Don’t allow the soil to become waterlogged or the seedlings will drown. Once the seedlings become established, let the soil dry slightly between watering.
Step 6: Begin fertilizing the seedlings once true leaves sprout:
Most seed starting mixes do not contain any nutrients. When seeds first sprout, they are able to acquire nutrients from the seed’s endosperm. Once the second set of leaves form, also referred to the plants “true leaves” it is time to begin fertilizing your seedlings. Begin a fertilizing regimen using half-strength, organic liquid fertilizer such as liquid fish fertilizer or worm casting tea. Each brand is different; follow the instructions on the label for best results.
Step 7: Thin the plants so the strongest survive:
Ideally, each container should have only one seedling in order for it to grow strong and healthy. Thinning involves selecting the strongest plant and removing the extras. The easiest way to do this and with the least amount of root disturbance is to snip the unwanted seedlings at the soil line. You can also try to transplant the extras into separate pots, but you risk damaging the roots and stunting growth. This is another reason why I like to pre-sprout seeds. Then I only plant the seeds that sprout one per soil block or container…No thinning required.
Step 8: Pot up the seedlings to larger containers:
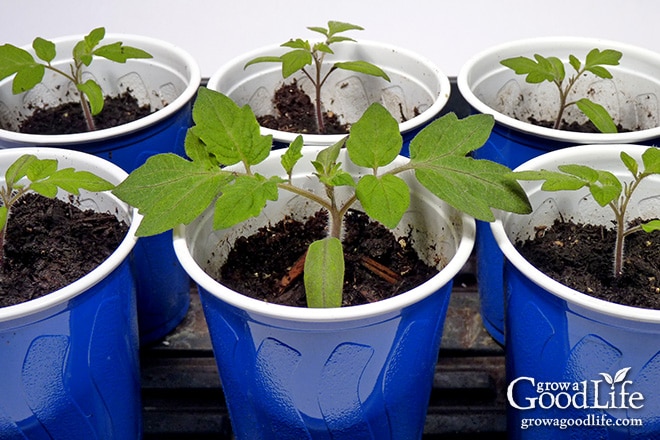
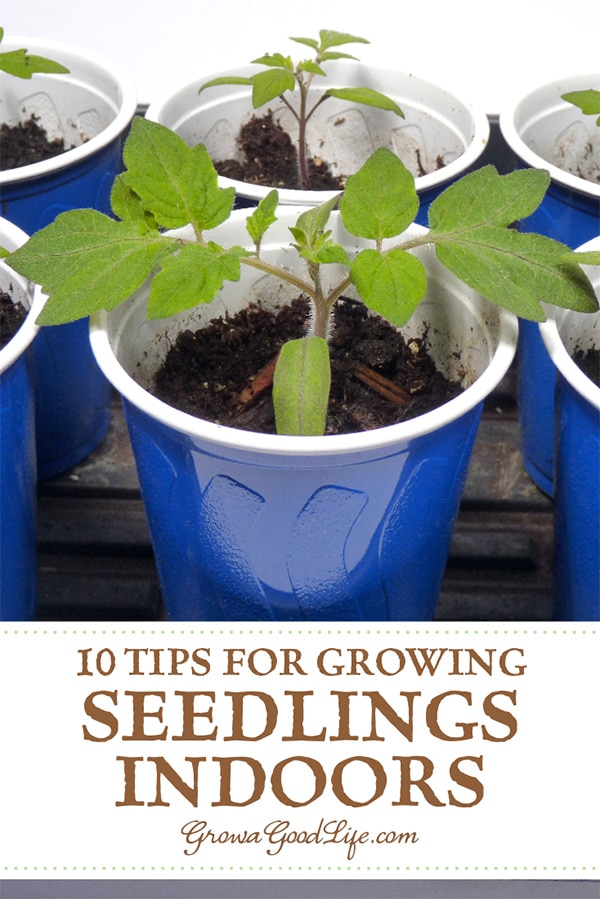
Some seedlings will outgrow their pots before it is time to transplant them outdoors. These plants will require larger containers, so they can continue to grow at a healthy pace. Once the roots fill the container, or you find that you need to water the plants constantly, it is time to repot the transplants into larger containers. I like to use 16 oz. plastic drinking cups with some holes poked in the bottom. These are washed and re-used for many years.
Water the seedlings well before transplanting. This will help contain the soil around the roots and reduce transplant shock. Use a good quality organic potting mix and pre-moisten before filling your containers just as you did with the seed starting mix above.
Fill your containers part way with the moistened potting mix leaving enough room for the seedling’s root ball to sit about 1/2-inch below the rim of the new container. (Exception: If you are transplanting tomatoes, try to bury as much of the stem as you can. Unlike other plants, tomatoes will grow extra roots along the portion of the stem below the soil.).
Remove the seedling gently from its original container by squeezing the sides of the container and inverting it while holding your hand over the soil so the base of the plant is between the index and middle fingers. Tap the bottom of the container several times and the root ball should slide out of the container. Try not to mangle the roots or pull from the stem.
Gently center the seedling the new container, fill in the sides with potting mix, and tamp it in lightly until you have filled the gaps. Be sure to leave about 1/2-inch below the rim of the new container to accommodate watering. Water the repotted transplant well, and then allow the soil surface to dry out before watering again. Label your container and return the plant to the lighting shelf.
Step 9: Adapt your seedlings to outdoors:
Several weeks before transplanting your seedlings to the garden, begin to harden off your seedlings to outdoor conditions. Hardening off is the process of adapting plants to the outside, so they can get used to sunlight, wind, rain, cool nights, and less frequent watering and fertilizing. The hardening off period allows your seedling to transition from the comfortable growing conditions under lights to the normal conditions they will experience in the garden. Learn more about How to Harden Off Your Seedlings Before Planting.
Step 10: Transplant your seedlings to the garden:
After your seedlings are hardened off, they are ready to be transplanted into their permanent location in the garden. Prepare your garden beds ahead of time. If the weather has been dry, water the bed thoroughly the day before you plant. Choose a cloudy day with no wind and transplant in the late afternoon or evening to give your plants time to adjust without the additional challenge of the sun. Water the seedlings well after planting.
Get Your Seedlings Off to a Great Start:
Pamper your newly transplanted seedlings in the beginning until they adjust to their new environment. Shade them from the hot sun and wind for the first few days and keep them well watered until the plants begin to sprout new leaves.
Mulch the seedlings to help hold in soil moisture. Keep mulch a few inches away from the stems so it doesn’t smother the plants. Learn more about How to Use Mulch in Your Vegetable Garden.
You May Also Like:
- How to Build a Square Foot Garden
- 8 Easiest Vegetables to Grow
- 7 Time Saving Tips for Vegetable Gardeners
- Troubleshooting Seed Starting Problems
Good planning is key to a successful vegetable garden
Whether you are new to growing your own food or have been growing a vegetable garden for years, you will benefit from some planning each year. You will find everything you need to organize and plan your vegetable garden in my PDF eBook, Grow a Good Life Guide to Planning Your Vegetable Garden.


Are lettuces best to start indoors or outside? TY
Bb, Both indoor and outdoor methods can work well for growing lettuce! Starting lettuce indoors allows you to transplant seedlings into the garden, giving you an earlier harvest. However, lettuce seeds can also be directly sown outdoors, and they will germinate and grow well in the garden. It ultimately depends on your preference and the timing of your planting. Check out our Lettuce Growing Guide for tips.
When is it time to remove them from the warm mat? Thanks for the wonderful post!!
Kristin, Once your seeds have germinated, you can remove the humidity dome, transfer the seed tray off the heat mat, and place it under lights. Best of luck with your seedlings, and feel free to reach out if you have any more questions!
How long should grow lights be used when growing seedlings indoors
Seedlings need at least 12-16 hours of light each day. I set my timer on my lights for 16 hours on, then 8 hours off. Keep the lights about 2-inches above the seedlings. Adjust as the plants grow.
Hey, My husband and I keep fighting over how much water to give our seedlings now that they have sprouted. I think every three days, and he wants to water them every day because the cow pots are wicking a lot of moisture, he thinks, from the plants. However, mold is starting to form around the edges of the cow pots and in the soil. Have we damaged our seedlings beyond repair?
Alison, No, you have not damaged the seedlings. A little mold won’t hurt them. Just use a fork to remove the mold. Leave space between the pots and use a small fan to improve air circulation.
The cowpots do wick moisture, so you may need to water more frequently. Keep the soil surface damp until the seeds sprout, and then water when the pots are dry. Cowpots turn light brown when they are dry, and dark brown when watered. Bottom water by setting the pots in a tray of warm water and let them wick moisture until the pot and top of the soil is damp. Let them dry out a bit in between watering.
I am a first time herb grower. I purchased an indoor system with a light at the top. I bought seeds. I put the whole package into one container. Should I have only put a few seeds in each one? Thank you!
Ann, If all the seeds sprout, you may need to thin out to give the plants room to grow. You can do this over time as you need the herbs for meals.
I am growing seedlings indoors and they are ready to transfer to a bigger pot and all I have is 5 gallon ones. Is that too big of a jump up in size or will they still continue to grow? Novice gardener. Making this a science project for my kids and saw this post after I moved them to 5 gallon pots. Thanks!
Katie, 5-gallon containers are great! It will give your seedlings a healthy environment to stretch their roots and grow into vigorous plants.
How long do you let seedlings sit in water when watering from the bottom?
Leigh Ann, A few hours should be sufficient for the seedlings to soak up water.