Water Bath Canning for Beginners
This post may contain affiliate links, which means that I may receive a commission if you make a purchase using these links. As an Amazon Associate I earn from qualifying purchases.
Learn how to can high-acid foods safely using a boiling water bath canner. Preserve fruits, jams, jellies, pickles, relishes, and tomato products (with added acid) with confidence.
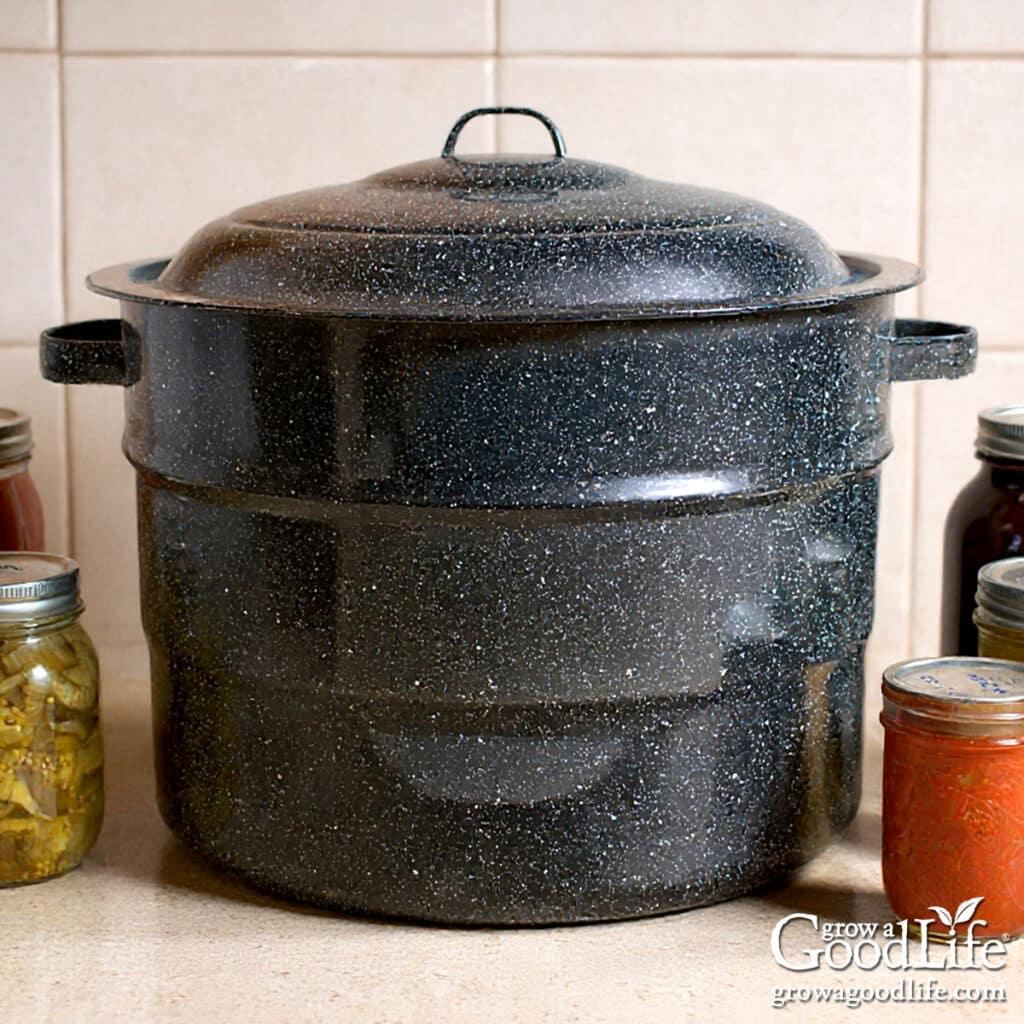
Water bath canning is one of the simplest and most approachable methods of home food preservation. It uses the heat of boiling water to destroy molds, yeasts, and some bacteria, creating a strong vacuum seal that keeps food safe and shelf-stable for up to 18 months.
This method is perfect for beginners because it doesn’t require any special equipment beyond a large pot, a canning rack, and canning jars with lids. Once you understand how it works, you’ll be amazed at how easy it is to fill your pantry shelves with colorful jars of homemade preserves.
Whether you’re putting up strawberry jam, crunchy dill pickles, or tomato jalapeno salsa, this step-by-step guide will walk you through the process so you can learn how to use a water bath canner safely and confidently at home.
Understanding Boiling Water Bath Canning
Water bath canning (also called boiling water canning) is a method used to safely preserve high-acid foods such as fruits, jams, jellies, pickles, relishes, and tomato products with added acid.
During processing, filled jars are fully submerged in boiling water. The sustained boiling temperature (212°F / 100°C at sea level) destroys molds, yeasts, and some bacteria, and the heat forces air out of the jars. As the jars cool, the contents contract, forming a tight vacuum seal that keeps food safe and shelf-stable.
Water bath canners come in a few different materials and designs, and the right choice often depends on your stovetop. Traditional porcelain-covered steel canners, like granite wear canners, are lightweight and affordable, but many have a ridged bottom that doesn’t sit flat on smooth glass-top or induction stoves. These canners work best on gas burners or traditional coil stoves, where the raised bottom allows heat to circulate evenly.
If you have a glass-top or induction stove, choose a canner with a flat bottom made from aluminum or stainless steel. Flat-bottomed canners ensure proper contact with the burner and help maintain consistent boiling. Always check your stove manufacturer’s guidelines for compatible cookware and make sure the bottom of the canner is flat and stable during use.
If you don’t have a dedicated water bath canner, you can use a large, deep stockpot as long as it’s tall enough to cover jars with at least 2 inches of water. Place a rack or trivet at the bottom to keep jars off direct heat.
For more guidance, see my Water Bath Canner Buying Guide for a closer look at popular canners to help you choose the right one for your kitchen.
Tip: Only high-acid foods are safe to preserve using a boiling water bath canner. Low-acid foods, such as vegetables, meats, and soups, must be processed in a pressure canner to reach the higher temperatures needed to destroy Clostridium botulinum spores. Learn more in my Pressure Canning for Beginners guide.
Know Your Elevation
Your altitude affects the temperature at which water boils, and that means it also affects safe canning times. At higher elevations, water boils at a lower temperature, so you’ll need to increase the processing time to ensure your food reaches the necessary heat level for safety.
If you aren’t sure of your elevation, you can look it up online by searching “your town name + elevation” or by zip code at WhatisMyElevation.com.
Note your elevation once and keep it handy. You’ll use it for all future canning recipes, both water bath and pressure canning.
Here’s a Quick Altitude Adjustment Chart:
- 0–1,000 feet: Use processing time in the recipe
- 1,001–3,000 feet: Add 5 minutes
- 3,001–6,000 feet: Add 10 minutes
- Above 6,001 feet: Add 15 minutes
Steps for Water Bath Canning
Now that you understand the basics of water bath canning and know your elevation, it’s time to start canning!
The following step-by-step instructions will guide you through the entire process from choosing a safe recipe to preparing your equipment, and processing the jars. Follow each step carefully, and you’ll be rewarded with safely preserved food you can enjoy all year.
Step 1: Review the Recipe
Always choose a tested recipe from a reliable source that’s specifically designed for water bath canning. Tested recipes have been carefully developed to ensure the proper balance of acidity, food density, and processing time needed for safe preservation.
If you’re not sure where to find trustworthy recipes, see my Safe Canning Resources guide for recommended references and canning books.
Read through the entire recipe from start to finish so you understand each step and can plan your canning session efficiently.
Once you’ve reviewed your recipe, gather and measure all your ingredients before you start.
Step 2: Gather the Canning Equipment
Before you begin, make sure you have all the tools you’ll need ready to go. Having everything organized before you start will help your canning session go smoothly. You’ll need the following specialized canning tools and basic kitchen equipment.
Canning Equipment:
- Water Bath Canner with Lid: A large, deep pot designed to fully submerge jars in boiling water. It should be tall enough to cover the tops of the jars with at least 2 inches of water during processing.
- Canning Rack: Keeps jars raised slightly off the bottom of the pot to allow water to circulate evenly and prevent jars from breaking.
- Canning Jars: Use half-pint, pint, or quart-size jars made specifically for home canning. Avoid reusing commercial food jars, which may not withstand the heat of processing.
- Canning Lids and Bands: Always use new lids to ensure a proper seal. Bands (rings) can be reused as long as they’re free from rust or warping.
- Jar Lifter: A must-have tool for safely lifting hot jars in and out of boiling water.
- Canning Funnel: Helps you fill jars neatly and accurately, minimizing spills and keeping jar rims clean.
- Bubble Popper/Headspace Tool: One side measures the headspace (the space between the food and lid), while the other is used to slide along the inside of the jar to release trapped air bubbles.
- Food Thermometer: Useful for checking the temperature of the simmering water and hot-packed foods.
- Kitchen Timer: Ensures accurate processing times once the water reaches a full, rolling boil.
Basic Kitchen Equipment:
- Food Prep Tools: Saucepots, knives, cutting boards, measuring cups and spoons, stirring spoons, tongs, prep bowls, and plenty of clean kitchen towels are all part of your canning setup.
- Additional Tools: A scale for weighing the ingredients, a food processor, a food strainer, or an immersion blender for sauces, and food-safe gloves for handling hot peppers or acidic foods.
Step 3: Prepare the Canning Equipment
Thoroughly wash your canner, rack, jars, lids, and canning tools in hot, soapy water. Rinse well. The overall yield listed in your recipe is an estimate. It’s common to end up with slightly more or fewer jars than expected, so it’s best to include a few extra jars just in case.
Inspect the jars carefully. Eliminate any with nicks, cracks, chips, or rough edges, since these flaws can lead to breakage during processing or prevent lids from sealing.
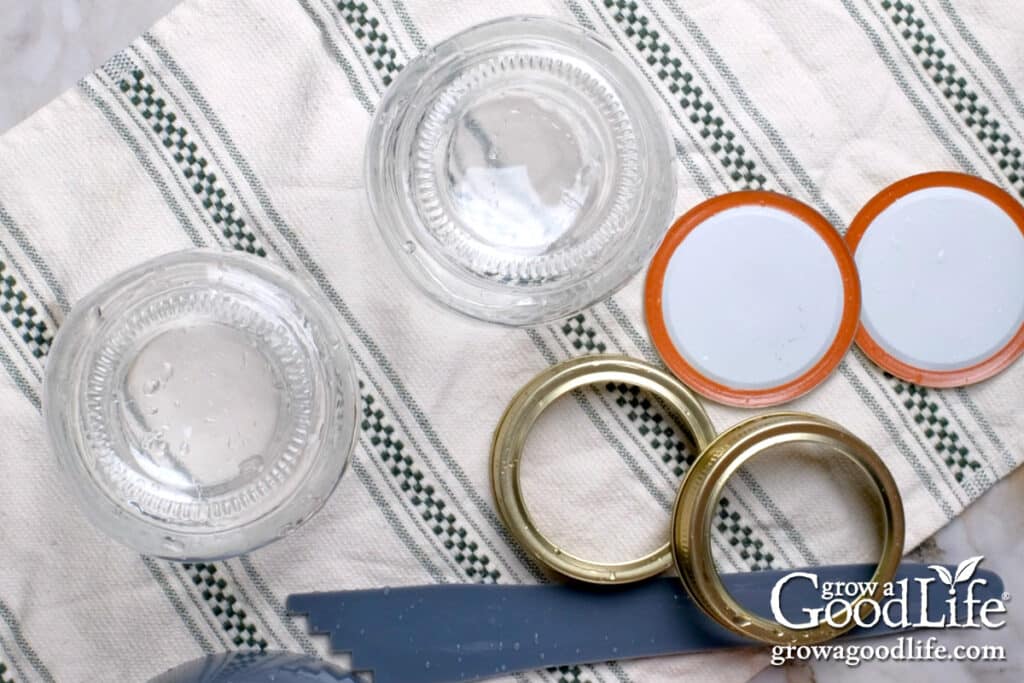
Warm the Jars:
The jars must be warm when filled to prevent breakage caused by thermal shock.
Thermal shock happens when glass jars experience a sudden change in temperature. For example, a cool jar being filled with boiling food, then lowered into boiling water. The rapid difference in heat can cause the glass to crack or shatter.
Keeping jars hot in simmering water prevents this risk by ensuring they are at a similar temperature to the food and the canner water.
How to Preheat Jars:
- Place the jar rack inside the water bath canner, then set the canner on a large burner of your stove.
- Stand the clean jars upright on the rack and fill the pot with enough water to cover the jars completely.
- Bring the water to a simmer (140°F for raw-pack recipes or 180°F for hot-pack recipes).
- Maintain the temperature and keep jars in simmering water for at least 10 minutes before filling.
You can prepare your food while the jars are heating. If your recipe takes longer (like simmering a tomato sauce), wait until the food is nearly ready before warming your jars, so everything is ready at the same time.
Step 4: Prepare the Food
Safe canning is about more than just following ingredients. It’s also about preparing them exactly as the recipe describes. Tested canning recipes are designed with very specific instructions for how ingredients are measured, cut, and cooked. These details are essential to ensure that heat penetrates the jar evenly and destroys harmful microorganisms.
- Follow ingredient sizes exactly: If a recipe tells you to cut tomatoes into halves or quarters, do not dice them smaller. Smaller pieces create a denser pack in the jar, which can slow heat penetration and make the recipe unsafe. The same rule applies to pickles, fruit, and other produce. Stick to the sizes and shapes called for.
- Maintain proportions: Don’t increase or decrease the amount of vegetables, fruit, or liquid unless the recipe specifically allows substitutions.
- Keep acidity levels correct: Do not reduce vinegar, lemon juice, or citric acid in pickles, salsas, or tomato products. Acidity is part of what makes water bath canning safe.
- Cook as directed: Whether your recipe is raw-pack (uncooked food placed directly into jars) or hot-pack (heated food placed into jars), follow the instructions carefully.
Once your food is ready, keep it hot as you fill your jars.
Step 5: Organize Your Work Area
Set yourself up for success by creating a smooth workspace:
- Lay a clean, dry kitchen towel on the counter near the canner. This is where you’ll place jars while filling.
- Arrange lids, rings, funnel, ladle, jar lifter, and bubble popper within easy reach.
- Place a small bowl of white vinegar and paper towels nearby to wipe rims.
Step 6: Fill the Jars
To reduce the risk of jar breakage and maintain food safety, always work with one jar at a time while keeping the remaining jars warm in the canner.
Remove a jar from the canner
Use the jar lifter to securely grip the jar just below the threads at the neck. Lift the jar up and tip it over the canner to pour the water back inside, then place the jar on the towel-lined counter.
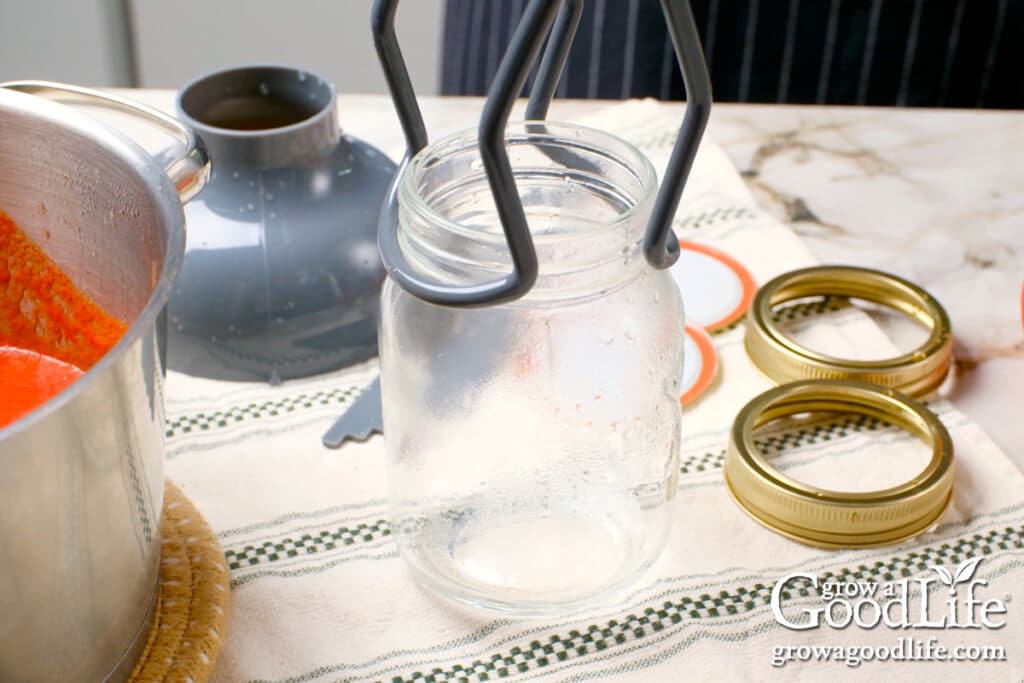
Fill the jar
Place the canning funnel on the jar and carefully ladle in your prepared food. Fill according to the recipe’s instructions, leaving the correct amount of headspace (the empty space between the top of the food and the lid). Use the headspace tool to measure accurately.
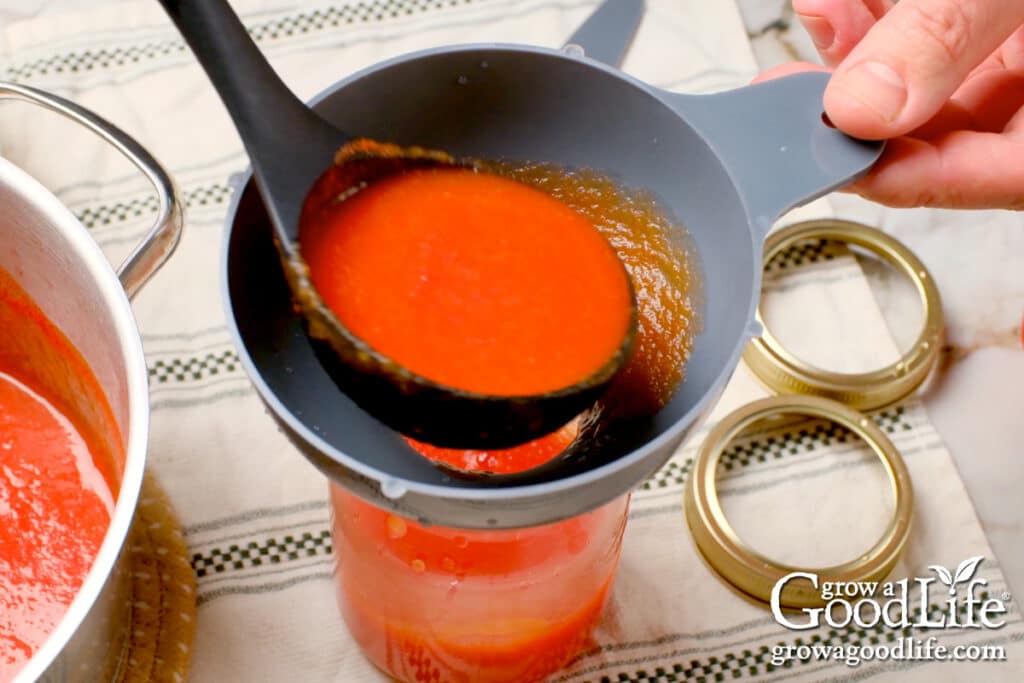
Release air bubbles
Gently slide the bubble popper down along the inside of the jar, nudging food slightly to release trapped air bubbles. Re-check and adjust the headspace if needed by adding more food or liquid.
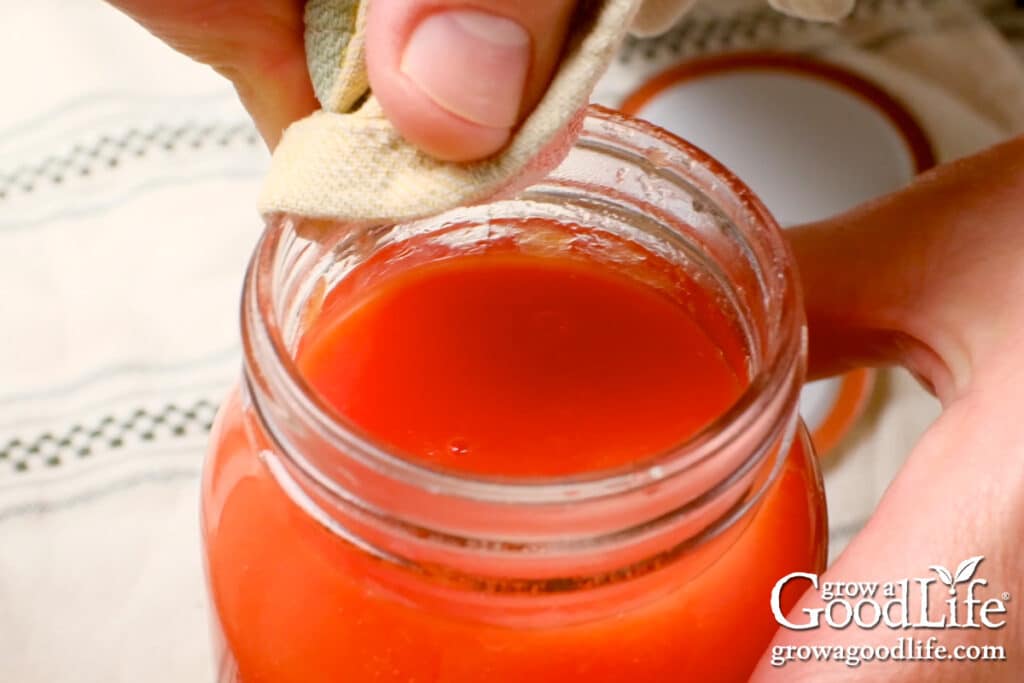
Wipe the rim
Dip a paper towel in vinegar and thoroughly wipe the rim and threads of the jar. This removes any residue or food that could interfere with a good seal.
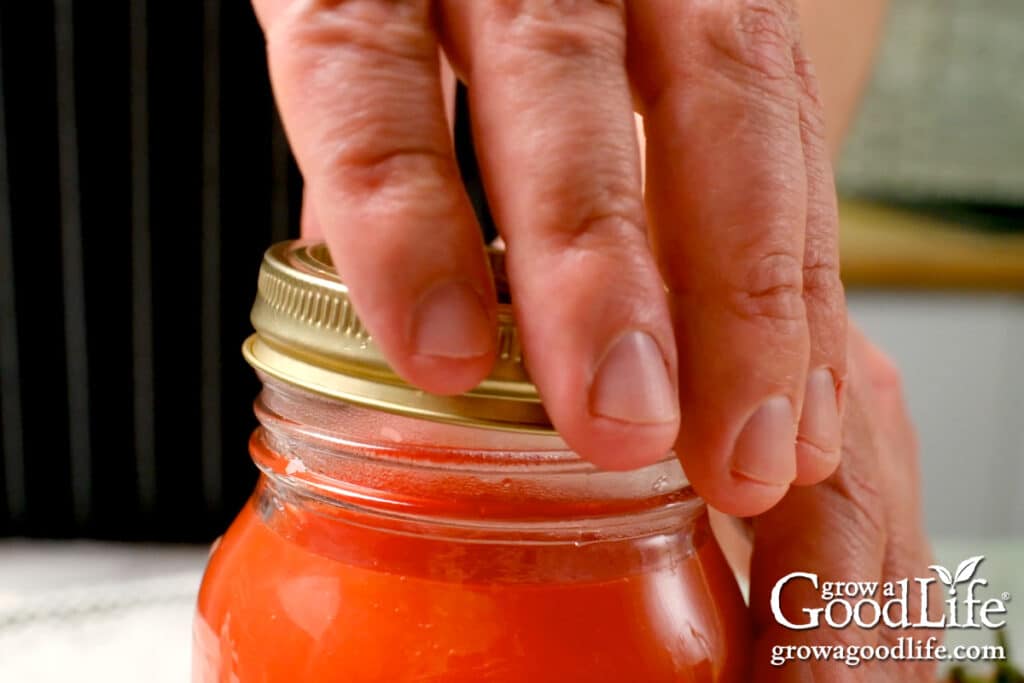
Apply the lid and band
Center a new lid on the jar, place a screw band ring over it, and screw it on fingertip tight. This means turning it with just your fingertips until you feel resistance, then giving it about a quarter turn more. Use a towel or potholder to protect your hands from the hot jar.
Do not overtighten: The air must be able to escape during processing for the seal to form properly. Overtightening can cause lids to buckle.
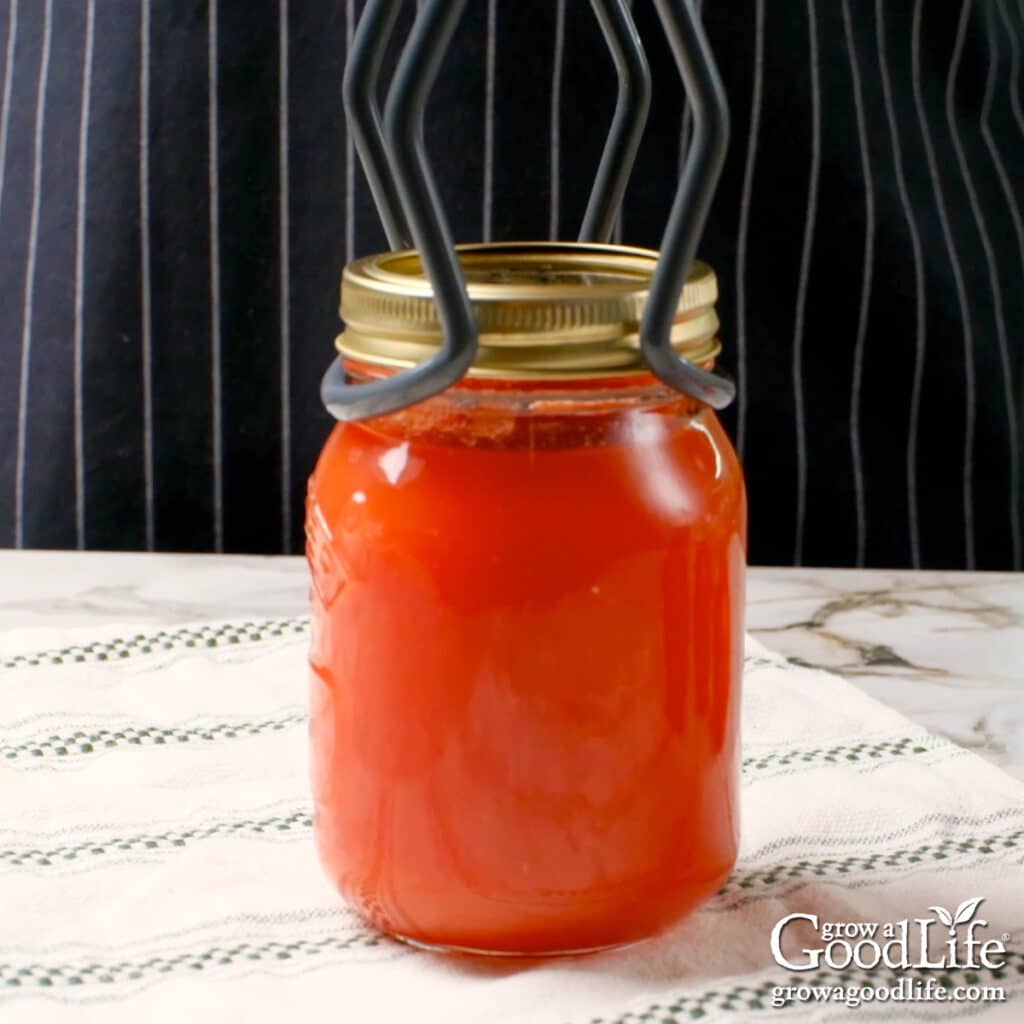
Return the jar to the canner
Using the jar lifter, carefully lower the jar back into the canner, keeping it upright at all times. Tilting a jar can cause food to spill into the sealing area and prevent the lid from sealing.
Repeat with the remaining jars
Continue filling jars one at a time until you run out of food or jars.
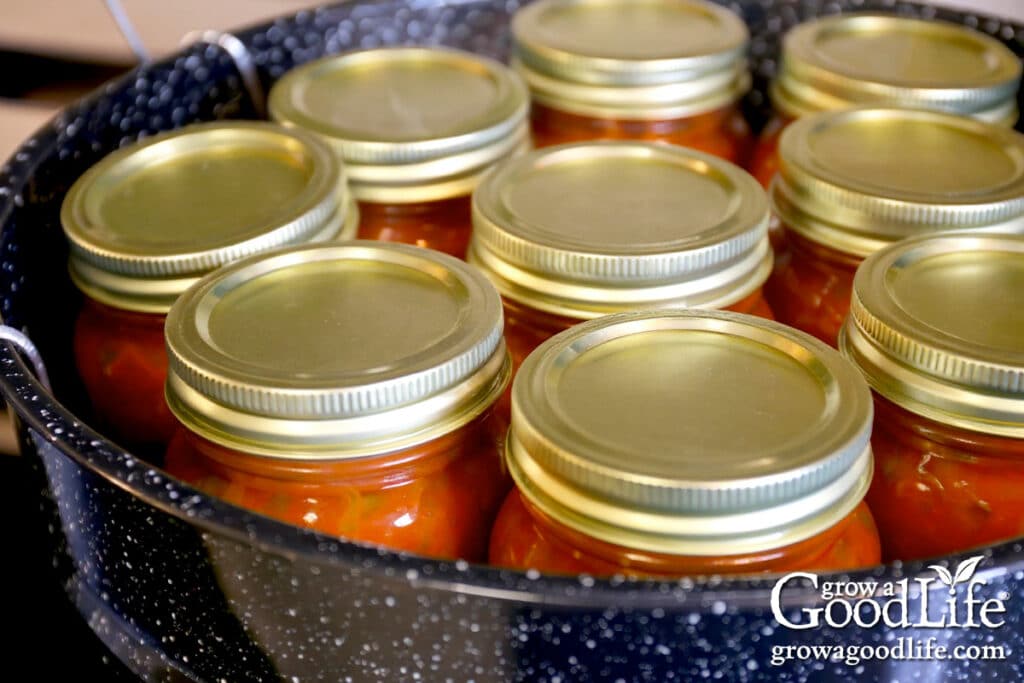
Step 7: Process the Jars in a Water Bath Canner
Check the water level
Once all filled jars are placed back into the canner, make sure the water covers the tops of the jars by at least 2 inches. If needed, add more hot water, pouring it gently around the jars (never directly on top).
Bring to a boil
Cover the canner with its lid and turn the heat to high. Once the water reaches a vigorous, rolling boil, set your kitchen timer for the processing time stated in your recipe (adjust for altitude as needed).
Maintain the boil
Keep the jars fully covered and the water boiling continuously for the entire processing time given in your recipe. Leave the lid on the canner while processing to help maintain heat and prevent too much water from evaporating.
If boiling stops: Sometimes the water may stop boiling if the heat is too low or if cool water was added. If this happens:
- Bring the water back to a rolling boil.
- Restart your timer from the beginning. Do not reduce the total time to make up for the lapse. The jars must be processed for the full time at boiling temperature to be safe.
Step 8: Cool the Jars
When the processing time is complete, turn off the heat, remove the canner lid, and let the canner settle for about 5 minutes. If the jars are still boiling vigorously, let them sit in the canner for another 5 minutes or until the boiling slows.
Choose a safe counter space for your jars to cool, away from drafts and out of the way of food prep, for at least 12 hours. Spread a dry kitchen towel on the counter. (Again, the towel is needed to prevent thermal shock that can cause jar breakage.)
Then, use the jar lifter to carefully remove the jars from the canner and place them on the towel, spacing them 1 to 2 inches apart. Keep the jars upright. Tilting could cause food to spill on the rim of the jar and prevent the lid from sealing.
Don’t worry about moisture on the covers, it will evaporate as the jars cool. Also, don’t touch the lids or rings at this point; they still need time to seal properly.
Cooling is part of the canning process. Let the jars sit undisturbed for at least 12 hours and up to 24 hours to cool completely at room temperature.
Step 9: Store the Jars
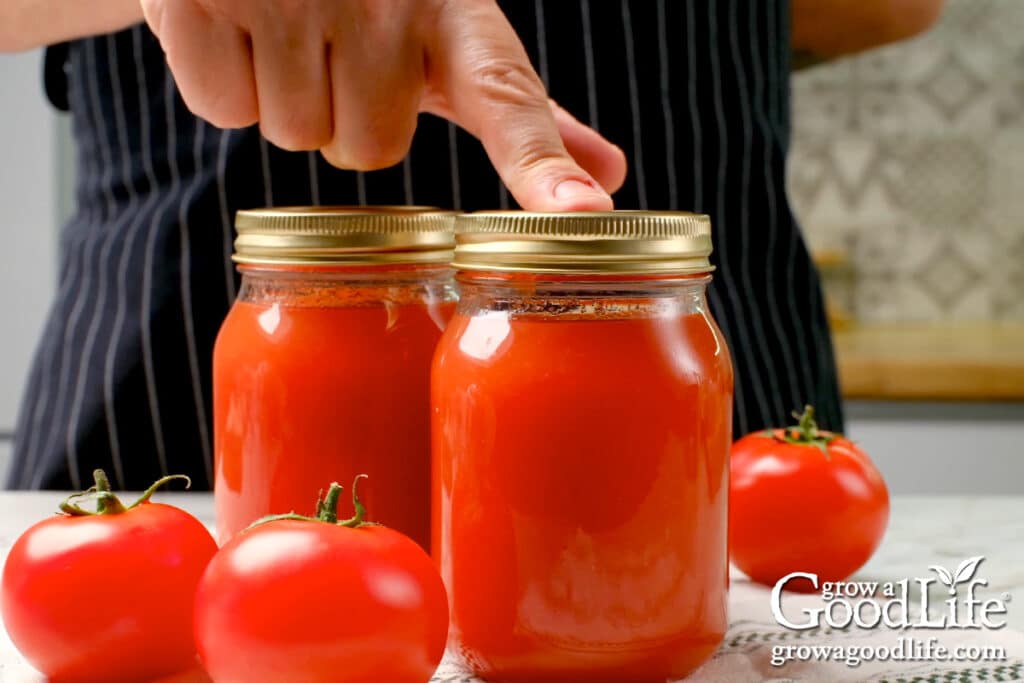
After the cooling period, check to be sure the jar lids have sealed by pushing on the center of the flat metal lid. The cover should not pop up. If the top flexes up and down when pressed, it did not seal. Refrigerate and use unsealed jars within a few days.
Once you have confirmed the jars are properly sealed:
- Remove the ring bands and wash the jars in warm, soapy water to remove any residue.
- Label the jars with the date and contents.
- Store jars in a dark, cool location between 50˚ and 70˚F.
- For the best quality, enjoy within 18 months.
Enjoy the Rewards of Home Canning
Water bath canning is one of the simplest ways to preserve the flavors of the season. With a little preparation and practice, you’ll soon have shelves of homemade jams, pickles, sauces, and fruits ready to enjoy all year long. Bookmark this guide and return to it whenever you prepare one of my canning recipes.
Try These Water Bath Canning Recipes Next:
References & Further Reading:
- Using Boiling Water Canners – National Center for Home Food Preservation, University of Georgia Cooperative Extension
- Water Bath Canning – Ball Mason Jars & Home Canning
- Step by Step – Bernardin
Grab your Free copy
