Troubleshooting Seed Starting Problems (Common Issues and Easy Fixes)
This post may contain affiliate links, which means that I may receive a commission if you make a purchase using these links. As an Amazon Associate I earn from qualifying purchases.
Struggling with seeds that won’t sprout or seedlings that look weak? Learn the most common seed starting problems and easy fixes to help your seedlings thrive.
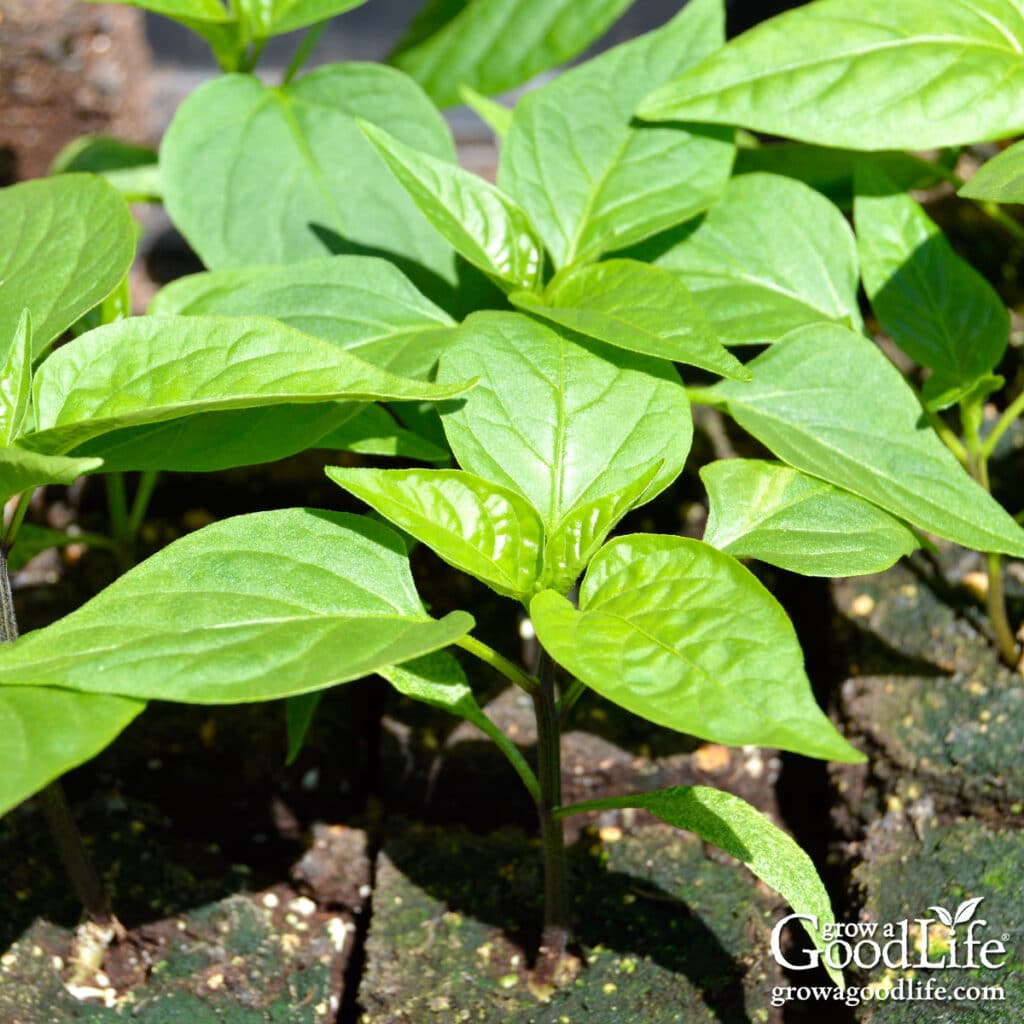
Starting seeds indoors is one of the true joys of late winter. A tray of small green sprouts under the lights can brighten even the coldest February day. But sometimes things don’t go quite as planned. Seeds refuse to sprout, seedlings suddenly topple over, or they grow tall and spindly instead of strong and sturdy.
After many years of growing my own transplants, I can tell you that every gardener runs into problems sooner or later. Even with experience, there are seasons when a tray struggles or a batch of seedlings behaves differently than expected.
If you’re facing issues right now, don’t worry. Most seed-starting problems are common, normal, and very fixable once you understand what’s causing them. A few small adjustments are often all it takes to get your seedlings back on track.
Before diving into troubleshooting, you may find these companion guides helpful:
- Using Grow Lights for Seedlings: A sunny windowsill won’t provide sufficient light for healthy seedlings. Full spectrum fluorescent lights or LED grow lights work very well for young seedlings.
- How to Start Seeds Indoors: A step by step guide to sowing seeds that covers what you need and how to get growing.
Before tackling individual troubleshooting steps, it’s useful to understand the underlying factors that affect germination and early growth. Once you recognize these, everything else starts to make sense.
Why Seeds Fail and Why Seedlings Die
Most of the time, the issue isn’t your gardening skills at all. It’s the environment that the tiny seeds and young plants are trying to grow in.
Seeds and seedlings are incredibly sensitive. A little too much water, not quite enough warmth, low light, or old seeds can all throw them off. Some issues are completely out of your control (certain seeds simply have poor vigor), while others are easy to prevent once you know what to look for.
Here are the most common factors that cause seed starting troubles:
- Moisture levels that are too high or too low: Seeds need even, steady moisture to sprout. If there is not enough moisture, they stay dormant. Too wet and they rot.
- Incorrect temperature: Cool-season crops sprout in cooler soil; warm-season crops need heat. If the soil temperature isn’t right, sprouts stall or fail entirely.
- Light levels that are too weak: Even seedlings that sprout well can struggle without strong, consistent light.
- Poor air circulation: Still, stale air creates the perfect conditions for damping off and mold.
- Seed age or improper storage: Some seeds lose viability quickly, especially onions, parsley, and chives.
- Planting depth issues: Seeds buried too deeply run out of energy before they reach the surface.
Once you understand these main reasons, troubleshooting becomes much easier. Let’s take a closer look at the most common seed-starting problems and how to fix them before they derail your growing season.
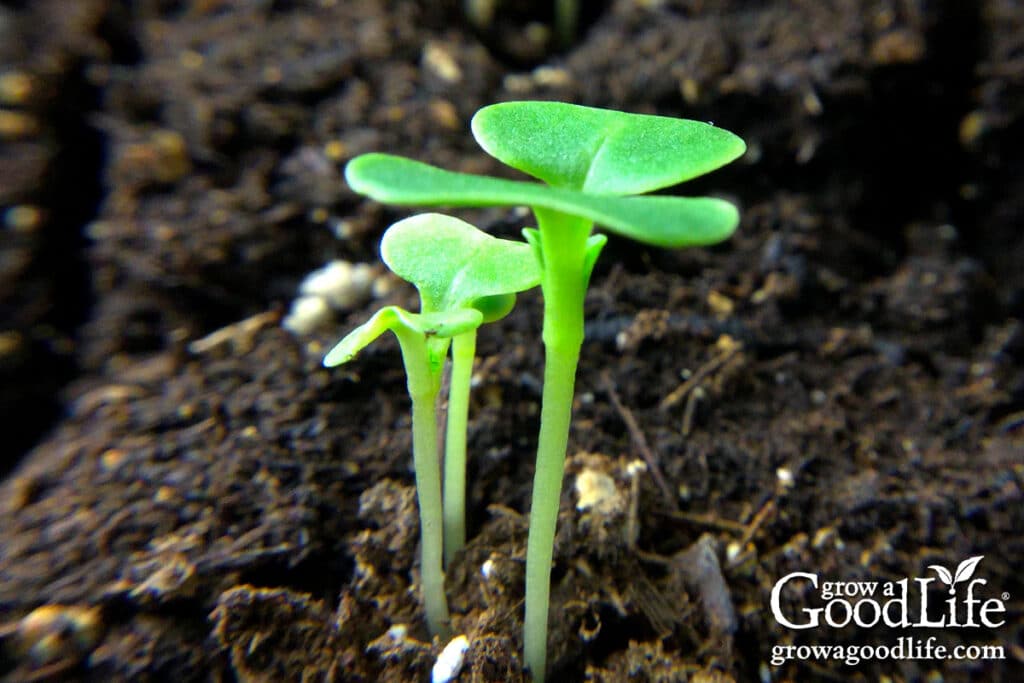
Common Seed Germination Problems
Sometimes seeds won’t sprout at all, or they sprout poorly. Here’s why that happens and what you can do.
Several issues can prevent a seed from sprouting. The first step is to use good-quality seeds from a trusted supplier. If you are confident in the quality of your seeds and still run into problems, review the information below to see if it helps identify your seed-starting problems.
Seeds Haven’t Sprouted Yet
Symptoms: Seeds remain buried in the soil with no visible growth.
Cause: Most often, they simply need more time.
Even when a seed packet says “7 to 10 days,” that number is an average and assumes perfect temperature, moisture, and light. Cooler rooms, uneven moisture, and older seeds can easily add a few extra days.
Solutions:
- Give the seeds a few extra days.
- Keep the soil lightly moist and warm (65 to 75°F for many crops).
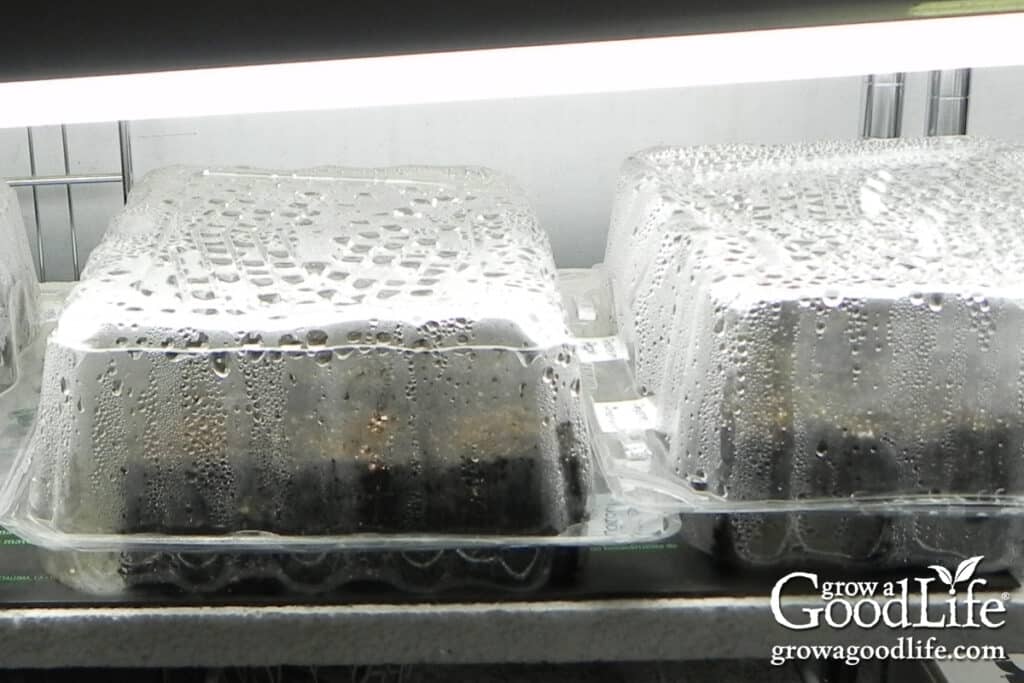
- Use a humidity dome until seeds sprout, then remove it.
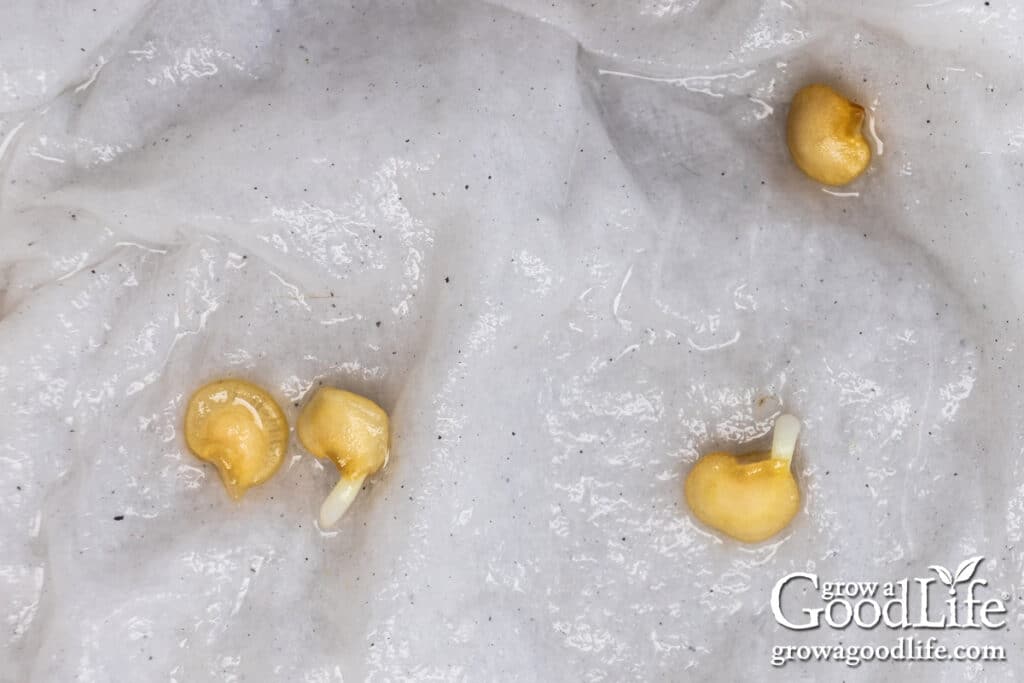
If you want to speed things up, try pre-sprouting seeds on a damp paper towel: How to Pre-Sprout Seeds for Faster Germination.
Seeds Are Too Old or Stored Incorrectly
Symptoms: Patchy sprouting or no germination at all.
Cause: Older seeds lose vigor.
Even the best gardeners end up with packets that linger a little too long in the seed box. All seeds lose vigor as they age, but some, like onions, parsley, parsnips, and chives, decline especially fast. Add in heat, moisture, or light, and viability drops even more quickly.
Sometimes older seeds will still sprout, just at a lower rate. Other times they won’t germinate at all, or they produce weak seedlings that never really take off.
Solutions:
- Purchase fresh seeds each season. Replace very old or low-vigor seeds with fresh packets to ensure strong, healthy seedlings.
- Store seeds in a cool, dark, dry place to help them last longer. Learn more: How to Store Seeds for Long-Term Viability.
- Test older seeds first using a simple germination test so you don’t waste time or space on seeds that won’t sprout. Try this: Simple Seed Germination Test.
- Pre-sprout older seeds using the paper towel method so you only plant what will actually grow. Learn How to Pre-sprout Seeds.
With a little care, your seed stash can stay healthy for years, and you’ll avoid the frustration of empty trays and poor germination.
Too Much or Too Little Moisture
Symptoms: Seeds rot in the soil or fail to swell and sprout.
Causes:
- The soil is too dry: If the seed-starting medium is too dry, moisture will not penetrate the seed coat, and the seed won’t sprout.
- The soil is too wet: Overly wet, saturated soil will cause the seed to rot or fungus to develop.
Solutions:
- Pre-moisten your seed starting mix so it’s damp but not dripping.
- Use a spray bottle for gentle top-watering until seeds emerge.
- Keep a humidity dome on only until germination begins.
Seeds Planted Too Deep
Symptoms: No sprouting, or seedlings emerge very weak.
Cause: Every seed only contains so much stored energy. If planted too deeply, seedlings exhaust their reserves before reaching light.
Solutions:
- Follow seed packet depth guidelines. Most seeds should be planted no deeper than two times their width.
- Try not to compress the soil over the seeds as you sow them. The soil should be firm enough to hold in moisture, but not so compacted that the seedling can’t break through.
- Seeds that need light to germinate should be sown on the soil surface, then misted with water to settle them in place.
Soil Temperature Is Too Hot or Too Cold
Symptoms: No germination, very slow sprouting, or seed rot.
Cause: Seeds need the right soil temperature to sprout. If the seeds are sown in soil that is too cold, they may remain dormant or even rot. If the seeds are in soil that is too hot, the heat will kill the seed.
Solutions:
- Check your packet for the best germination temperature. Generally, cool-season crops germinate around 60 to 70°F, while warm-season crops prefer 75 to 85°F.
- Control the temperature of the area where the seed trays are located.
- For more warmth, place the seed starting trays in a warm room, on top of a refrigerator, or use a seedling heat mat.
- For cooler temperatures, consider locating the seed trays in your basement, where it tends to stay cooler.

Common Seedling Problems (After Seeds Sprout)
Once seedlings emerge, new challenges can appear. Seedlings need light, moisture, warmth, good air circulation, and nutrients to flourish. Maintaining that balance can be tricky sometimes.
Most often, seedlings signal deficiencies, giving you time to correct some issues. You just need to know what to look for. These are the most common issues home gardeners face.
Damping-Off: Seedlings Sprout Then Collapse
Symptoms: Seedlings fall over at the soil line, wilt suddenly, or die within hours.
Cause: A fungal disease favored by too much moisture, reused soil, poor airflow, and low light.
Damping-off is a soil-borne fungal disease that affects seeds and new seedlings. It is caused by fungus that thrives in environments with excessive moisture and poor air circulation.
This heartbreaking issue can happen in two ways: When a sprouted seed breaks the soil surface only to wither and die, or when a healthy-looking seedling suddenly falls over and dies.
Solutions:
- Use fresh, sterile seed starting mix.
- Clean containers thoroughly before use.
- Increase airflow (a small fan on low works well).
- Water from the bottom to avoid soggy surface soil.
- Sprinkle a light dusting of cinnamon on the soil. It naturally inhibits fungus.
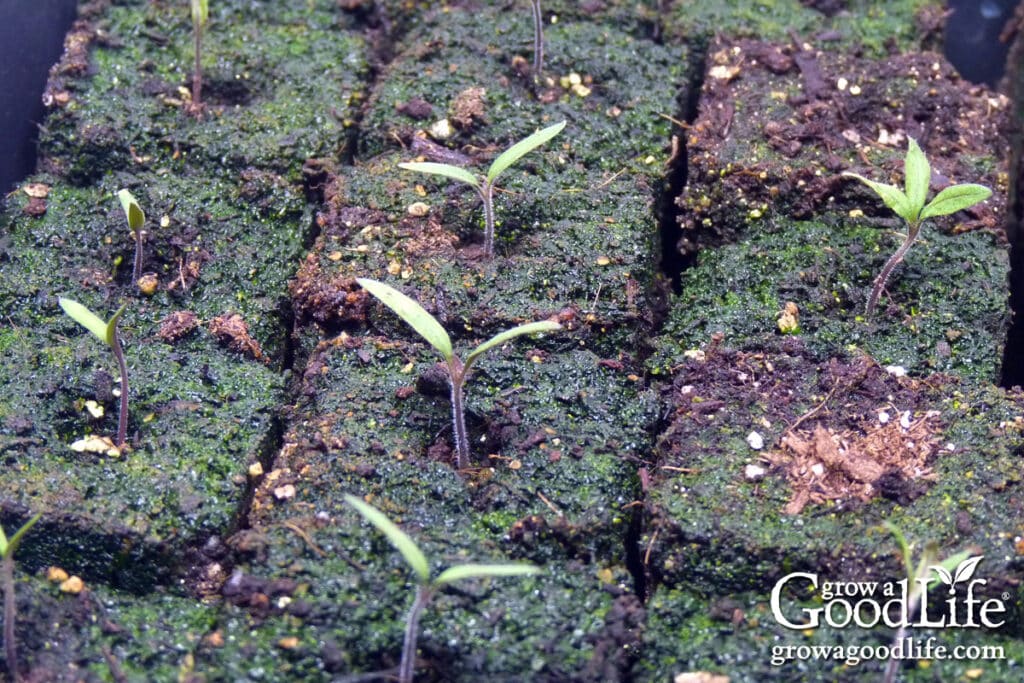
White or Green Mold on the Soil Surface
Symptoms: Fuzzy white or green growth on the soil.
Cause: Overwatering and stagnant air.
White or green mold on the soil surface is a good indication that the growing medium is too wet. This is usually harmless but indicates excess moisture and insufficient air movement.
Solutions:
- Gently fluff the surface with a fork to increase airflow.
- Add a fan nearby to improve circulation.
- Switch to bottom-watering so leaves and stems stay dry.
- Drain excess water.
- Allow the soil surface to dry between watering.
Leggy Seedlings
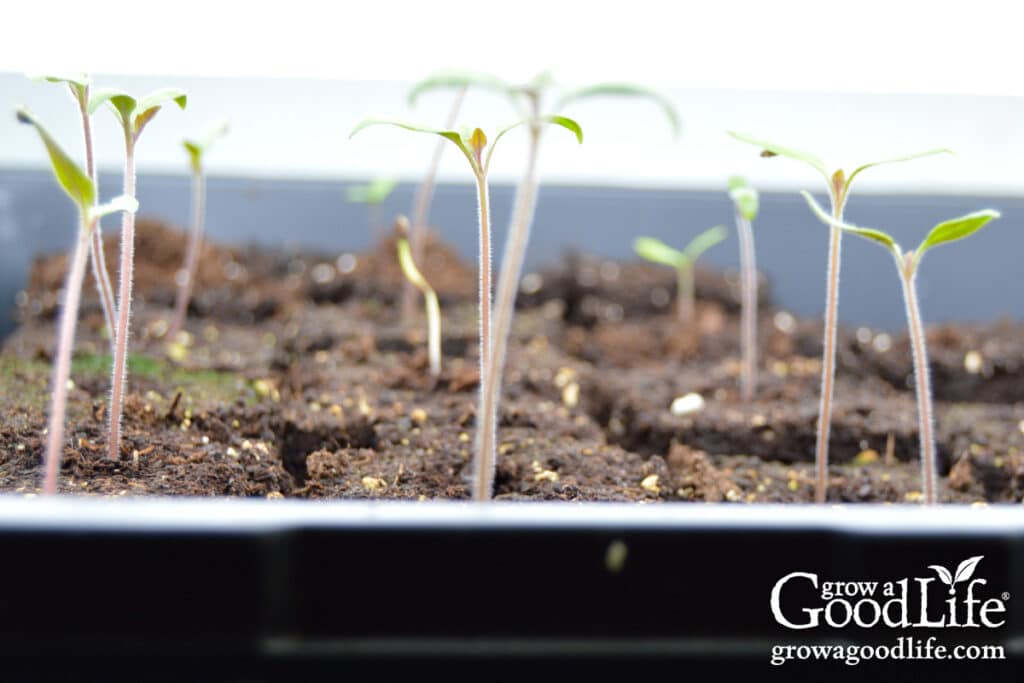
Symptoms: Seedlings stretch tall, with thin stems and wide spacing between leaves.
Cause: Not enough light, light too far away, or grow lights not bright enough.
Solutions:
- Move the grow lights just a few inches above the seedlings.
- Add additional grow lights.
- Provide 12 to 16 hours of light daily.
- Increase airflow so stems strengthen as they sway lightly.
Discolored Leaves
Symptoms:
- Pale yellow leaves: possible nitrogen deficiency
- Purple undersides: possible phosphorus issue
- Bronze edges: possible potassium shortage
Cause: Seedlings need fertilization once true leaves form.
Solutions:
- Begin feeding with a half-strength organic liquid fertilizer once the seedlings develop their first set of true leaves.
- Make sure the soil isn’t too soggy or too dry.
- Ensure seedlings aren’t overcrowded.
Wilted or Deteriorating Seedlings (Fungus Gnats)
Symptoms:
- Tiny black flies hovering around soil.
- Seedlings wilt or stall.
- Yellowing lower leaves.
Cause: Fungus gnat larvae feed on tender roots in damp soil.
Fungus gnats are minuscule insects that are drawn to light and damp soil. While the flies themselves won’t harm the plants, they can infest them by laying eggs in the soil. Once the larvae hatch, they burrow deep into the plant’s roots, feeding on plant tissue and hindering growth. If you have a large infestation, they will kill your seedling.
Solutions:
- Use yellow sticky traps to catch adults.
- Use sterile seed starting mix.
- Water from below and let the surface dry slightly.
- Add a thin layer of sand on top of the soil to deter egg laying.
- Allow trays to dry slightly in between waterings.
Seedlings Suddenly Stop Growing (Stunted Seedlings)
Symptoms: Seedlings can remain the same size for days or weeks. The leaves may stay small, and the plant shows little to no new growth, often appearing pale or weak.
Causes:
- Temperatures are too cold for active growth.
- Poor-quality or depleted seed starting mix.
- Rootbound seedlings in small containers.
- Insufficient light intensity.
- Overwatering leading to oxygen-poor soil.
Solutions:
- Move seedlings to a warmer location (65 to 75°F).
- Pot up seedlings into larger containers with fresh, nutrient-rich soil so the plant’s roots have enough room to develop.
- Ensure they receive bright, consistent light for 12 to 16 hours per day.
- Begin a light fertilizing routine once true leaves form.
- Allow the soil to dry slightly between watering to improve root oxygenation.
Seedlings Curling, Twisting, or Developing Distorted Leaves
Symptoms: Leaves curl under or over, twist, develop odd shapes, or show puckering. Growth may continue, but it looks abnormal.
Causes:
- Sudden temperature swings.
- Light stress (too strong, too close, or inconsistent).
- Fertilizer burn from overly strong feeding.
- Herbicide contamination in potting mix or compost.
- Occasionally, viral or genetic issues (less common indoors).
Solutions:
- Move lights 2 to 4 inches higher or use a timer to ensure consistent hours.
- Reduce fertilizer strength and feed less often.
- Keep seedlings away from drafts, heat vents, or cold windows.
- Use only fresh, high-quality seed starting mix (no compost or garden soil).
- If only a few seedlings are affected, remove them. Genetic quirks sometimes happen.
Seedlings Turning Purple or Red (Especially Undersides of Leaves)
Symptoms: Stems or leaf undersides appear red, purple, or burgundy. Plants grow slowly and may stay small.
Causes:
- Cool temperatures (very common in basements or unheated rooms).
- Cold soil can trigger a phosphorus deficiency.
- Root-bound seedlings.
- Light levels are slightly too low.
Solutions:
- Raise temperatures slightly with a heat mat or move seedlings to a warmer space.
- Ensure proper lighting and move lights closer if needed.
- Pot up seedlings if roots are circling. Some crops, such as tomatoes, peppers, brassicas, and herbs may need more space for root development.
- Begin a fertilizer routine to supply needed nutrients. Be sure to follow the instructions for young plants and seedlings.
You’re Not Alone: Every Gardener Faces These Problems
Even after many years of starting my own seeds, I still have trays that sprout unevenly or seedlings that decide they aren’t happy. It happens to all of us. The goal isn’t perfection. It’s learning how to read the signs so you can make small adjustments that help your plants recover and grow strong.
Once you understand the common causes behind these issues, troubleshooting becomes much less stressful. With a little observation and a few simple fixes, you’ll be well on your way to raising healthy seedlings that are sturdy, vibrant, and ready for the garden.
This article was first published in 2019. It has been fully refreshed with updated tips, expanded troubleshooting sections, and new resources to help you start stronger seedlings this season.
You May Also Like:
- Tips for Buying Seeds for Your Vegetable Garden
- How to Develop a Seed Starting Schedule
- 10 Steps to Starting Seedlings Indoors
- How to Harden Off Seedlings Before Planting
Good planning is key to a successful vegetable garden
Whether you are new to growing your own food or have been growing a vegetable garden for years, you will benefit from some planning each year. You will find everything you need to organize and plan your vegetable garden in my PDF eBook, Grow a Good Life Guide to Planning Your Vegetable Garden.


Biggest problem I see people have and have had myself is improper pH. If using a paper towel to germinate in (I think proper pH organic soil is best), you must make the water the proper pH or you will not have as good or possibly any germination rate.
Whenever having any plant issues pH is the first thing to check because good pH is critical for everything.
Very informative post. It captures all the main problems with seed starting. I’m actually having the discolored leaves problem with my adenium desert rose seedlings. I’ll try adding in some more nutrients.