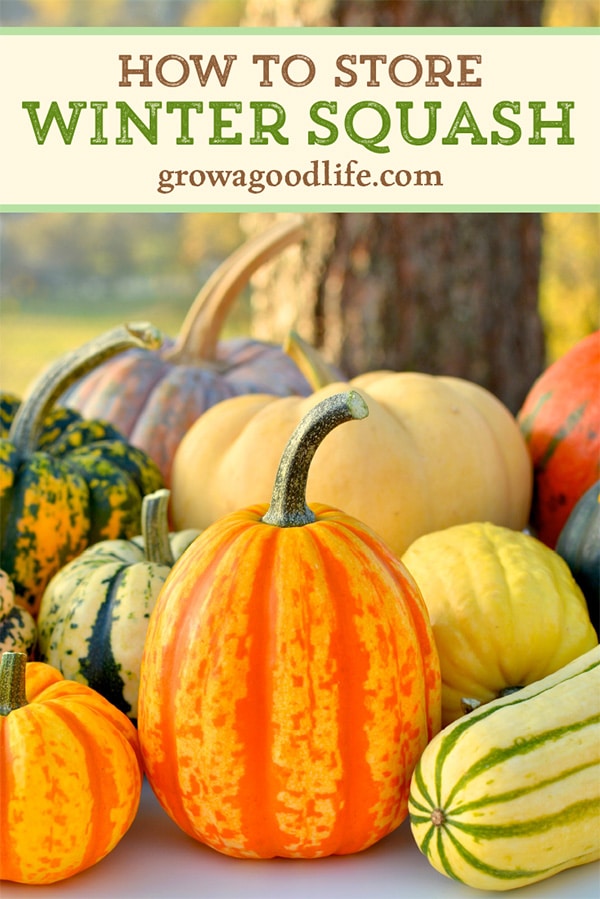
How to Harvest, Cure, and Store Winter Squash
This post may contain affiliate links, which means that I may receive a commission if you make a purchase using these links. As an Amazon Associate I earn from qualifying purchases.
Winter squash is a long season crop, but worth the wait. The plants grow all summer and produce fruit with very tough outer shells that make them ideal for long-term food storage. Learn when to harvest and how to cure and store winter squash.
Having access to fresh produce all summer is the greatest benefit to growing a vegetable garden. Sure, there is the enjoyment of planning, planting, nurturing, and tending to the garden. It gets you outside in nature, lets you dig in the dirt, and breath fresh air.
The best part is when you are able to reap the benefits of all your hard work. Harvesting fruits and vegetables that you grew and cared for all season never gets old.
Once the summer growing season winds down, it is time to harvest winter squash. Here are tips for harvesting, curing, and storing winter squash for long term food storage:
What is Winter Squash?
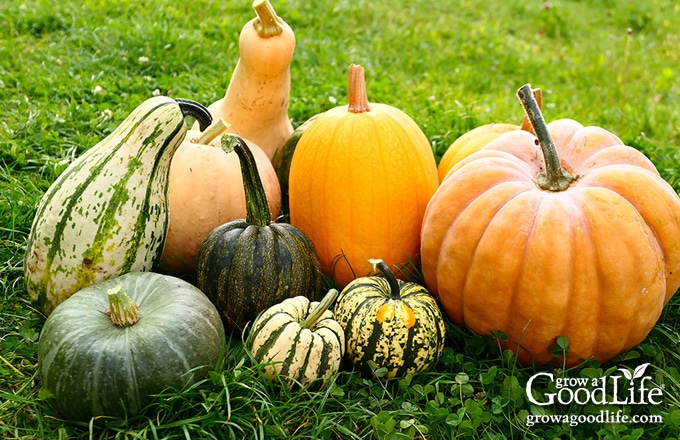
Squash is divided into two types, winter squash and summer squash. Both are members of the gourd (Cucurbita) family, but winter squash requires more days to reach maturity than summer squash. Winter squash has a thick rind and firm flesh making it ideal for storing in a cool location through winter.
Winter squash are squash varieties that are planted in spring and grow throughout the summer to be harvested in fall, and stored for winter consumption. Common winter squash varieties include acorn, banana, buttercup, butternut, Hubbard, pumpkin, and spaghetti squash.
Summer squash differs from winter squash in that it is harvested young while it is still tender. Examples of summer squash are zucchini, patty pan, crookneck, and yellow straight neck squash. Summer squash are eaten fresh because it has a short shelf life.
5 Ways to Tell When Winter Squash is Ready to Harvest
Winter squash is a long season crop that takes all summer to grow mature fruit. The seeds are planted in spring as soon as all danger of frost is past. The vines grow, blossoms form, and the plants develop their fruit all summer along the vines.
Harvest fully mature fruit in late summer and early fall. Winter squash does not ripen after it is cut from the vine, so it is important to harvest when mature for the best flavor and storage. Here are ways to tell your winter squash is ready to harvest:
Days to Maturity
Harvest time will be 60-110 days after sowing and 50-55 day from fruit set, depending on the type of winter squash and the growing climate. Refer to your seed package to be sure the amount of time has past.
Deep Solid Color
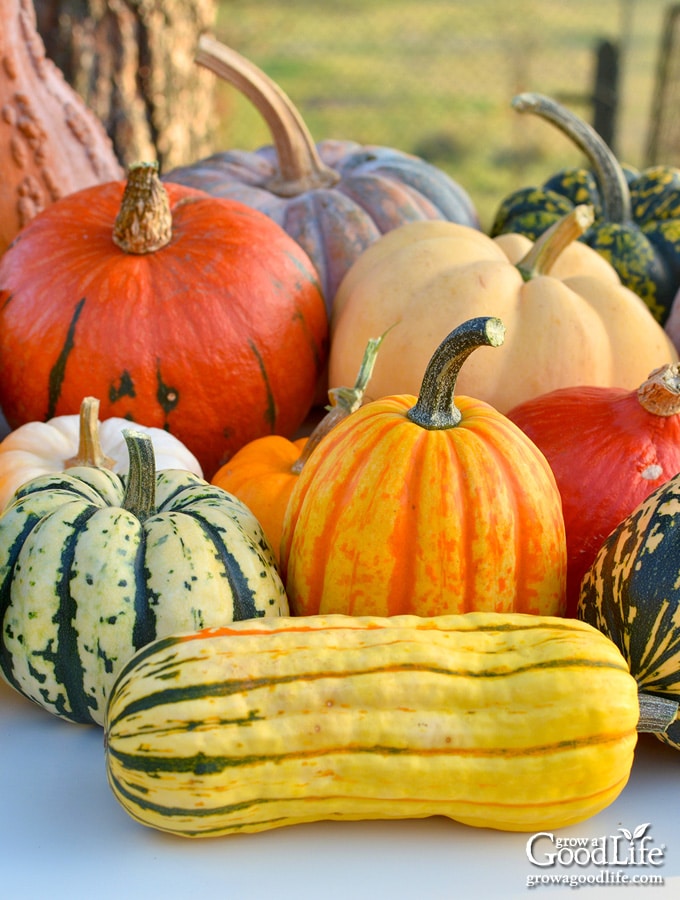
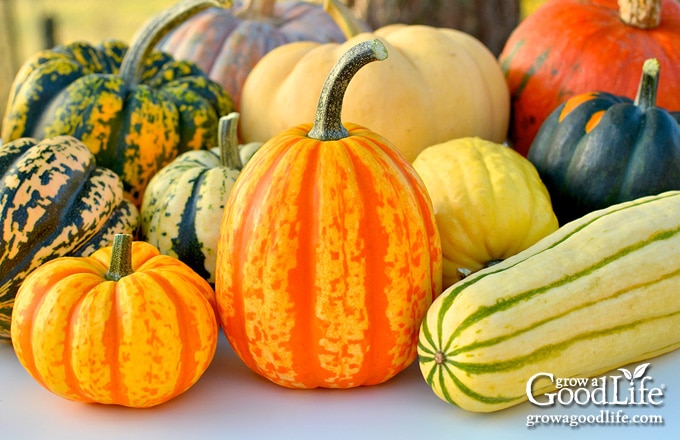
Winter squash comes in a variety of different colors. Acorn squash has a green shell, butternut has a pale yellow shell, Hubbard has a blue-gray shell, banana squash has a pink-orange shell, and pumpkins are famous for their bright orange skin.
The shells will change colors throughout the growing cycle and will deepen in color as each one nears maturity. Check the seed package or search online to see pictures of your variety of mature winter squash and compare to yours. The final color should be mostly solid, dull, and with no streaks of green near the stem.
Brown Stem
Another way to tell ripeness is to look at the plant’s stem. The stem that attaches the squash to the vine will become withered and brown when the squash is ready to harvest.
Developed Ground Spot
A different colored spot often develops on the squash where it touches the ground. It is usually a yellow or orange patch for dark colored squash, and may be white or yellow for lighter skinned squash.
Tough Shell
The final test for ripeness is to check the hardness of the shell by pressing your fingernail into the skin. Your winter squash is ready to harvest if it is firm enough to make it difficult to make an impression with your nail.
Expecting a Frost?
A light frost typically will not harm winter squash, although it will kill the vines. It’s still a good idea to harvest winter squash before the first frost of fall. If some of the squash seem a little immature for harvesting, they can be protected from a couple of light frosts by placing sheets of newspaper over the vines (be sure to remove the newspaper in the morning).
A hard freeze will damage the squash and they must be harvested before a freeze or you will risk losing the crop.
How to Harvest Winter Squash
When harvesting winter squash and pumpkins, handle them carefully to avoid cuts and bruises. Injuries will provide an entrance for various rot-producing organisms and the squashes will not store well.
Carefully cut the squash from the vine with a pair of sharp shears or a knife. Leave 2-inches or more of the stem attached to the squash to help preserve moisture. The larger the squash, the longer amount of stem should be left intact. Pumpkins should have 4-6 inches of stems after harvesting.
The stem stub slows and reduces microbial infection coming in through the stem and will result in a longer storage period for the winter squash and pumpkins.
Why They Need to Be Cured
Different kinds of winter squash vary as to how long they need to cure after harvesting. The curing process helps them develop peak flavor and enables them to toughen their outer shell even more so the interior of the squash will remain unspoiled.
Many squash varieties can be eaten at harvest time, like the acorn, spaghetti, and Hubbard varieties, but to store them for winter use they must go through a curing stage.
Curing is a form of drying, and it allows excess moisture in the squash to evaporate and slows the respiration rate. As moisture evaporates, natural sugars are concentrated and the squash becomes sweeter tasting. Curing also causes the shell of winter squash to become harder. Hard skin slows respiration, helps the stored squash resist rot and collapse, and allowing for long-term storage.
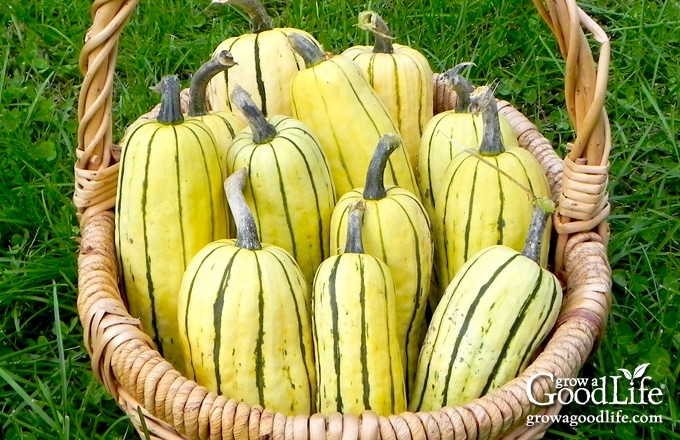
The exception for curing is the thin-skinned acorn and delicata winter squash. They do not need to be cured and tend to get stringy in the heat. Just pop these on your storage shelves without curing.
How to Cure Winter Squash
Wipe harvested squash with a dry paper towel to remove dirt and debris. Do not wash or use a moist cloth for cleaning before curing. Inspect squash for cracks, insect damage, and loose stems and set damaged ones aside. If the squash is marred in any way it probably will not store well and should be eaten soon after harvesting.
Cure squash and pumpkins for 10-14 days in a warm and dry area. If temperatures are ideal, you can field cure the squash right in the garden. For the best results, the curing location needs to have consistent temperatures between 80°F and 85°F, low humidity, and good air circulation.
An elevated rack or mesh frame created from chicken wire or window screen is ideal, as it will let the air to circulate underneath each squash. Place winter squash in a single layer with 2-inches of space between each one on the drying rack. Keep them dry, out of direct sunlight, and turn them every couple of days during the curing process. Use a small fan in the room if needed to keep the air circulating well.
Do the thumbnail test to determine if each squash is fully cured and ready to be stored. If your thumbnail cuts into the squash, it needs more curing time.
How to Store Winter Squash
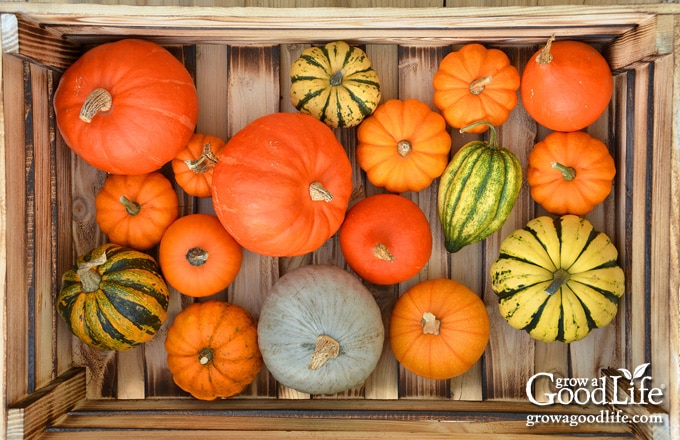
Cured winter squash will need to be stored in a single layer in a cool, dry, dark location. The best storage temperature is between 50 and 55°F.
Keep apples, pears, or other ripening fruit away from stored squash as the ethylene gas released from ripening fruit can cause the squash to rot.
Create a disinfecting solution that is 1-part liquid bleach in 10-parts of water. Dampen a soft cloth in the mixture and gently wipe down the outer shell of each cured squash. Re-dip the cloth and wipe down each squash. This will slow down the growth of microorganisms that can cause rot during long-term storage.
Inspect stored winter squash once a week to look for spots or other blemishes on the outer shell. Stored squash that develops spots or blemishes should be separated from the rest of the squash and used as soon as possible. Skin spotting can be the first sign of rot, and it will spread to the other stored winter squash. The spotted shell will not impact the flavor, and the squash can be safely eaten within a day or two.
Under proper storage conditions, winter squash will last for 1-6 months. The variety, maturity, how it was cured, and how it is stored will all impact the storage time.
Some squash can be eaten right away after harvesting, while others need a longer curing and storing time for the flesh to dry out and develop flavor. Here are the general storage times for common winter squash varieties:
- Acorn: Eat at harvest time or store for up to 2-3 months.
- Spaghetti: Eat at harvest time or store for up to 2-3 months.
- Delicata: Eat at harvest time or store for up to 3 months.
- Dumpling: Eat at harvest time or store for up to 3 months.
- Pumpkin: Eat at harvest time or store for up to 3 months.
- Red Kuri: Eat at harvest time or store for up to 4 months.
- Small Kabocha: Eat at harvest time or store for up to 4 months.
- Buttercup: Best after 1-2 months of storage before eating or store for up to 6 months.
- Butternut: Best after 1-2 months of storage before eating or store for up to 6 months.
- Green Gray Kabocha: Best after 1-2 months of storage before eating or store for up to 6 months.
- Hubbard: Best after 1-2 months of storage before eating or store for up to 6 months.
Too Many Squash?
If your crop of winter squash or pumpkins has produced more than anticipated, and you won’t be able to use them within 6-months, try another preserving option.
If the stored squash are beginning to develop spots as they near the 6-month mark (or earlier), pull them out of storage and prepare them for the freezer.
Remove the outer shell and cube the inside into uniform cubes. Place the cubes on a cookie in a single layer and freeze. When the cubes are frozen, transfer them to an airtight freezer bag and store in the freezer. Use squash cubes in soups and to thicken stews.
Winter squash can be frozen in this manner or pureed and frozen, after the curing process also.
Don’t forget to save some seeds to re-plant next spring and enjoy the rest of the seeds roasted. Pumpkin and squash seeds are simple to roast and make a nutritious and tasty snack.
You May Also Like:
- How to Harvest, Cure, and Store Garlic
- 14 Winter Food Storage Crops
- Other Ways to Preserve the Harvest