How to Use Soil Blocks for Growing Seedlings
This post may contain affiliate links, which means that I may receive a commission if you make a purchase using these links. As an Amazon Associate I earn from qualifying purchases.
Discover the benefits of using soil blocks to grow healthy seedlings for your vegetable garden. Learn how to make soil blocks with a simple soil mix and get expert seed-starting tips for strong, transplant-ready plants.
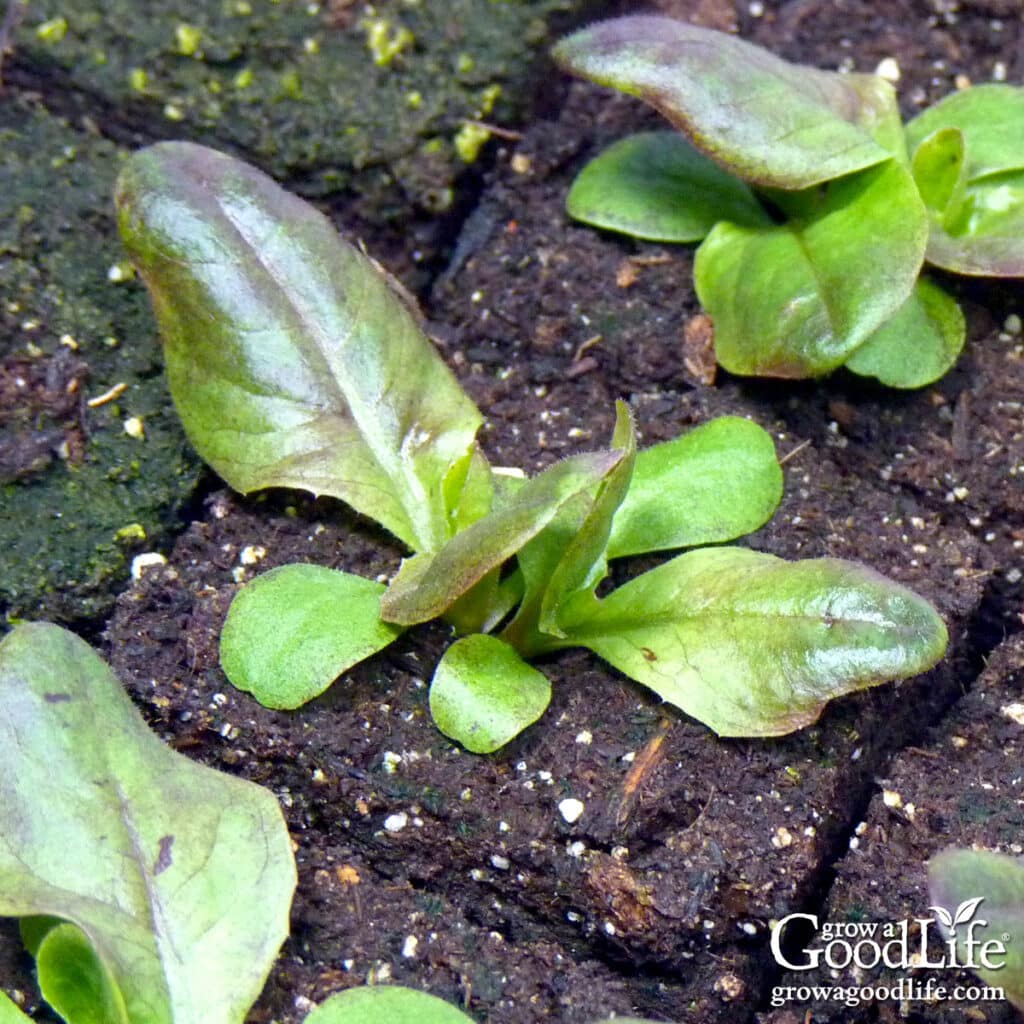
Growing your own garden transplants from seed is rewarding, but it can also come with challenges, especially when it’s time to transplant your vegetables and herbs into the garden.
I used to purchase transplants or start seeds in plastic cell packs, only to struggle with pulling seedlings from their cramped containers without damaging the roots. Despite my best efforts, the plants often suffered from transplant shock and took weeks to recover.
When I decided to grow more of my own transplants from seed, I discovered soil blocks, a game-changer for starting strong, healthy seedlings. Unlike plastic pots or trays, soil blocks provide a natural environment for seedlings to grow robust root systems without becoming root-bound. Best of all, transplanting is a breeze. There’s no mangling roots, and seedlings establish themselves quickly in the garden.
I first learned about soil blocks from Eliot Coleman’s book The New Organic Grower and was immediately drawn to their simplicity and sustainability. With just one soil blocker tool, you can make reusable, plastic-free soil blocks for years to come.
In this guide, I’ll walk you through everything you need to know to get started with soil blocks, from making the soil mix to sowing seeds, watering, and growing seedlings that are ready to thrive in your garden.
What is a Soil Block?
A soil block is a cube of lightly compressed soil and nutrients designed to grow one seedling. When the plant is ready to be transplanted, the entire block is planted into the soil eliminating the need to remove the plant from a container. This minimizes root disturbance, reduces transplant shock, and allows seedlings to establish quickly in their new environment.
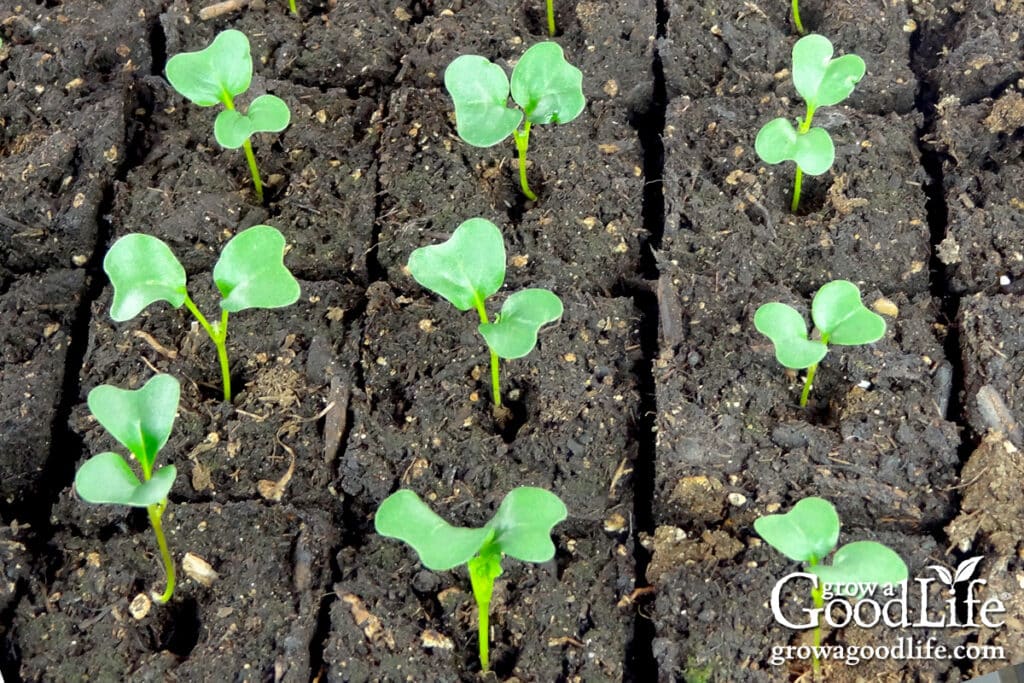
Soil blockers are spring-loaded tools that compress a soil mixture into blocks and leave an indentation at the top of each block to plant your seeds. These tools are available in different sizes, but I found the 2-inch blocker ideal for most of my needs. It creates four soil blocks at a time. If you’re looking to invest in a soil block maker, I recommend seeking out the Ladbrooke brand. It’s durable and will last for many years.
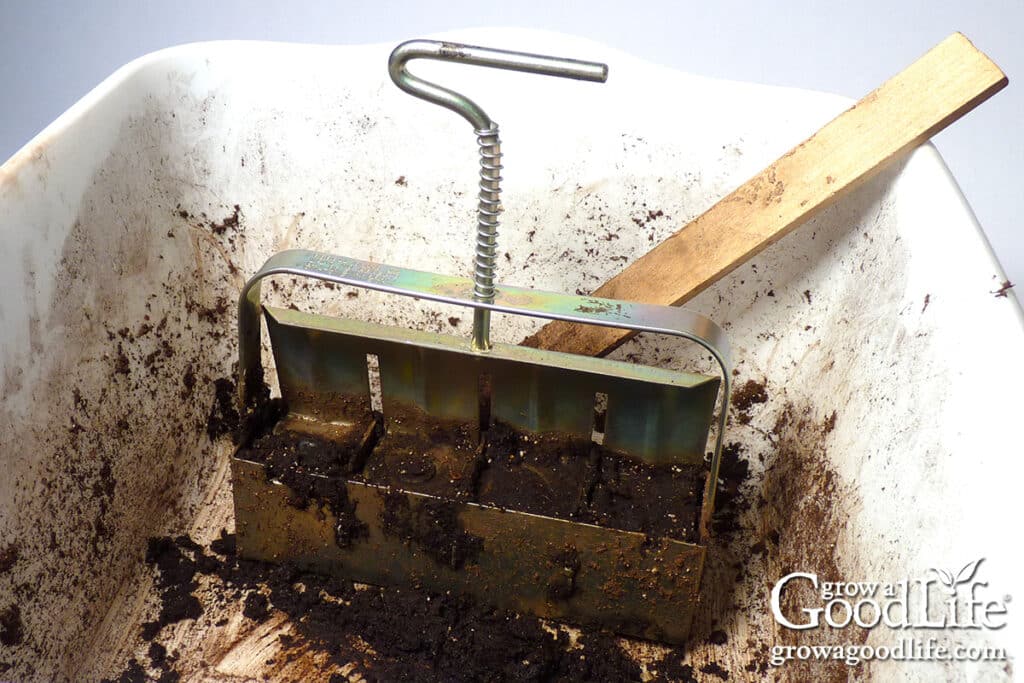
Benefits of Using Soil Blocks to Grow Seedlings:
- Eliminates the Need for Plastic Cell Packs or Pots: Since the soil block functions as both the container and the soil for starting seeds, there’s a reduced reliance on those flimsy plastic cell trays.
- Promotes Stronger Root Systems: Seedlings grown in soil blocks develop healthier root systems. The exposed edges of the soil blocks allow air to “prune” the roots naturally, preventing them from becoming root-bound. This results in robust roots that are better prepared to grow in your garden.
- Reduces Transplant Shock: Transplanting seedlings from soil blocks is simple and gentle. Since there’s no container to remove, the roots stay intact, and seedlings adapt quickly to their new environment.
- Improves Flexibility in Seedling Management: Soil blocks make it easy to organize and manage your seedlings. If a seed fails to germinate, you can simply remove the block and replace it without disturbing the others.
These benefits have made soil blocks an essential part of my seed-starting process, saving me time, reducing waste, and producing healthier transplants for my vegetable garden.
Soil Mix for Soil Blocks
The right soil mix is key to making sturdy soil blocks that hold their shape and provide nutrients for growing healthy seedlings.
I’ve experimented with different mixtures over the years and found that as long as the mix holds together when compressed, it will work well.
For a small batch, I’ve settled on a simple, reliable recipe using about 4 cups organic seed-starting mix, 2 cups screened compost, 1 cup perlite, and 1 tablespoon all-purpose granular organic fertilizer. Mix thoroughly in a large container, and store the growing medium in an airtight container until you are ready to sow your seeds.
For larger batches, you may want to make your own soil mix. The soil block recipe below has served me well for over a decade.
Soil Block Recipe
Eliot Coleman’s recommended soil block recipe combines peat moss, lime, coarse sand or perlite, fertilizer, compost, and soil. The ingredients can be easily found at your local garden center. I have linked to sources online for examples.
Use a 10-quart (2.5-gallon) bucket to measure the bulk ingredients and a standard measuring cup for the smaller amounts. I like to mix and store the soil block mix in a 12- or 15-gallon storage tote, so it’s ready when I need it.
Ingredients for Soil Block Mix:
- 1 1/2 buckets (15 quarts) peat moss or coconut coir
- 1/4 cup garden lime
- 1 bucket (10 quarts) perlite
- 1 cup all-purpose organic granular fertilizer (such as Espoma Garden Tone)
- 1 bucket (10 quarts) finished compost (screened to filter out chunks)
- 1/2 bucket (5 quarts) garden soil
Directions for Soil Block Mix
- Add the peat moss (or coconut coir) and lime to your mixing container. Stir thoroughly to combine.
- Add the perlite and organic granular fertilizer. Mix well to distribute evenly.
- Finally, add the garden soil and finished compost. Mix until everything is fully incorporated.
This recipe makes about 8 gallons of soil block mix, which you can store in a sealed container until you’re ready to use it.
How to Make Soil Blocks
Making soil blocks is simple once you have your soil blocking mix ready and your supplies gathered. The process involves mixing your soil block mix with water, compressing it using a soil blocker tool, and forming the blocks in a tray.
Supplies Needed:
- Soil block mix (see recipe above)
- Soil blocker tool (I use a 2-inch Ladbrooke Soil Blocker)
- Dishpan or large flat container for mixing soil and water
- Seedling trays or other flat, waterproof trays to hold the blocks
- Water (warm water helps the mix hydrate better)
- Straight edge (like a trowel) to scrape the bottom of the soil blocker
Step-by-Step Instructions:
Step 1: Prepare the Soil Mix: Scoop the dry soil block mix into a flat container, such as a dishpan. Slowly add hot water, mixing as you go. Let the mixture sit for a few hours to ensure it absorbs as much water as possible. The soil mix should have a texture similar to peanut butter, moist but not soggy. If it’s too dry, add more water. If it’s too wet and doesn’t hold together, add more dry mix.
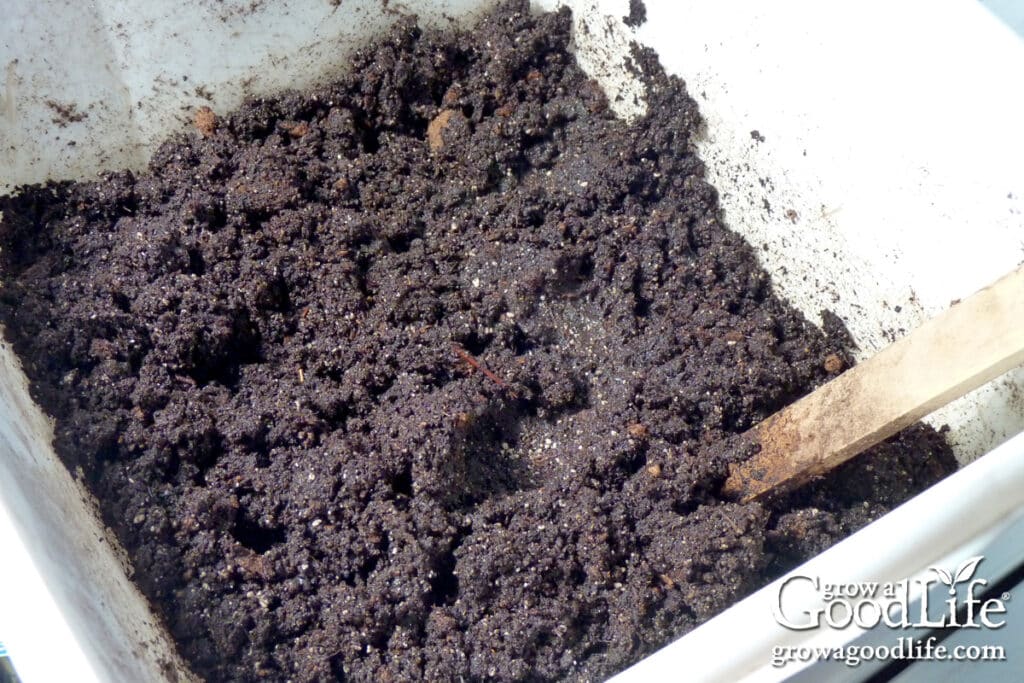
Step 2: Form the Soil Blocks: Pile the prepared soil mix into a mound that’s about twice the height of your soil blocker tool. Plunge the soil blocker into the mound, twisting slightly as you press down to ensure the mix fills the cubes tightly. Repeat this action a few times to compress the soil thoroughly.
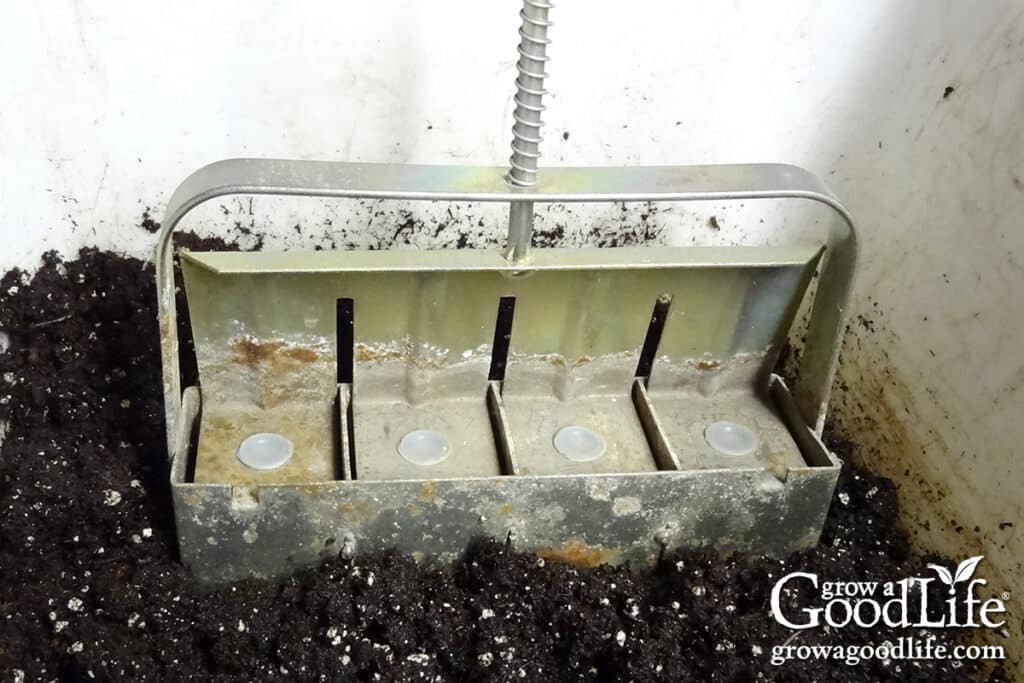
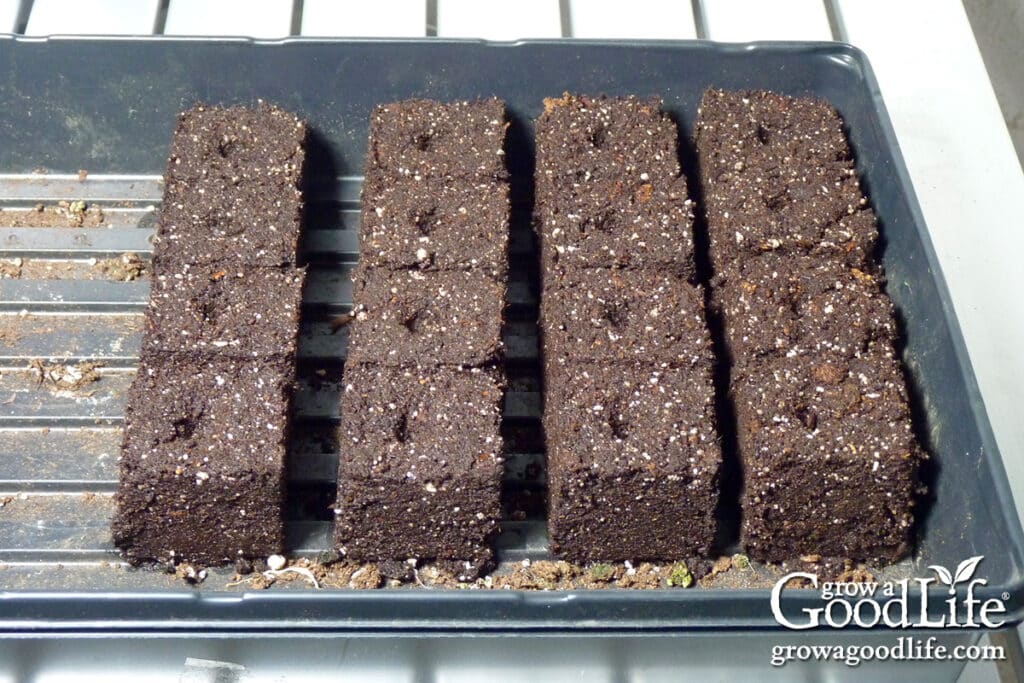
Step 3: Release the Blocks: Scrape the bottom of the soil blocker with a straight edge to level off any excess soil. Place the blocker onto your seedling tray, press the handle to release the soil blocks, and lift the tool carefully. The blocks should hold their shape and feel firm to the touch. If the blocks crumble, your mix needs more water. If they slide apart or don’t hold together, add more dry mix to adjust the consistency.
How to Start Seeds in Soil Blocks
Starting seeds in soil blocks is simple, and the result is strong, healthy seedlings ready for your garden. Once your soil blocks are made and arranged in a seed tray, it’s time to sow your seeds.
- Place Seeds in the Soil Blocks: Each soil block has a small indentation at the top made by the soil blocker tool. Drop one or two seeds into each depression, depending on the germination rate of the seeds. For larger seeds like squash or melons, press them gently into the soil to ensure good contact. Smaller seeds like lettuce can rest on the surface.
- Cover the Seeds: Lightly cover the seeds with a thin layer of soil or vermiculite, following the instructions on your seed packet. I prefer using fine vermiculite because it helps retain moisture without compacting the seeds.
- Water the Soil Blocks: Use a gentle spray bottle or watering can with a fine spout to moisten the soil surface. Avoid overwatering, as this can cause the blocks to break down. The soil should be damp but not soggy. Check daily and spray if needed to keep the soil surface damp.
- Label Your Seeds: Keep track of what you planted by labeling each row or group of soil blocks. I like using painting tape on the edge of the seed tray and writing the names of the crops with a marker.
- Provide the Right Conditions: Cover the tray with a humidity dome to keep the moisture, and place it in a warm location or on a heat mat if your seeds require extra warmth to germinate. Once the seedlings emerge, remove the cover and place the tray under grow lights.
How to Water Seedlings in Soil Blocks
Check the soil blocks daily to ensure they remain moist but not soggy. The edges of the blocks will start to lighten in color when they are drying out and need water. The goal is to maintain even moisture.
- Use a Gentle Spray for Surface Moisture: For seeds that are just germinating, or if the tops of the soil blocks look dry, use a gentle spray bottle, watering can with a fine nozzle, or even a turkey baster to wet the soil surface. Be careful not to saturate the blocks or cause them to crumble.
- Bottom Watering for Stability: Once the seeds sprout and grow, soil blocks are best watered from the bottom to avoid disturbing the structure. Fill your seed tray with about 1/2 inch of water, allowing the soil blocks to soak up the moisture from the bottom. After 10 to 15 minutes, empty any remaining water to prevent overwatering.
- Adjust for Growing Seedlings: As your seedlings grow, their water needs will increase. Larger seedlings may require more frequent watering. Keep an eye on how quickly the soil blocks dry out and adjust your watering schedule accordingly.
- Avoid Overwatering: Overwatering can lead to issues like mold, algae, or even seedling death. Ensure your seed trays have good drainage, and always remove excess water from the tray after bottom watering.
I’ve found that bottom watering is especially helpful when seedlings are small and fragile. It keeps the delicate stems and leaves dry, reducing the risk of damping off disease and helping the soil blocks maintain their shape.
How Long Can Seedlings Stay in Soil Blocks?
Seedlings can stay in soil blocks until they are ready to be transplanted into the garden or larger containers, but timing is key to keeping them healthy and thriving.
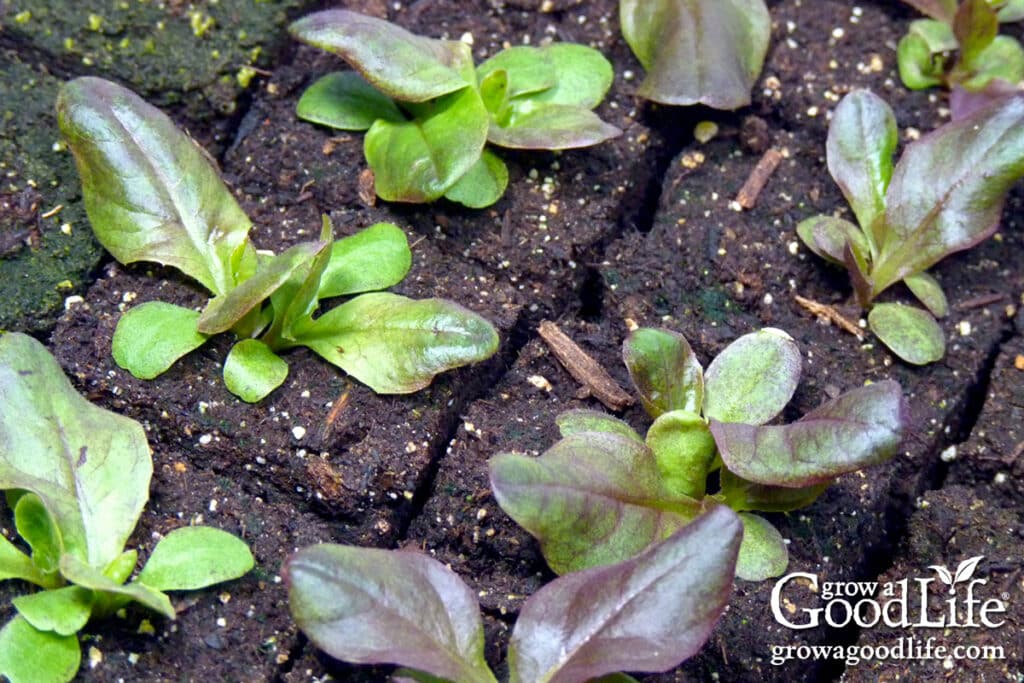
As the seedlings grow, their roots will naturally air-prune when they reach the edge of the block. This helps prevent root binding but also signals when the plants are outgrowing the space.
Larger 2-inch blocks can house seedlings for 3 to 6 weeks, depending on the plant’s growth rate. Smaller soil blocks (such as mini ¾-inch blocks) only support seedlings for 1 to 2 weeks.
When to Transplant or Pot Up:
If you notice roots extending from the sides or bottom of the block, it’s a good sign that the seedlings need more room to grow. Look for signs such as slowed growth, yellowing leaves, or exposed roots.
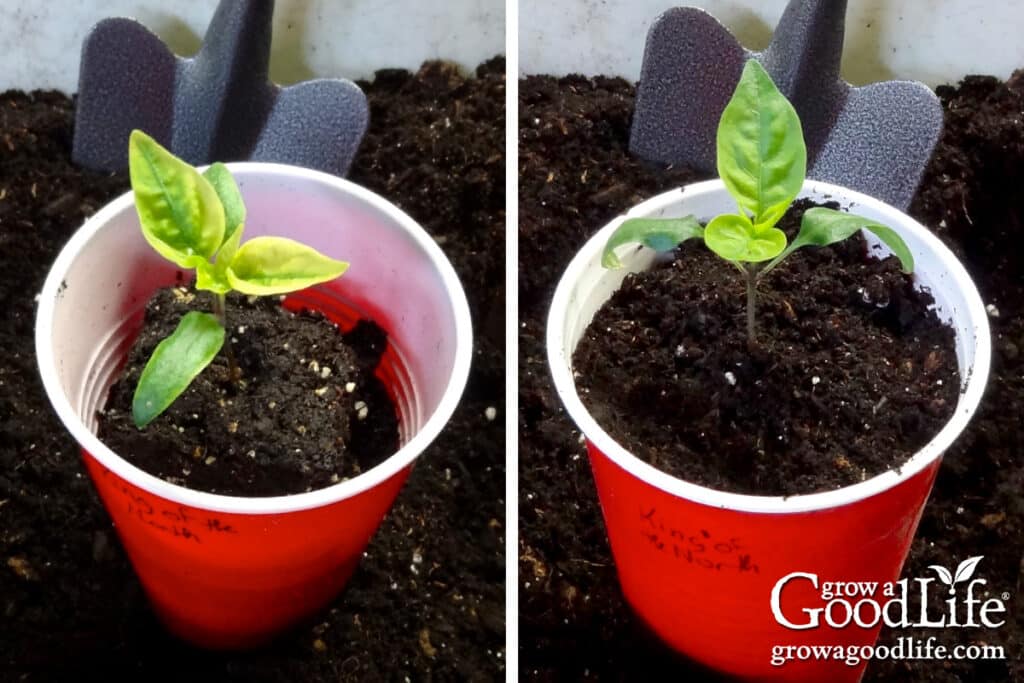
I’ve found that most seedlings thrive in 2-inch soil blocks until it’s time to transplant. For longer-growing seedlings like tomatoes, peppers, and eggplants, I pot them up into larger containers filled with good quality potting mix to give them more space to grow a healthy root system before hardening them off and transplanting them to the garden.
- Quick-Growing Crops: Fast-growing crops like lettuce or spinach may be ready to harden off and plant into the garden within a few weeks of germination.
- Longer-Season Crops: For crops that require more time indoors, such as tomatoes and peppers, you may need to pot them up into larger containers once they outgrow the original soil block.
You’ll know when it’s time to transplant your seedlings because you’ll see the roots reaching the edges of the blocks.
Out of all the gardening tools and gadgets I have purchased over the years, I find this 2-inch soil blocker is one of the most useful. A soil block maker is a great investment that will serve you well for many years.
Starting seeds in soil blocks is a great way to grow strong, healthy seedlings and simplifies the transplant process. By eliminating the need for plastic cell pots and encouraging air-pruned roots, soil blocks are ideal for growing strong and healthy plants for your garden.
Note: This article was originally published in February 2014 and updated in 2025 to include additional tips, detailed instructions, and new sections to help you grow strong, healthy seedlings using soil blocks.
More Seed Starting Tips:
- How to Develop a Seed Starting Schedule
- 10 Steps for Starting Seedlings Indoors
- Troubleshooting Seed Starting Issues
- How to Harden Off Seedlings
Good planning is key to a successful vegetable garden
Whether you are new to growing your own food or have been growing a vegetable garden for years, you will benefit from some planning each year. You will find everything you need to organize and plan your vegetable garden in my PDF eBook, Grow a Good Life Guide to Planning Your Vegetable Garden.


Don’t the soil blocks crumble after a good watering?
CD, No, the soil blocks do not fall apart. You do need to get the soil mix right and pack the soil block maker firmly as explained in the article above.
Thanks for this!
One question I have about the mix: I know Coleman was primarily growing veggies, not ornamentals, and his recipe called for peat. I had kind of assumed the lime was included in the mix to offset the peat acidity (he suggests mixing the two first, actually).
So if you’re using coco coir instead, and growing ornamentals, is the lime still really necessary? There’s no need to raise the pH, right?
Great article that goes into a lot of details most don’t. Thanks!
Jessica, You are correct. Coconut coir is pH neutral. There is no need to make the adjustment with lime when you use coconut coir. Thanks for your comment. I will update the article to clarify this info.
Will you be getting the 4inch soil blockers ?
Lisa, I don’t see the usefulness of blocking up to the larger 4-inch soil block. It takes a lot of potting mix and effort to make the block. I do pot up tomatoes, peppers, eggplant into larger containers (plastic cups) until it is warm enough to plant outside. I try to time my other crops when sowed in the 2-inch blocks so they can be transplanted into the garden when they have outgrown the soil blocks.
Great post!. Could you share the recipe you use that uses organic seed starting mix, compost, perrlite, and fertilizer? Also can you share what brand of seed starting mix and fertilizer you use? Thank you!
Deb, the recipe for making soil block soil in in the article above. I try to stick to local brands and those vary. If you are using premade seed starting mix, just substitute it for the peat moss or coconut coir, and garden soil. It doesn’t have to be exact. In fact, if I am making a quick small batch, I don’t measure anything.
I have used soil blocks for several years in 3 sizes: the 3/4″ micro, the 2″ mini and the 4″ maxi. The soil recipe I use is very similar to the one here. I have had great success with this method. Most seedlings are started then transplanted to the garden in the 2″ blocks. Some require more time indoors (with my short season I need as much advance growth as is reasonable), and those are transplanted directly to the 4″ block before being transplanted outside. I have mostly stopped using the 3/4″ micro block, as I have found it often unsuccessful and unnecessary. I also use these blocks to start seedlings for my greenhouse, as it allows me to keep one plant growing to harvest while another is getting started. This way I make the most use of my limited space.
Please tell me about the watering for your seed blocks. And do you use trays with holes or without holes? I am going to order one of these soil block makers right now!
Evelyn, I use double trays, one with holes that hold the soil blocks, and one without holes. Watering is easy this way, just add water to the tray and allow the soil bocks to absorb as much as they can, then lift the inner tray and drain off any excess water.
Thank you all for the great tips and inspiration! Winters are long here in Maine especially when one doesn’t participate in outdoor activity until the Robins are pulling worms! 🙂 I may be older but I still enjoy the smell & feel of the cool dirt on my skin!
Suann, I agree, winters are long here in Maine. I love starting seedlings indoors, under lights. It allows me to enjoy digging in the dirt a little.
Thanks so much for this! I am getting ready to start using soil blocks for me farm in Spring. One thing I am not sure about is if I should purchase Johnny’s 512 soil block mix or if I should make the mix myself. In Elliot’s recipe there are a lot of ingredients I am not sure where to get. I was happy to read that you simplified it a bit and it still works. I think using a soil mix like you use will probably be much cheaper, right?
Lee, Yes, it is less expensive to mix up your own soil block mix especially if you are starting a lot of seedlings. The key is to screen out larger chunks so the blocks hold together. For fertilizer, I use Espoma Plant Tone because it is easy to find in the winter. I will also water the plants with diluted fish emulsion to give them a boost if they look like they are struggling.
Good tips, thanks!