Canning Pizza Sauce: Roasted Roma Pizza Sauce
This post may contain affiliate links, which means that I may receive a commission if you make a purchase using these links. As an Amazon Associate I earn from qualifying purchases.
Preserve fresh tomatoes while they are in season by canning pizza sauce with this Roma tomato sauce recipe. Roasting the tomatoes, onions, and garlic results in a full flavored sauce that will elevate homemade pizza night.
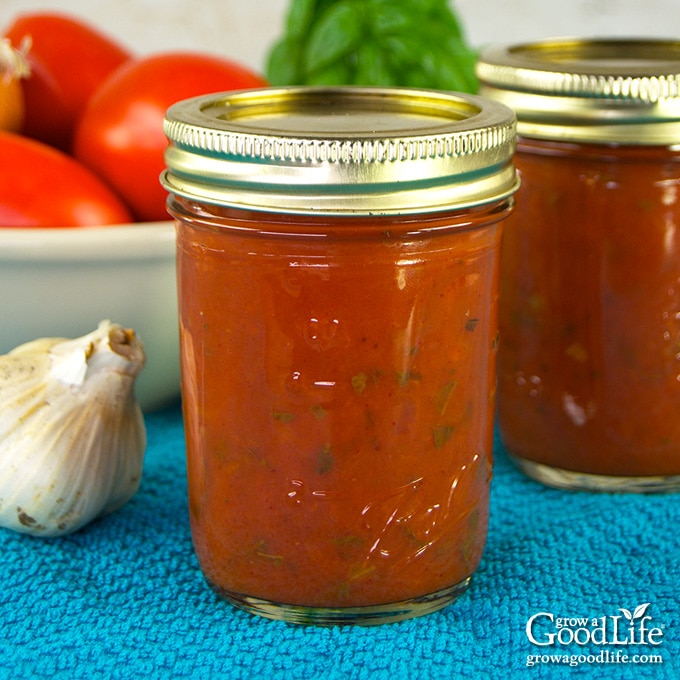
I snagged a great deal at the farmer’s market. It was the end of the day, and I was on my way out when I spotted discounted Roma tomatoes in one of the booths.
They were very ripe. Very, very, ripe. I had to make a quick decision. If I purchased these tomatoes, will I be able to preserve them quickly before they spoiled?
I bought them. In fact, I grabbed them all. Before I knew it, I was hauling about 20 pounds of ripe Roma tomatoes to the car.
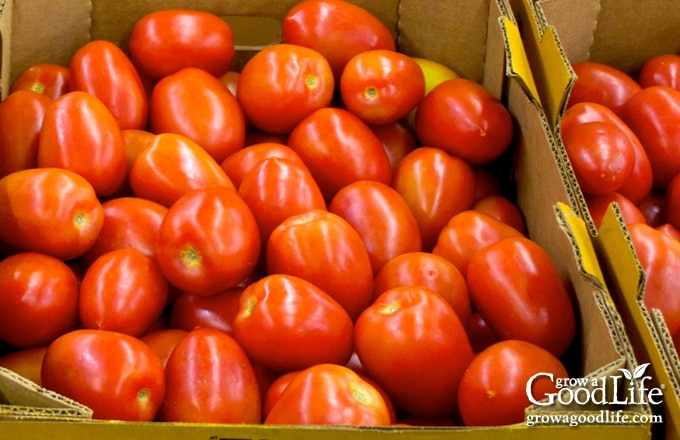
As I loaded the crates into the trunk, I could smell the strong, sweet, earthy tomato scent. I decided these tomatoes were destined for a great pizza sauce.
Pizza is something we eat at least once a week. Having a supply of homemade tomato sauce on hand will make pizza night extra special. Canning pizza sauce into jelly jars, or half-pint canning jars will be the perfect size.
When I got home, I washed the tomatoes and spread them on towels to air dry while I figured out what I was going to do with them.
I grabbed my go-to canning book, the Ball Blue Book Guide to Preserving and reviewed the tomato sauce recipes. I selected the “Basil-Garlic Tomato Sauce” recipe, but decided to roast the tomatoes, garlic, and onions for extra depth of flavor. I popped the vegetables in the oven to roast while I gathered my canning equipment and my largest saucepan.
Steps to Canning Pizza Sauce
When canning, it is important to use a recipe that has been scientifically tested. This homemade pizza sauce recipe is the “Basil-Garlic Tomato Sauce” from the Ball Blue Book Guide to Preserving.
Before you begin, it may be helpful to review this factsheet on water bath canning at the National Center for Home Food Preservation website.
A more detailed and printable recipe can be found at the bottom of this article, but these are the general steps for making and preserving pizza sauce at home using a boiling water canner:
Step 1: Gather Your Kitchen Equipment
- Rimmed baking sheets
- Food strainer, food mill, or sieve
- Water bath canner with canning rack
- 14 half-pint canning jars, or 7 pint sized jars
- Canning lids and bands (new lids for each jar, bands can be reused)
- Canning tools: jar lifter, canning ladle, funnel, and bubble popper
- Plus basic kitchen supplies: large saucepot, prep bowls, towels, knife, cutting board, and a large spoon.
Step 2: Roast the Vegetables
Preheat the oven to 325˚F / 177˚C.
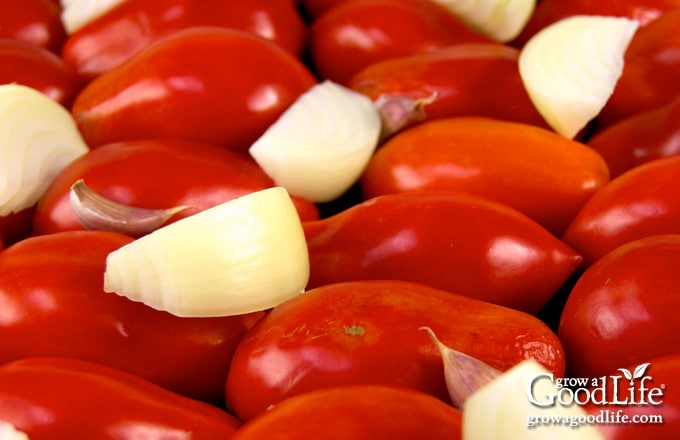
Weigh and wash the tomatoes well under clean, running water, and spread out to air dry on towels. Remove the peelings from the onion. Chop and measure 1 cup of chopped onions. Peel the garlic and keep whole.
Place tomatoes on four shallow rimmed baking sheets. Spread the chopped onions out on top, and add the garlic cloves.
Pop the baking sheets into the preheated oven to roast until the tomatoes burst, about 20 to 30 minutes. Rotate pans halfway through so everything roasts evenly.
Step 3: Strain the Sauce
Remove the baking sheets from the oven and let the vegetables cool until you can handle them. Run the roasted vegetables through a food strainer to puree and remove the tomato skins and seeds.
A tomato strainer is a great investment if you make tomato sauce from fresh tomatoes. You simply place the tomatoes in the hopper, crank it, and the skins and seeds are strained out from the juicy pulp.
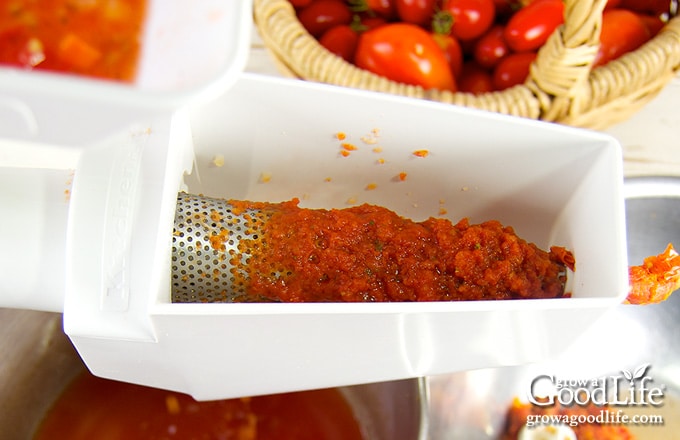
If you have a Kitchen Aid mixer, there is a fruit and vegetable strainer attachment that makes quick work of separating the skins and seeds from the pulp.
If you don’t have a food strainer, let the tomatoes cool until you can handle them. Remove the peels, cut the tomatoes in half and remove seeds and core. Puree the roasted vegetables in batches using a blender, food processor, or hand-held immersion blender.
Step 4: Simmer to Thicken
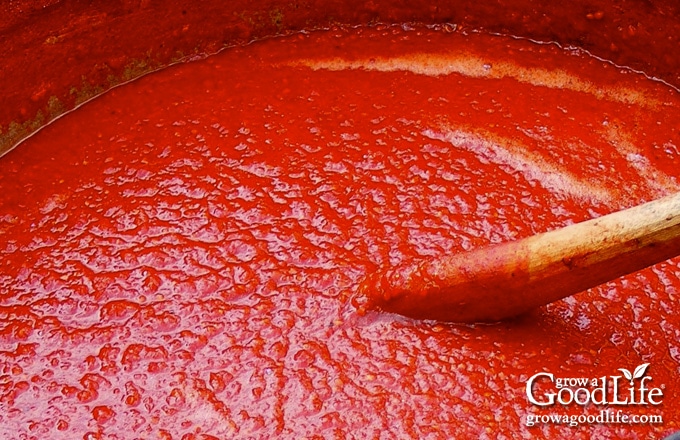
Add the tomato purée to a large saucepan, add the chopped basil, salt if using, and simmer uncovered over medium heat until the sauce has thickened and is reduced by half. Stir occasionally to prevent sticking.
Step 5: Prepare the Canning Equipment
When the sauce is almost finished simmering, prepare the jars, set up the canner, and organize your work area.
Wash your jars, lids, bands, and canning tools in warm, soapy water. Rinse well, and set the clean lids, bands, and tools aside to air dry until you are ready to use them.
Jars must be heated before filling to prevent breakage due to thermal shock. Place the jar rack into the water bath canner, set the jars upright in the canner, and add water to cover the jars. Bring the canner to a simmer (180˚F) for 10 minutes, and keep the jars hot until you are ready to fill them.
Follow the manufacturer’s directions for preparing the lids. Pre-heating lids is no longer necessary before using, but it is still safe to simmer (180°F) the lids if you want to. Just add them to the canner when you heat your jars.
Step 6: Can the Roasted Roma Pizza Sauce
Spread a kitchen towel on the counter, and place the citric acid or lemon juice nearby along with the measuring spoons.
Use the jar lifter to remove a hot jar from the canner, drain, and place on the towel. Keep the remaining jars in the canner, so they stay warm.
Add citric acid or lemon juice to the jar. For half-pints, add 1/8 teaspoon of citric acid, or 1/2 tablespoon of bottled lemon juice to each jar. For pints, add 1/4 teaspoon of citric acid, or 1 tablespoon of bottled lemon juice to each jar.
Place the canning funnel on the jar, and ladle hot sauce into the jar while filling to within 1/2 inch of the top. Run the bubble popper through the jar to release any trapped air bubbles.
Wipe the rim with a damp towel to remove residue. Center a lid on the jar, place the band over the lid, and screw it on until fingertip tight. Place the jar back into the canner, and repeat with the rest of the jars.
Adjust the water level so it is covering the jars by two inches, bring the canner to a boil, and process the jars for the times indicated in the recipe below. Let the jars cool completely, test the seals, wash the jars well, label and date, and store in a cool, dark location. Use within 12 to 18 months for the best flavor.
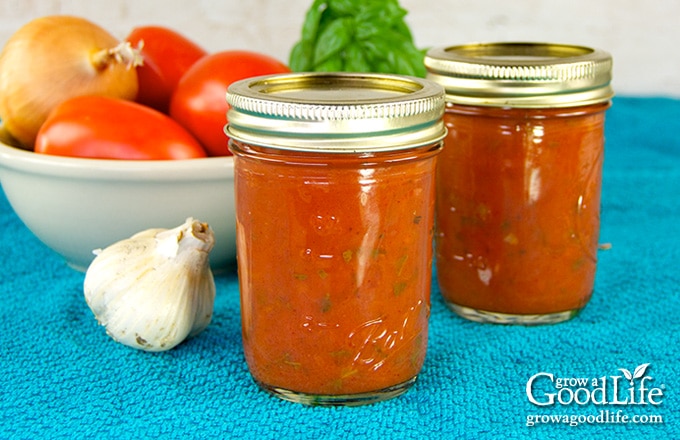
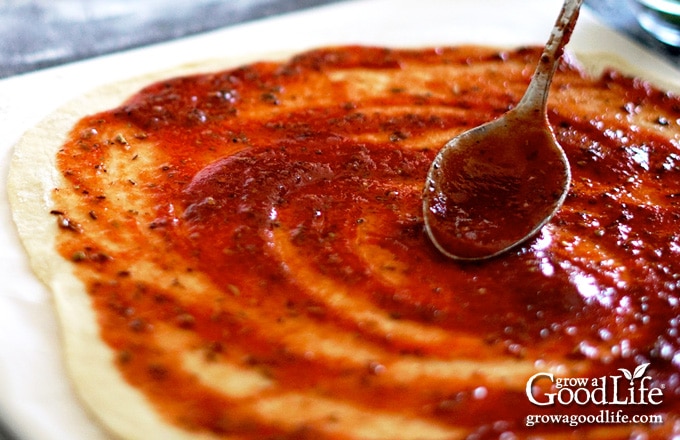
When pizza time comes around, pop open a jar and spread your homemade roasted Roma pizza sauce on the crust, add plenty of cheese, your favorite toppings, and season with black pepper, fresh basil, oregano, parsley, or red pepper flakes.
Since this is a tested safe canning recipe, altering the ingredients may make this recipe unsafe for canning. If you change the ingredients, freeze the sauce instead of canning. Just remember to thaw the sauce in the refrigerator the day before homemade pizza night.
Canning Pizza Sauce: Roasted Roma Pizza Sauce
Ingredients
- 20 pounds Roma tomatoes
- 1 cup chopped onion
- 8 cloves garlic
- 1/4 cup finely minced fresh basil
- 2 teaspoons kosher salt optional for flavor
- Citric acid or bottled lemon juice
Instructions
Make the Sauce:
- Preheat the oven to 325˚F / 177˚C.
- Place the tomatoes, onions, and garlic on four shallow rimmed baking sheets and roast until the tomatoes are soft, about 20 to 30 minutes.
- Let the vegetables cool slightly, and then remove the seeds and skins using a food strainer or food mill. Be sure to include any liquid that released from the roasted tomatoes.
- Add the tomato purée to a large pot, add the basil, salt if using, and bring to a simmer over medium heat. Continue cooking uncovered until the sauce reduces by half. Stir occasionally to prevent sticking.
Prepare the Canning Equipment:
- While the sauce is simmering, wash your jars, lids, screw bands, and canning tools in hot soapy water. Rinse thoroughly to remove all suds. Set aside to air dry on a clean kitchen towel.
- Place the jar rack into water bath canner, place jars in the canner, and add water to cover. Bring the canner to a simmer (180˚F) for 10 minutes, and keep the jars hot until you are ready to fill them.
Can the Sauce:
- Spread a kitchen towel on the counter. Place the citric acid or lemon juice along with the measuring spoons next to the towel.
- Use the jar lifter to remove a jar from the canner. Drain the water back into the canner, and place on the towel. Keep the remaining jars in the canner so they stay hot.
- Add citric acid or lemon juice to the jar. For half-pints, add 1/8 teaspoon of citric acid, or 1/2 tablespoon of bottled lemon juice to each jar. For pints, add 1/4 teaspoon of citric acid, or 1 tablespoon of bottled lemon juice to each jar.
- Use your canning ladle and funnel and add the hot sauce to the warm jar leaving 1/2-inch headspace. Swirl your bubble popper through the jars to release air bubbles. Wipe the rim of each jar with a damp towel.
- Center a lid on the jar, and screw on the band until it is fingertip tight. Use the jar lifter to place the jar back into the canner, and repeat with the remaining jars. Try to leave some space in between the jars.
- Once all the jars are in canner, adjust the water level to two inches above the jar tops.
- Cover the canner and bring to boil over high heat. Once water boils vigorously, set your timer, and process half-pints and pints for 35 minutes at altitudes of less than 1,000 ft. Adjust processing time for your altitude if necessary (see notes).
- When processing time is complete, turn off the heat and allow the canner to cool down and settle for about 5 minutes.
- Spread a dry kitchen towel on the counter, and remove the cover by tilting lid away from you so that steam does not burn your face.
- Use the jar lifter to lift jars carefully from canner and place on the towel. Keep the jars upright, and don't tighten bands or check the seals yet. Let the jars sit undisturbed for 12 to 24-hours to cool.
- After the jars have cooled for at least 12 hours, check to be sure jar lids have sealed by pushing on the center of the lid. The lid should not pop up. If the lid flexes up and down, it did not seal. Refrigerate the jar and use within a week.
- Remove the screw on bands and wash the jars. Label, date, and store in a cool, dark place. Use within 12 to 18 months. Refrigerate the sauce once opened and consume within a week. Yields about 14 half-pint, or 7 pint jars.
Notes
Nutrition
You May Also Like:
- Seasoned Tomato Sauce Canning Recipe
- How to Home Can Crushed Tomatoes
- Tomato Jalapeño Salsa Canning Recipe
40+ Meals in a Jar Pressure Canning Recipes
In this eBook, you will find 50 pressure canning recipes, including 44 meals, along with homemade stocks and bone broths. Recipes include soups, stews, chilis, beans, beef, pork, and poultry. Explore the world of preserving delicious home-cooked meals for all seasons.


I was wondering if I could use this recipe but instead of water bath canning putting the jars in the freezer. My stove is a glass cook top and they do not recommend using it as it can cause damage to the cooktop and doesn’t keep a consistent temp when trying to keep it boiling.
Patti, Yes, it’s perfectly safe to freeze the sauce instead of water bath canning. Just make sure to use freezer-safe containers and leave a couple of inches of headspace at the top to allow for expansion as the sauce freezes.
I was thinking of adding tomato paste for a thicker sauce. Would this be okay?
Pam, I understand the desire for a thicker sauce, but since this is a tested safe canning recipe, adding tomato paste may alter the acidity, making the recipe unsafe for canning. Instead, I recommend either simmering the sauce longer to thicken it naturally or adding tomato paste after you open the jar and are ready to use it. If you’d prefer to add the tomato paste now, it’s best to freeze the sauce rather than can it to ensure it’s safe for storage.
could I do 2 cups of onions?
Kelsey, No, it is not safe to increase the onions. It’s important to maintain the balance of ingredients in canning recipes to ensure safety. Increasing the amount of low acid ingredients, like onions, can dilute the acidity of the sauce. This dilution can create conditions that are conducive to botulism, a serious and potentially dangerous form of food poisoning.
does the type of tomato matter? I don’t have a mix of roma ans celebrity tomatoes I’d like to use
Liz, You can definitely use a mix of Roma and Celebrity tomatoes for this recipe! Any type of tomato will work, so feel free to use what you have on hand. Just keep in mind that different tomatoes have varying water content, so you might need to adjust the cooking time slightly to achieve your desired consistency.
Do I need to add the basil or could I use another herb such as oregano?
Lori, Yes, you can swap the basil for an equal amount of oregano in this recipe.
Hello. Can I use a blender and keep the skins and seeds rather than removing them? Will it still be safe to can?
B, Skins and seeds are to be removed in canning recipes that call for it because that is how it was scientifically tested and deemed safe for home canning. There is a chance of bacteria and density problems that may make the jars unsafe.