Green Chile Enchilada Sauce Canning Recipe
This post may contain affiliate links, which means that I may receive a commission if you make a purchase using these links. As an Amazon Associate I earn from qualifying purchases.
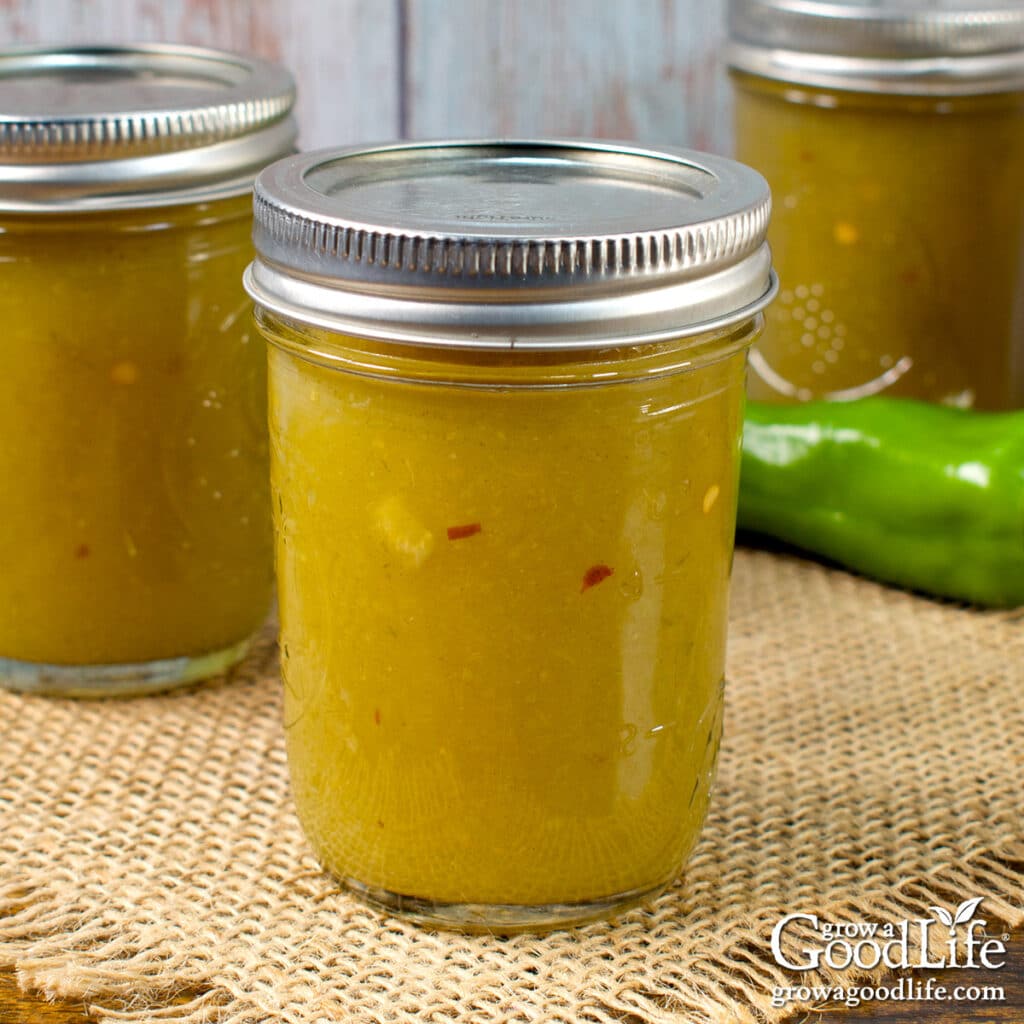
Learn how to make and preserve green chile enchilada sauce with this easy, safe canning recipe. Roasted peppers and onions blended with lime juice, and seasonings for the perfect homemade enchilada sauce.
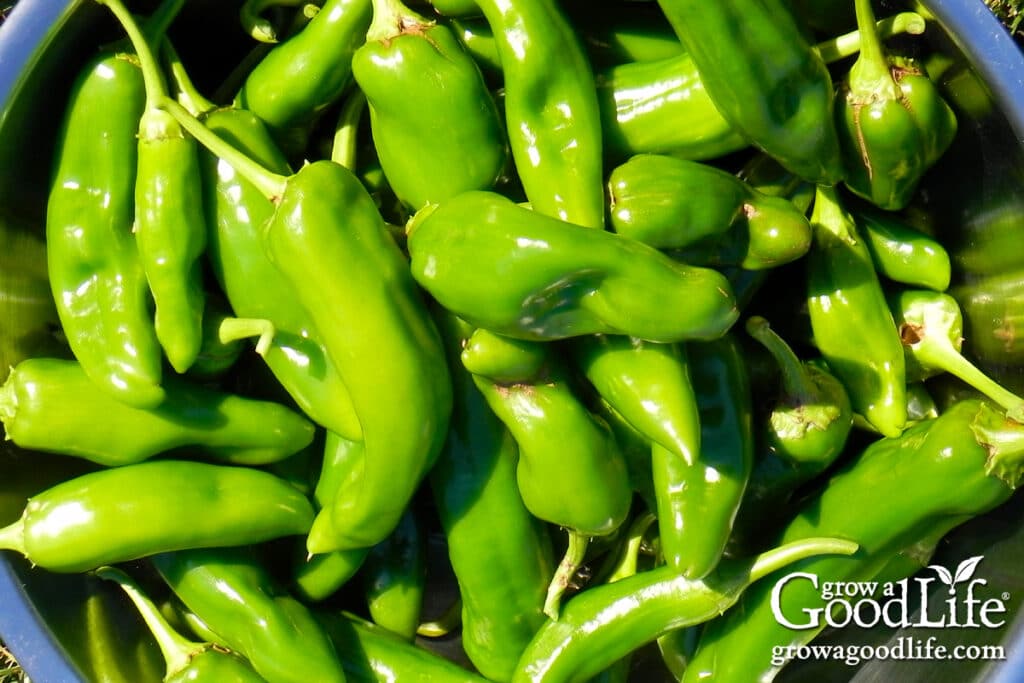
My peppers didn’t do well this year. They got off to a late start and then struggled to become established. Just when the plants finally found their groove and started to produce fruit, the weather turned cold, and frost warnings drove me to pluck all the green peppers from the plants or risk losing them.
While I usually grill peppers and make freezer-friendly roasted green chile sauce, this time I needed a way to preserve a larger batch for long-term storage. Thankfully, the new Ball Blue Book Guide to Preserving provided the perfect solution.
I was excited to find a new recipe for a blended roasted poblano salsa. With a few tweaks, I adapted it to create a delicious roasted green chile enchilada sauce, now safely preserved and ready to enjoy all winter long.
About the Ingredients
This roasted green enchilada sauce recipe is made from mild and flavorful long green chile peppers, along with a touch of heat from jalapeños, sweet onions, tangy lime juice, and a balanced blend of seasonings. Here’s a closer look at the key ingredients:
- Green Chile Peppers: I use Anaheim peppers for this recipe, but any long green chile pepper will work. Varieties like California, Hatch chiles, New Mexico, or Poblano peppers are great alternatives. You will need about 1 1/2 pounds of these peppers for the recipe.
- Jalapeño Peppers: Jalapeños add just the right amount of heat. For those who prefer more spice, serrano peppers can be substituted, or you can experiment with other similarly sized peppers. You will need 4 medium sized jalapeño peppers. It’s safe to reduce or omit the jalapeños, but increasing the amount could affect the safety of the recipe.
- Onions: I used sweet Spanish onions when I tested the recipe to balance the spiciness of the peppers, but you can use any bulb onion, such as yellow or white onions, depending on your preference.
- Bottled Lime Juice: Lime juice plays a crucial role in adjusting the acidity, ensuring this recipe is safe for canning. Be sure to use bottled lime juice rather than fresh to guarantee a consistent and safe acidity level.
- Seasoning: Garlic powder, ground cumin, salt, black pepper, and dried Mexican oregano bring out the rich, earthy flavors of the enchilada sauce. You can adjust the dried seasonings to suit your taste preferences.
While it’s okay to make some of the minor tweaks mentioned above, other changes may affect the safety of the canning recipe. If you make additional changes, consider freezing the green chile enchilada sauce instead of canning it.
Also, note that this recipe is for half-pint jars (8 ounces). Pints are not listed, so going up a jar size may be unsafe.
Steps for Canning Roasted Green Chile Enchilada Sauce
This flavorful green chile enchilada sauce is made by roasting green chile peppers, jalapeños, and onions, blending them with lime juice and seasonings, and processing in a water bath canner for shelf stable jars.
The recipe is adapted from the roasted poblano salsa in Ball Blue Book Guide to Preserving, 38th edition. I’ve doubled the recipe, swapped the poblanos for long green chile peppers, and adjusted the dried seasonings for a perfect blend of flavor.
I recommend reviewing the water bath canning process on the National Center for Home Food Preservation (NCHFP) website to ensure you’re familiar with safe canning practices.
Scroll to the bottom of this post for the complete recipe, but here are the detailed steps to guide you through making and canning your roasted green chile enchilada sauce:
Step 1: Gather Your Kitchen and Canning Equipment
Before you begin, make sure you have the following kitchen and canning tools ready:
- Water bath canner with a canning rack
- 8 half-pint canning jars (8-ounce size)
- Canning lids and bands (use new lids for each jar; bands can be reused)
- Canning tools: jar lifter, funnel, and bubble popper or a non-metal spatula to release trapped air bubbles
- Kitchen scale to weigh the green chile peppers before roasting
- Food prep gloves to protect your hands from hot pepper juice
- Food processor or blender to puree the enchilada sauce to the desired consistency
- Basic kitchen supplies: large rimmed baking sheet, large, heatproof prep bowl, large sauce pot, tongs, knife, cutting board, measuring cups and spoons, ladle, and plenty of clean kitchen towels
Wash all equipment, jars, lids, and bands in warm, soapy water. Rinse thoroughly and set aside to air dry on clean kitchen towels. Inspect each jar for nicks, scratches, or cracks, and discard any damaged ones to prevent breakage during processing.
Step 2: Roast the Peppers and Onions
Roasting the peppers and onions enhances their sweetness and makes peeling the peppers easier. You can do this over an open flame using a grill or roast in the oven. See How to Roast and Peel Peppers for a detailed tutorial.
Preheat your grill or oven to 400°F.
Weigh the green chile peppers, then rinse them thoroughly under cool running water. Set them aside to air dry on clean kitchen towels. Peel the onions, slice them into 1/2-inch thick rings, and discard the ends (or save them for making stock).
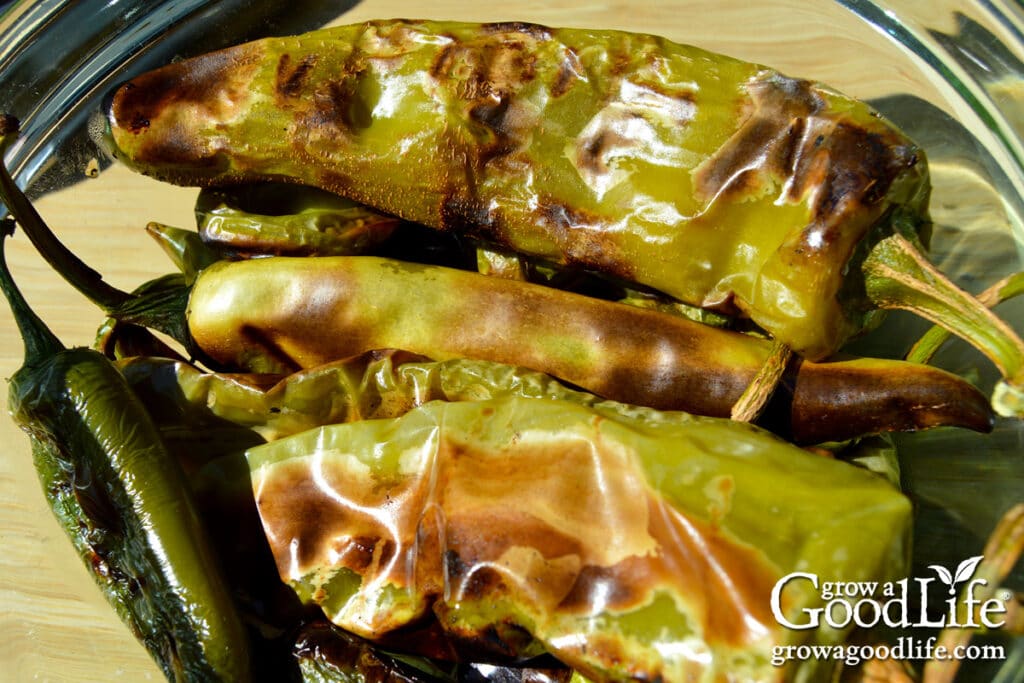
- Grill method: Place the green chile peppers, jalapeños, and onion slices directly on the grill grate. Grill the peppers, turning frequently, until they are charred and blistered on all sides. Be careful not to let the onions get too soft; remove them from the grill once they start to turn tender, before they can fall through the grate.
- Oven method: If you prefer to roast the vegetables in the oven, arrange them in a single layer on baking sheets. Roast until the peppers are puffed up and blistered, turning them halfway through for even cooking.
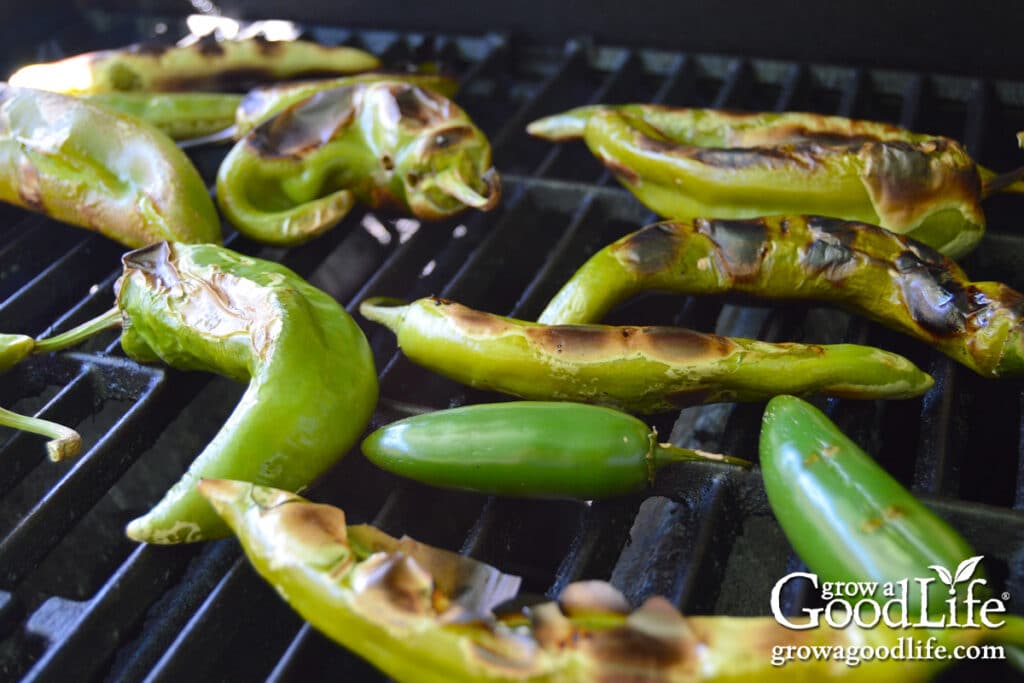
Once roasted, transfer the hot peppers and onions to a heatproof bowl. Cover the bowl tightly with a lid or foil and allow the vegetables to steam. This step helps loosen the skins, making the chile peppers easier to peel.
Step 3: Preheat the Canner and Jars
While the vegetables are steaming, it’s time to prepare your canner and jars.
Place the water bath canner on the stove and insert the jar rack into the bottom. Arrange the clean jars upright on the rack. Fill the canner with enough water to fully submerge the jars.
Bring the water to a simmer (180°F) and let the jars heat for at least 10 minutes. Keep them warm until you’re ready to fill them.
Step 4: Make the Green Chile Sauce
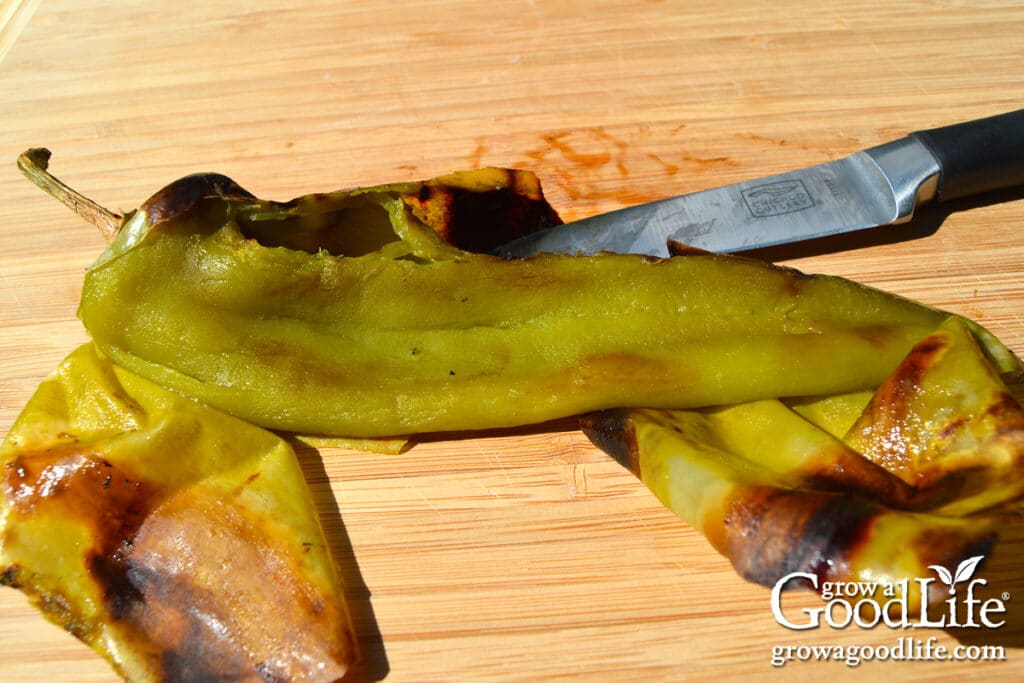
Once the peppers have cooled enough to handle, slip on a pair of food prep gloves to protect your hands. Remove the charred skins from the green chile peppers, cut off the stems, and scrape out the seeds and membranes. There is no need to peel jalapeños, simply cut off the stems and remove the seeds.
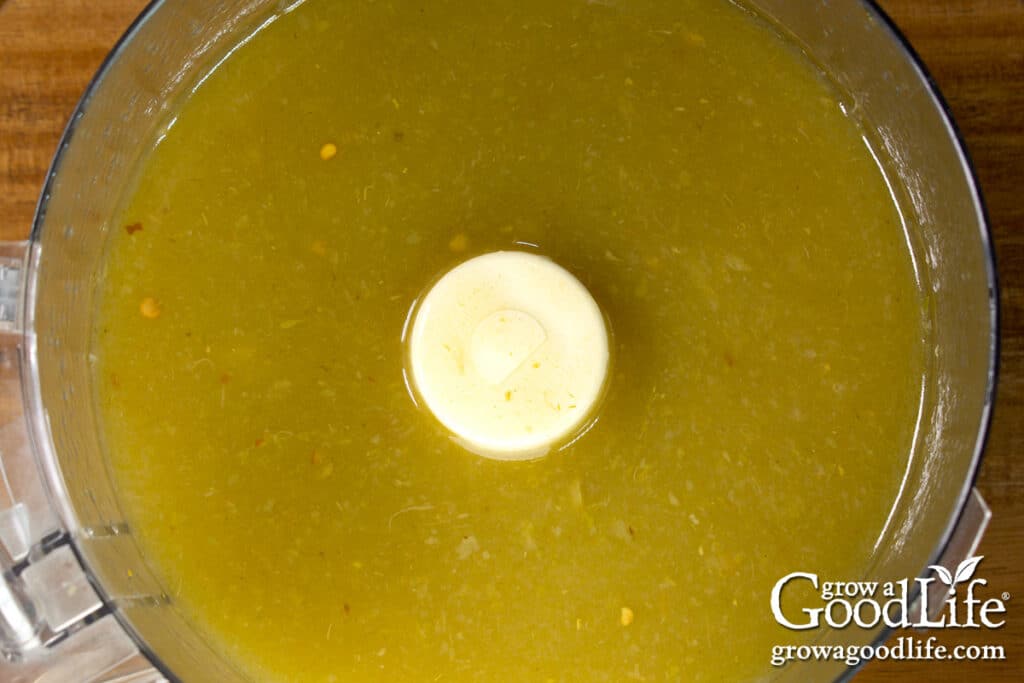
Transfer the peppers, roasted onions, lime juice, garlic powder, cumin, salt, black pepper, and oregano into a blender or food processor. Blend the mixture until smooth.
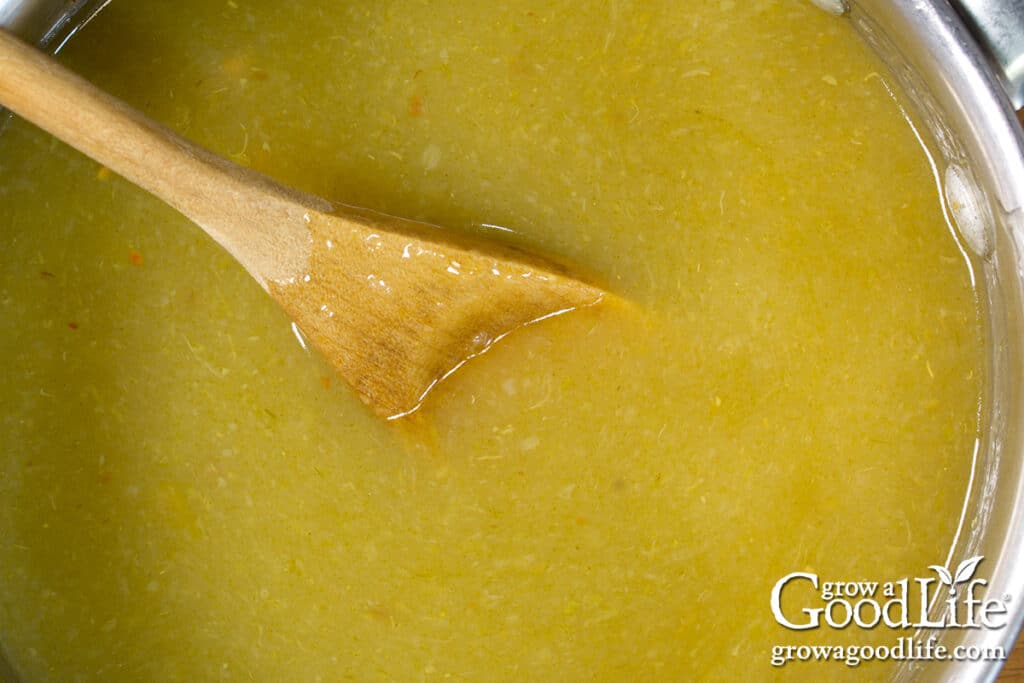
Pour the pureed mixture into a large saucepot. Bring the sauce to a boil over medium heat, then reduce the heat to a simmer. Let it simmer for about 5 minutes, stirring occasionally, until the sauce is heated through. Keep warm as you fill your jars.
Step 5: Fill the Jars
Prepare your work area by placing a dry towel on the counter, and the lids, bands, canning tools, and clean damp paper towel within reach.
Use the jar lifter to remove a warm jar from the canner, tilt to drain the water back into the canner, and place the jar on the towel. Use the funnel and ladle to fill the warm jar with hot sauce, leaving 1/2-inch of headspace.
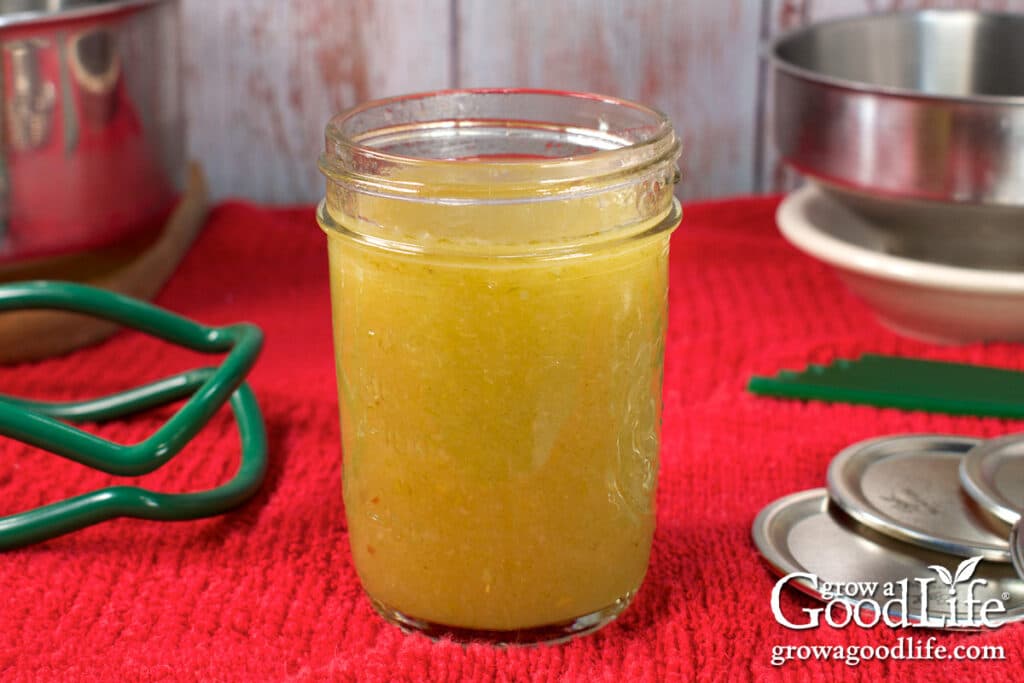
Slowly run the bubble popper through the jar to remove any air bubbles. Wipe the rim with a damp paper towel, place the lid on the jar, and screw on the band until fingertip tight. Place the filled jar back into the canner, then repeat with the remaining jars.
Step 6: Process in a Water Bath Canner
Once all the jars are filled and placed back into the canner, adjust the water level so they are covered by at least two inches of water. Bring the canner to a rolling boil. Once the water boils vigorously, set a timer and process the jars in a boiling water bath canner for the times indicated in the recipe below, adjusting the processing time for altitude if needed.
Step 7: Cool and Store
When the processing time is up, turn off the heat and remove the canner’s lid. Let it settle for 5 minutes to adjust to the temperature change.
Spread a dry towel on the counter. Then, use the jar lifter to remove the jars and place them on the towel, spacing them a few inches apart. Keep them upright as you lift them out of the canner, put them on the towel, and let them cool undisturbed for 12 to 24 hours. Don’t touch the lids or bands yet. The jars need to cool naturally to form a tight seal.
After at least 12 hours, check the seals by pressing the center of each lid. If the lid does not pop up, the jar is sealed. Wash the jars to remove residue, then store the sealed jars in a cool, dark place for 12 to 18 months. Refrigerate unsealed and opened jars and use them within a week.
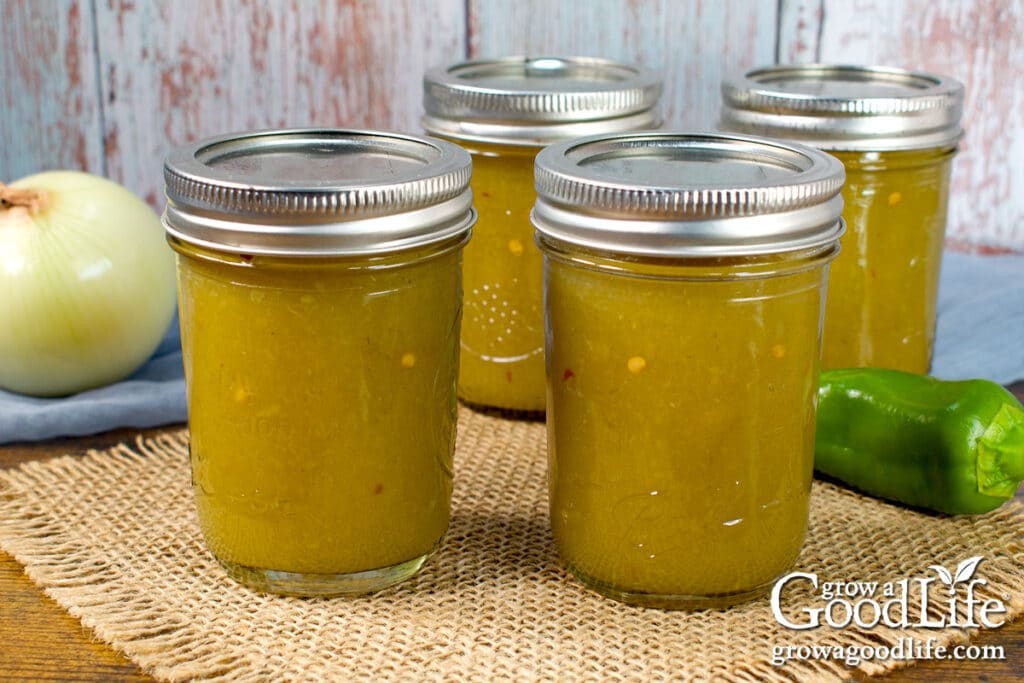
Ways to Use Roasted Green Chile Enchilada Sauce
This versatile sauce adds a burst of flavor to many dishes, making it a must-have in your pantry. Here are some delicious ways to enjoy it:
- Chicken Enchiladas: My favorite way to enjoy this homemade green enchilada sauce is to make chicken enchiladas. Get the recipe here: Chicken Enchilada Recipe with Roasted Green Chile Sauce.
- Green Chile Breakfast Burritos: Drizzle the sauce over breakfast burritos stuffed with scrambled eggs, potatoes, cheese, and sausage for a spicy morning kick.
- Fajitas: Spoon the green chile enchilada sauce over beef or chicken fajitas for added flavor. Check out these Chili-Lime Chicken Fajitas and Chili-Lime Beef Steak Fajitas recipes.
- White Bean Chicken Chile: Use a jar of this green chile sauce instead of the canned diced green chiles in this slow cooker recipe: Crockpot White Bean Chicken Chili.
- Green Chile Nachos: Use this green chile sauce it as a topping for loaded nachos. Drizzle over tortilla chips piled with cheese and beans, then bake until bubbly. Serve warm with sour cream and fresh cilantro.
Green Chile Enchilada Sauce Canning Recipe
Ingredients
- 1 1/2 pounds long green chili peppers Anaheim, New Mexico, or Hatch
- 4 medium jalapeno or serrano peppers
- 2 large white onions peeled and cut into 1/2-inch rings
- 1 cup bottled lime juice
- 1 teaspoon garlic powder
- 1 teaspoon ground cumin
- 1/2 teaspoon salt
- 1/2 teaspoon ground black pepper
- 1/2 teaspoon dried Mexican oregano
Instructions
Prepare the Vegetables:
- Preheat your grill to 400 ̊F. Arrange the long green chili peppers, jalapeños, and onion slices on the grate and grill until the vegetables are charred and puffy. (You can also arrange them on baking sheets and roast them in an oven until they are charred.)
- Transfer the vegetables to a heatproof bowl, cover, and set aside to steam.
Prepare the Canner and Jars:
- Meanwhile, prepare your jars and water bath canner. Place the water bath canner on the stove, add the jar rack, place jars upright on the rack, and add water to cover. Bring the canner to a simmer (180˚F) for at least 10 minutes, and keep warm.
Make the Green Chile Enchilada Sauce:
- When the peppers are cool enough to handle, slip on a pair of food prep gloves to protect your hands from the hot pepper juices. Then remove the skins, stems, and seeds.
- Transfer the peppers, onions, lime juice, garlic powder, cumin, salt, black pepper, and oregano to a blender or food processor and puree until smooth.
- Pour the puree into a large saucepot, bring the pot to a boil, then reduce the heat and let it simmer until heated through, about 5 minutes.
Fill the Jars:
- Spread a dry towel on the counter. Use the jar lifter to remove a warm jar from the canner. Drain the water back into the canner and place it on the towel. Keep the remaining jars in the canner so they stay warm.
- Fill a warm jar with the hot sauce, leaving a 1/2-inch headspace at the top. Remove air bubbles, adjust headspace, wipe the rim, center a lid on the jar, and screw on the band until it is fingertip tight.
- Place the jar in the canner and repeat until all the jars are filled.
Process in a Water Bath Canner:
- Once the filled jars are all in the canner, adjust the water level in the canner so that it is 2 inches over the tops of the jars. Cover the canner and bring it to a rolling boil over medium-high heat.
- Once boiling, set a timer and process half-pint jars for 15 minutes in a boiling water bath canner at altitudes of less than 1,000 ft. (adjust the processing time for higher altitudes).
Cool and Store:
- When the processing time is up, turn off the heat and remove the canner lid. Wait 5 minutes to allow the canner to adjust to the temperature change.
- Spread a dry kitchen towel on the counter. Use a jar lifter to remove the jars one at a time from the canner. Keep the jars upright and place them on the towel. Do not tighten ring bands or test the seals yet. Let the jars sit undisturbed for 12 to 24 hours to cool.
- After the jars have cooled for at least 12 hours, check to be sure the lids have sealed by pushing on the center of the lid. The lid should not pop up. If the lid flexes up and down, it did not seal. Place the jar in the refrigerator and use within a week, or transfer to a freezer container and freeze for longer.
- Remove the ring bands, wash, label, date the jars, and store in a cool, dark place between 50 to 70 degrees F for 12 to 18 months. Once the jar is open, refrigerate and use it within a month. Yields about 8 half pints jars.
Notes
Nutrition
You May Also Like these Salsa Canning Recipes:
If you love salsa, consider adding our eBook, Grow a Good Life Guide to 50 Salsa Canning Recipes, to your resource library. This 72-page eBook is packed with a variety of delicious salsa recipes, including classic tomato salsas to roasted and grilled salsas to tomatillo and delicious fruit blends, all safe for water bath canning. It’s the perfect guide to help you preserve your garden harvests.

