Restaurant Style Salsa Canning Recipe
This post may contain affiliate links, which means that I may receive a commission if you make a purchase using these links. As an Amazon Associate I earn from qualifying purchases.
If you love a smooth salsa like you find at your favorite Mexican restaurants, this recipe is for you! With this safe canning recipe, you can make restaurant-style salsa and preserve it in shelf-stable jars using a water bath canner.
This blender salsa captures the flavor and texture of your favorite restaurant-style red sauce, delivering a perfectly smooth and deliciously blended salsa that’s ideal for dipping or topping your favorite Mexican dishes.
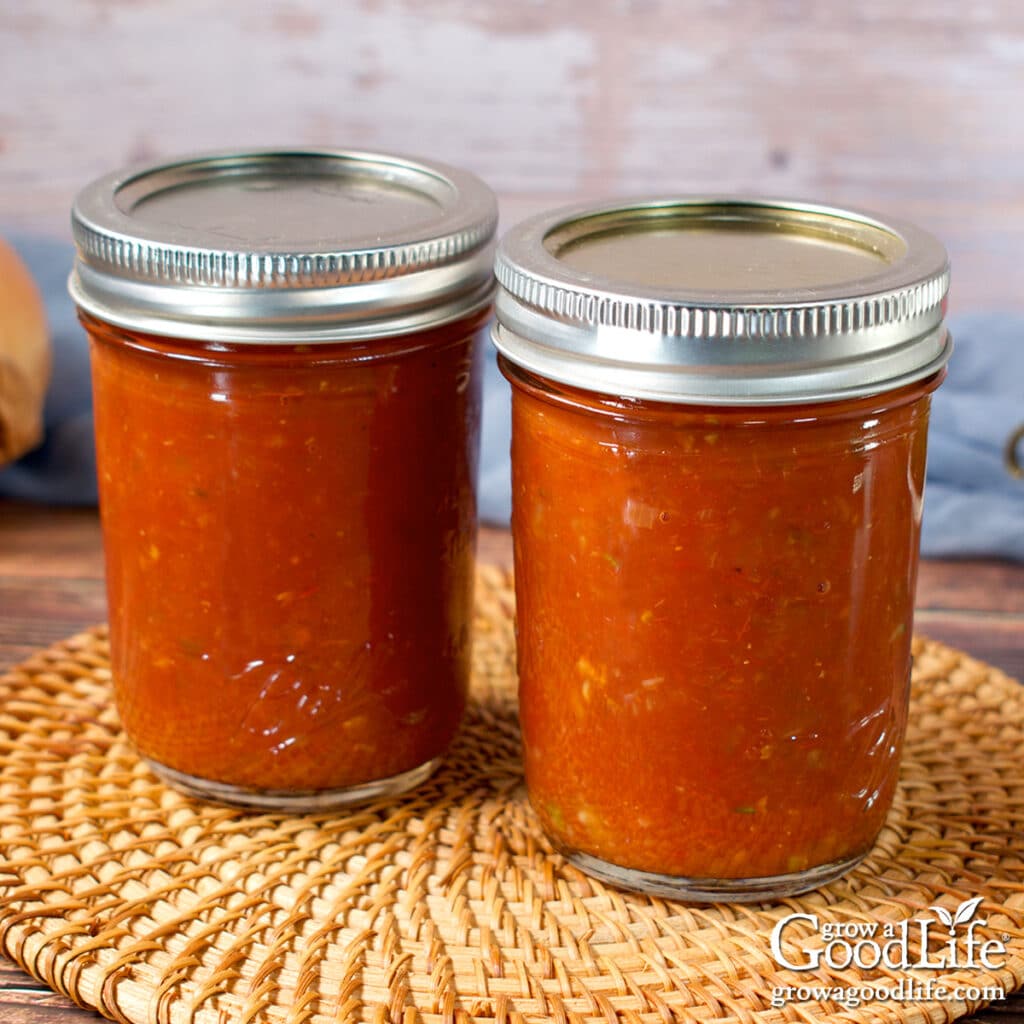
I love the flavor of salsa, but I don’t like the chunky texture. Until I found this recipe, I was opening the jars and blending the salsa smooth before serving with tortilla chips or spooning over tacos.
I was thrilled when I came across this Salsa Ranchera recipe while researching for my 50 Salsa Canning Recipes eBook.
I found it in the updated 2020 Ball Complete Book of Home Preserving, which states right in the margin, “If you prefer a smooth sauce, puree it in a blender before canning.” So, of course I tried it as soon as I had enough fresh ingredients from the garden. It has become one of my favorite ways to preserve salsa.
If you prefer a smooth, blended salsa over chunky, this recipe is for you. Developed by Ball, it’s one of the few pureed salsas safe for home canning.
Also, if you do not like the flavor of vinegar or lime juice in your home canned salsas, you will be pleased to know you can use citric acid instead in this recipe. Currently, this is the only lab-tested salsa recipe that uses citric acid to adjust the acidity for safe canning.
Follow this recipe and learn how to make restaurant-style salsa and preserve it in shelf-stable jars using a water bath canner. Enjoy delicious blender salsa anytime, straight from your pantry!
About the Ingredients
This Restaurant Style Salsa is made from roasted plum tomatoes, spicy jalapeño peppers, onions, garlic, and bottled lime juice or citric acid to ensure the acidity level is safe for home canning. Here’s a breakdown of each ingredient and tips for selecting the best quality for preserving:
Tomatoes
For this salsa, it’s best to use plum or paste tomatoes, such as Roma, San Marzano, Amish Paste, and Viva Italia tomatoes. These varieties have thicker flesh, fewer seeds, and slow roast in the oven very well, resulting in a salsa with a rich texture and less water content. When selecting fresh tomatoes, look for firm, blemish-free fruit. Avoid any that have soft spots or cracks, as these could introduce unwanted bacteria into your salsa.
Jalapeños
Jalapeño peppers add the perfect amount of heat to your salsa. Choose firm, glossy peppers with a vibrant color, either green or red. Avoid peppers with blemishes, wrinkles, or soft spots. For a milder salsa, remove the seeds and membranes from the jalapeños; for a spicier kick, leave them intact.
Onions
Any bulb onion can be used in this salsa, such as yellow, white, or red onions. Each type of onion will bring a slightly different flavor profile to the salsa: yellow onions offer a mild sweetness, white onions have a sharper bite, and red onions add a hint of color and a bit more sweetness. Choose firm onions without any signs of sprouting or soft spots.
Garlic
Fresh garlic adds a depth of flavor to the salsa. Use firm cloves that are free of any green sprouts or soft spots. The garlic should be fragrant but not overpowering, indicating it is fresh and not overly aged.
Acid
Bottled lime juice, bottled lemon juice, or powdered citric acid is required to adjust the pH to prevent the growth of harmful bacteria, so the salsa is safe for home canning. If using lime or lemon juice, use bottled instead of fresh. Bottled has a consistent acidity level that is required to prevent the growth of harmful bacteria during storage.
Safe Ingredient Changes
When canning salsa, following a research-based, lab-tested recipe is important to ensure the mixture of high-acid and low-acid ingredients is safe for preservation. However, there are some minor adjustments you can make without compromising safety:
- Use Any Tomato Variety: You can use any variety or color of tomato in this recipe, including cherry, heirloom, or beefsteak tomatoes. Just keep in mind that juicier varieties may yield a slightly thinner salsa.
- Substitute the Jalapeños: Feel free to substitute the jalapeños with an equal amount of any other pepper variety, whether sweet or hot. Two large jalapeño peppers yield about 1/2 cup of diced peppers. For instance, you could use bell peppers for a milder salsa or habanero chile peppers for extra heat. You can omit the peppers altogether, but do not increase the quantity beyond what the recipe specifies, as this could alter the acidity and compromise safety.
- Use Any Onion: Red, white, and yellow bulb onions are interchangeable in this recipe. You can swap them measure for measure based on your flavor preference. If you want to omit onions entirely, that’s also safe. However, like with peppers, do not increase the amount of onion beyond what the recipe calls for, as this could affect the overall acidity.
- Add Dried Seasonings: To customize the flavor, you can safely add a small amount of dried seasonings, such as cumin, chili powder, or red pepper flakes. A little sugar can also be added if you prefer a sweeter salsa. These adjustments are minor and do not affect the safety of the canning process.
- Swap the Bottled Lime Juice: You can substitute bottled lemon juice for the bottled lime juice if you prefer a different flavor.
- Use Citric Acid: Alternatively, you can use citric acid instead of bottled lime/lemon juices. Before filling each jar, add 1/4 teaspoon of citric acid to ensure the proper acidity level for safe home canning.
Remember, aside from these changes, it’s important to follow the recipe to ensure safe canning. It is also important to note that this recipe is for half-pint jars (8 ounces). Pints are not listed, so it may not be safe to go up a jar size.
If you make other alterations not listed here, consider refrigerating or freezing your salsa instead of canning it. If refrigerated, use within 2 weeks.
Steps for Canning Restaurant Style Salsa
This canning recipe is adapted from the “Slow Roasted Mexican Tomato Sauce (Salsa Ranchera)” found in the Ball Complete Book of Home Preserving (2020). I’ve adjusted the seasonings and used bottled lime juice to enhance the flavor while ensuring safe canning practices.
Before you begin, it’s a good idea to review the guidelines on using boiling water canners provided by the National Center for Home Food Preservation. This will help you understand the process and ensure you’re following safe canning methods.
You’ll find the complete, printable recipe at the end of this article, but here are the detailed steps to making restaurant-style salsa with fresh garden vegetables and preserving it in shelf-stable jars using a boiling water bath canner:
Step 1: Gather Your Kitchen and Canning Equipment
You won’t need a large water bath canner for this small-batch canning recipe. A large pot can serve as your boiling water canner. I recommend using an 8-quart tall pot with an 8-inch canning rack, which comfortably holds four half-pint jars.
Ensure that your pot is tall enough to cover the tops of the jars by a few inches of water, plus an additional two inches to prevent boiling water from splashing out. Place a rack at the bottom of the pot to elevate the jars, which protects them from direct heat and allows water to circulate evenly around the jars during processing.
You will need:
- Water bath canner with a canning rack
- 4 half-pint canning jars
- Canning lids and ring bands (new lids for each jar; bands can be reused)
- Canning tools: jar lifter, funnel, and bubble popper
- Kitchen scale
- Food prep gloves for handling hot peppers
- Food processor or blender to puree the salsa.
- Basic kitchen supplies: baking sheets, knife, cutting board, large pot, measuring cups and spoons, ladle, and clean kitchen towels
Before starting, thoroughly wash all equipment in hot, soapy water and rinse well to remove any soap residue. Inspect your jars carefully, especially the rims, and discard any with cracks, chips, or other signs of damage. Once clean, set everything aside to air dry on clean kitchen towels.
Step 2: Prepare the Ingredients
Start by preheating your oven to 325˚F. While the oven is heating, wash the tomatoes thoroughly under clean, running water to remove any dirt or debris. Remove the cores from the tomatoes and cut them in half. Arrange the tomatoes cut side up on a large, rimmed baking sheet.
Roast the tomatoes in the preheated oven for about 1 hour, or until they are mostly dry and the skins are loose and easily peel away. This slow-roasting process concentrates the flavor and makes it easier to remove the skins. Once done, take the baking sheet out of the oven and set it aside to cool.
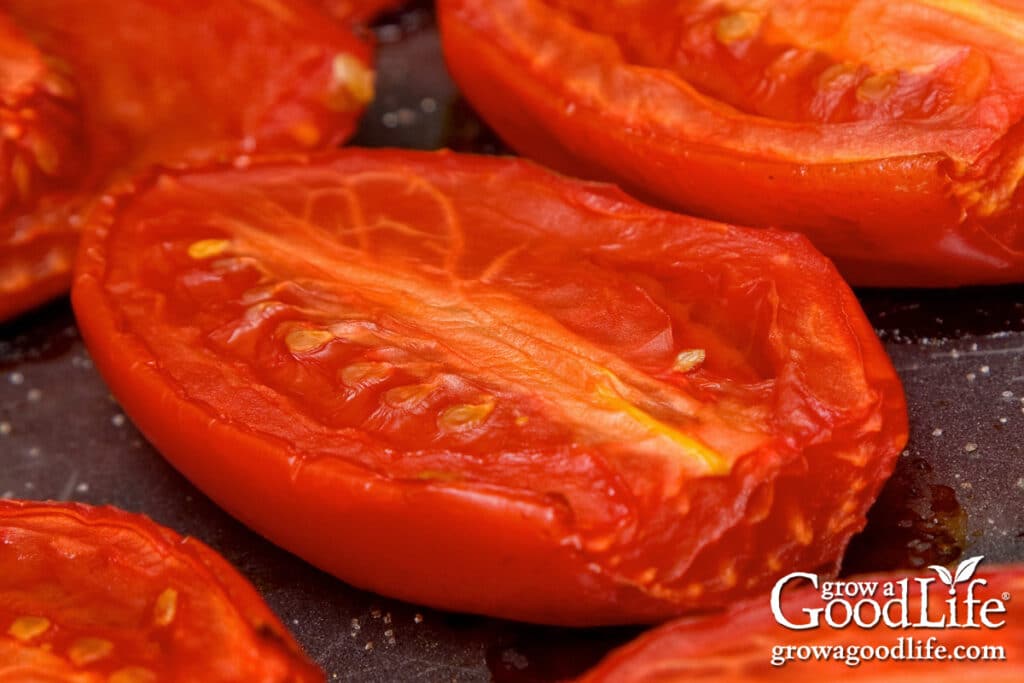
While the tomatoes are roasting, prepare the remaining ingredients. Remember to wear a pair of food prep gloves to protect your hands from the spicy oils in the jalapeños.
Remove the stems from the jalapeños and roughly chop them into pieces. For a milder salsa, remove the seeds and membranes by cutting the jalapeños in half and scraping out the seeds and membranes with a spoon. If you prefer a spicier salsa, leave the seeds and membranes. Once prepared, chop the jalapeños into smaller pieces, and add them to a prep bowl.
Next, peel the onion and finely chop it. You’ll need 1 cup of finely chopped onion for this recipe. Then, peel the garlic cloves, roughly chop them, and add them to the bowl with the onions.
Step 3: Warm the Canner and Jars
Place your water bath canner on the stove. Insert the jar rack into the pot, place the jars upright on the rack, and fill with enough water to cover the jars. Bring to a simmer (180˚F) for at least 10 minutes, then keep warm.
Step 4: Make the Salsa
Once the roasted tomatoes have cooled enough to handle, slip off the skins and discard. Add the tomatoes to a food processor or blender. Add the prepared jalapeños, onions, garlic, salt, and pepper. Start with a few pulses, then blend the mixture until it reaches the consistency you want, chunky or smooth.
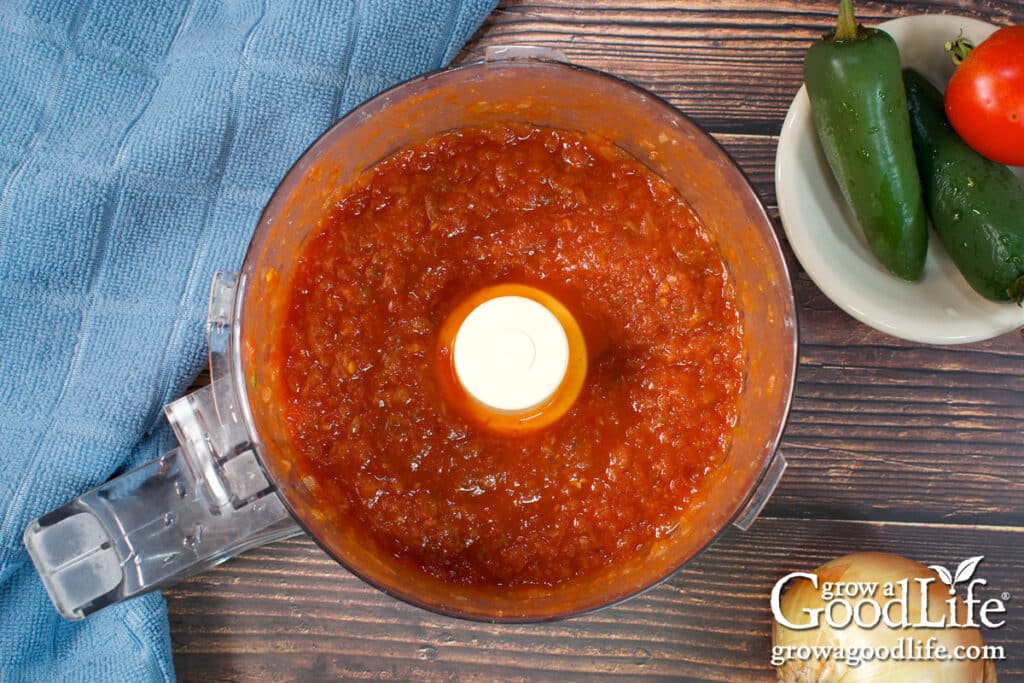
Pour the pureed mixture into a large saucepot. Add salt and pepper, and stir well to combine all the ingredients. Bring the mixture to a boil over medium-high heat, then reduce the heat to a simmer. Let the salsa simmer for about 5 minutes, stirring frequently to prevent sticking and to ensure it heats evenly throughout.
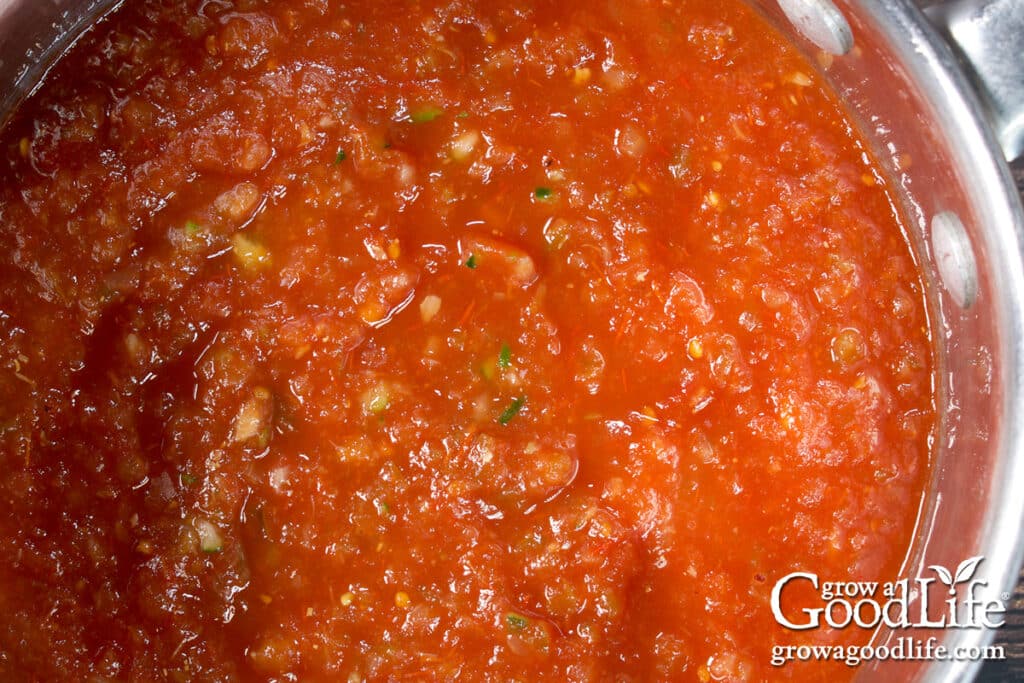
Step 5: Fill the Jars
Arrange your work area by laying a dry towel on the counter near the stove, and placing the canning tools, canning lids and rings, lime juice or citric acid, and measuring spoon within reach.
Use the jar lifter to remove one jar from the canner. Tilt to drain the water back into the canner, and place the jar on the towel. Keep the remaining jars in the canner to stay warm.
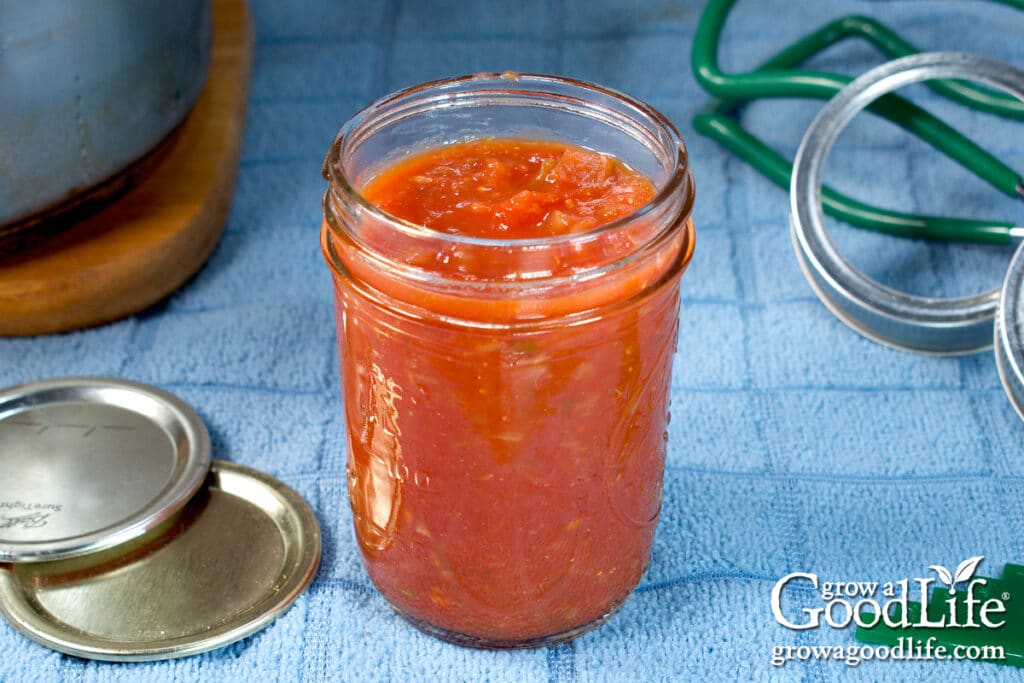
Add 1 tablespoon of lime juice to the jar (or 1/4 teaspoon of citric acid), then use the canning funnel and ladle to fill the jar with hot salsa, leaving a 1/2-inch headspace.
Run the bubble popper through the jar slowly to release any air bubbles. Adjust the headspace again if needed to maintain 1/2-inch.
Wipe the rim with a clean towel to remove any residue. Add the lid and secure it with a screw band until it is fingertip-tight. Return the filled jar to the canner, then repeat with the remaining jars.
Step 6: Process in a Water Bath Canner
Once all the jars are filled and placed in the canner, adjust the water level so that it is at least 2 inches above the tops of the jars. Cover the pot with the lid and bring the water to a rolling boil.
Once the water is boiling vigorously, set a timer and process the jars for the time specified in the recipe below. Maintaining a consistent, vigorous boil throughout the processing time is essential to ensure the salsa is safely preserved.
Step 7: Cool and Store the Jars
When the processing time is complete, turn off the heat and carefully remove the canner lid. Allow the jars to sit in the canner for about 5 minutes to cool slightly and settle. Meanwhile, spread a dry kitchen towel on the counter.
Using a jar lifter, carefully remove each jar from the canner and place it on the towel, leaving a few inches of space between each jar to allow air circulation. Keep the jars upright, and do not tighten the bands or check the seals at this point. Allow the jars to cool completely undisturbed for 12 to 24 hours.
After 12 to 24 hours, check the seals by pressing down on the center of each lid. The lids should be firm and not flex up and down. If a jar hasn’t sealed properly, refrigerate it immediately and use it within 2 weeks.
To prepare the jars for storage, remove the ring bands and wash the jars thoroughly in warm, soapy water to remove any residue. Dry the jar, then label them with the date and contents.
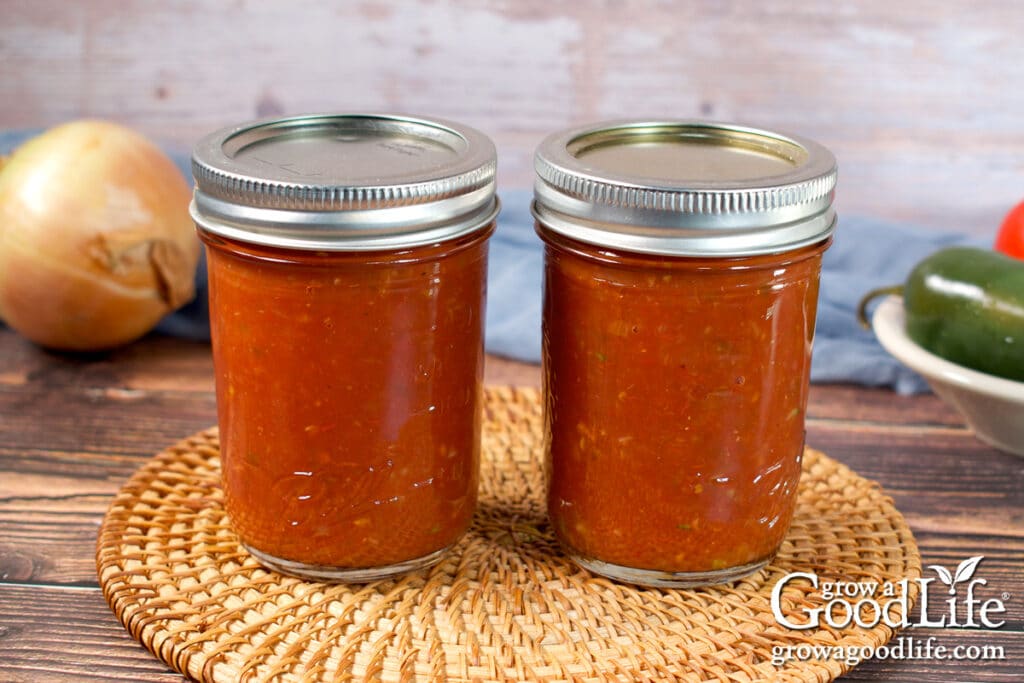
Store the jars of salsa in a cool, dark place, ideally between 50 and 70˚F. For the best flavor, allow the salsa to sit for 2 to 4 weeks before opening. Consume the salsa within 12 to 18 months for optimal quality. This recipe yields about 4 half-pint jars.
Ways to Enjoy Your Restaurant-Style Salsa
Once you’ve stocked your pantry with mason jars of homemade salsa, there are endless ways to enjoy it. Here are some ideas to inspire you:
- Chips and Dip: A timeless favorite that’s both simple and delicious! Serve your salsa with crispy tortilla chips for the perfect snack or appetizer. For an extra burst of freshness, stir in freshly chopped cilantro and a splash of fresh lime juice right before serving. Warm the chips in the oven or air-fryer for that authentic restaurant experience, just like at your favorite Mexican spot.
- Tacos and Fajitas: Add a spoonful of salsa to fajitas or tacos for an extra burst of flavor. The smooth texture pairs perfectly with taco-seasoned meats and sautéed vegetables.
- Grilled Meats and Vegetables: Use your salsa as a flavorful topping for grilled chicken, steak, or veggies. The rich tomato base enhances the smoky flavors of grilled dishes.
- Chili Topper: Spoon your salsa over a warm bowl of chili for an extra layer of flavor. The smooth, spicy kick from the homemade salsa blends perfectly with hearty chili.
- Breakfast Dishes: Spoon your salsa over scrambled eggs, breakfast burritos, or even avocado toast. The smooth, blended texture perfectly complements creamy and savory breakfasts.
- Mexican Rice Bowls: Drizzle your salsa over rice bowls filled with beans, avocado, and your choice of protein. Fresh cilantro and a squeeze of fresh lime juice will elevate the dish and bring everything together.
No matter how you use it, this blended restaurant-style salsa will add delicious, vibrant flavor to your meals!
Restaurant Style Salsa Canning Recipe
Ingredients
- 5 pounds plum tomatoes cored and cut in half
- 2 jalapeno peppers
- 1 cup finely chopped onions
- 2 cloves garlic chopped
- 1 teaspoon salt
- 1/2 teaspoon ground black pepper
- Bottled lime juice or citric acid
Instructions
Prepare the Ingredients:
- Preheat your oven to 325˚F. Arrange the tomatoes cut side up on baking sheets, and roast in a preheated oven until they are mostly dry and the skins loosen and slip off easily, about 1 hour. Remove the tomatoes from the oven and set aside to cool.
- While the tomatoes are roasting, prepare the jalapenos, onions, and garlic. Add them to a prep bowl and set aside. Be sure to wear gloves to protect your hands from the hot pepper juices.
Prepare the Canning Equipment:
- Wash the jars, lids, screw bands, and canning tools in hot soapy water and rinse well.
- Place the water bath canner on the stove, add the jar rack, place jars upright on the rack, and add water to cover the jars. Bring the canner to a simmer (180˚F) for at least 10 minutes, and keep warm.
Make the Salsa:
- Once the tomatoes are cool enough to handle, slip off the skins. Then add the tomatoes, jalapenos, onions, garlic, salt, and pepper to a food processor and puree until your desired consistency, chunky or smooth.
- Pour the puree into a large saucepot and bring to a boil. Then, reduce the heat and let it simmer, stirring frequently, until heated through, about 5 minutes.
Fill the Jars:
- Spread a towel on the counter. Use the jar lifter to remove a warm jar from the canner. Drain the water back into the canner and place it on the towel. Keep the remaining jars in the canner so they stay warm.
- Add 1 tablespoon of lime juice to the jar (or 1/4 teaspoon citric acid), then use the canning funnel and ladle to fill the jar with hot salsa, leaving a 1/2-inch headspace.
- Run the bubble popper through the jar to release air bubbles. Adjust the headspace again if needed to maintain 1/2-inch.
- Wipe the rim with a damp paper towel. Center a lid on the jar, and screw on the band until it is fingertip tight. Place the jar in the canner and repeat until all the jars are filled.
Process in a Boiling Water Bath Canner:
- Once the filled jars are all in the canner, adjust the water level to two inches above the jar tops.
- Cover the canner and bring it to a rolling boil over medium-high heat. Once it boils, set a timer and process half-pints in a boiling water bath canner for 35 minutes at altitudes of less than 1,000 ft. Adjust processing time for your altitude if necessary. (See notes)
Cool and Store the Jars:
- When the processing time is complete, turn off the heat, remove the cover, and let the canner cool down and settle for 5 minutes.
- Spread a dry kitchen towel on the counter. Use a jar lifter to remove the jars one at a time from the canner. Keep the jars upright and place them on the towel spaced several inches apart. Do not tighten ring bands or test the seals yet. Let the jars sit undisturbed for 12 to 24 hours to cool.
- After the jars have cooled for at least 12 hours, check to be sure the lids have sealed by pushing on the center of the lid. The lid should not pop up. If the lid flexes up and down, it did not seal. Place the jar in the refrigerator, and use within 2 weeks.
- Remove the ring bands, wash, label, date the jars, and store in a cool, dark place between 50 to 70˚F for 12 to 18 months. Once the jar is open, store in the fridge and use it within 2 weeks. Yields about 4 half pints.
Notes
Nutrition
You may also like these salsa canning recipes:
If you love salsa, consider adding our eBook, Grow a Good Life Guide to 50 Salsa Canning Recipes, to your resource library. This 72-page eBook is packed with a variety of delicious salsa recipes, including classic tomato salsas to roasted and grilled salsas to tomatillo and delicious fruit blends, all safe for water bath canning. It’s the perfect guide to help you preserve your garden harvests.

I just made this using backyard produce. I substituted a couple smaller long green, pretty mild, chili peppers and one Scotch Bonnet for the Jalapenos. I rough blended the roasted tomatoes with a stick blender and then put them through a food mill to separate out the seeds and skins. I only had 2 1/2 pounds of tomatoes so I cut all the other measurements in half, so half a recipe. This made exactly four 8 oz. jars. The salsa is delicious. thanks for the recipe. I was searching for salsa using Citric Acid and this is the only seemingly legit one I found.
Jon, I’m so glad you enjoyed the salsa and were able to make it with your own backyard harvest, that makes it even better! The substitutions you made with the peppers sounds delicious. This is indeed the only tested safe salsa canning recipe I’ve come across that uses citric acid, so I’m happy you found it helpful! Thank you for sharing your experience.