Canning Pears for Food Storage
This post may contain affiliate links, which means that I may receive a commission if you make a purchase using these links. As an Amazon Associate I earn from qualifying purchases.
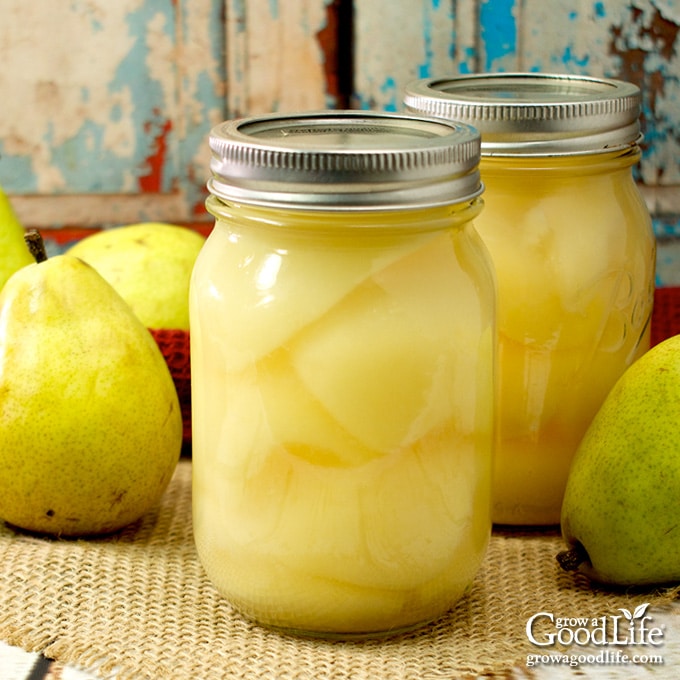
Canning pears are the perfect way to preserve them at their peak to enjoy all year. Home canned pears are great to have on the shelf to use in baked goods, salads, stirred into oatmeal and yogurt, or enjoyed straight from the jar.
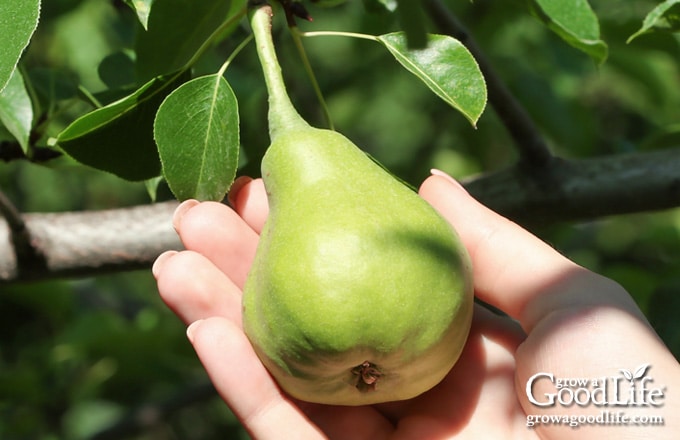
Our pear trees produced a bumper crop this year, and each day I am gathering the fruit to preserve for later. The deer enjoy them too, but there is plenty for all of us. I let them have the fruit that falls to the ground, and I use a homemade fruit picker made from a recycled milk jug attached to a pole to grab the fruit high on the tree.
Tips for Canning Pears
Canned pears are preserved by peeling, slicing, hot packing into canning jars with a light syrup, and processing in a water-bath canner for shelf stable jars.
How to Tell When Pears are Ready to Harvest
Unlike most fruit, pears are harvested before they fully ripen on the tree. If you leave pears on the tree to ripen, they will ripen from the inside out. This results in a mealy and mushy texture in the center. Great for making pear jam or pear sauce, but not so great for fresh eating or canning.
The easiest way to tell if a pear is ready to harvest is to lift it and roll the fruit on a slight angle. If it is ready, it will separate easily at the stem where it attaches to the branch or spur. If it needs more time, it will hold on to the branch. Wait a few days and try it again.
Whether you harvest your own pears, or purchase from the farmer’s market, ripen your pears at room temperature 4 to 7 days.
Pears are ripe when their color changes slightly, the flesh near the stem yields to gentle pressure, and the fruit has a sweet smell. Unfortunately, pears don’t ripen all at once, so store ripe pears in the refrigerator until the others catch up.
Best Pears for Canning
Choose mature, slightly under ripe fruit perfect for fresh eating or cooking. Firm pears hold up better to the canning process and are less likely to turn mushy. Bartlett pears are best for canning, but Anjou, Bosc, and Comice pears are also ideal.
Use whatever type of pears you can get your hands on or harvest from local trees. They are still safe to eat if they end up a little mushy once canned. They are delicious mashed up and spooned over yogurt, ice cream, or pancakes.
Asian pears, also called apple pairs, or oriental pears, can be canned too, but an acid must be added to make them safe for canning. Follow this recipe for canning Asian pears.
Depending on the size of the pieces, you will need about 11 pounds of pears for a canner load of 9 pints, about 17 1/2 pounds for a canner load of 7 quarts.
Choose a Preserving Liquid
You can preserve pears in a sugar syrup, honey syrup, apple juice, pear juice, white grape juice, or plain water.
Pears canned in syrup will hold their shape better and maintain flavor. I use a very light sugar syrup in this recipe, but feel free to substitute any of these options:
Syrup for 9 Pints:
- Very Light: 6 1/2 cups water and 3/4 cups sugar
- Light: 5 3/4 cups water and 1 1/2 cups sugar
- Medium: 5 1/4 cups water and 2 1/4 cups sugar
- Heavy: 5 cups water and 3 1/4 cups sugar
- Light Honey: 7 cups water and 1/2 cups mild honey
Steps to Canning Pears
If you are new to canning or haven’t canned in a while, it may be helpful to review this article on water bath canning at the National Center for Home Food Preservation website.
A more detailed and printable recipe can be found at the bottom of this article, but these are the general steps for canning pears in pint-sized jars. See the notes in the recipe for quarts.
Step 1: Gather your canning supplies
- Water bath canner and canning rack
- 9 pint sized canning jars
- Canning lids and bands (new lids for each jar, bands can be reused)
- Canning tools: jar lifter, canning ladle, funnel, and bubble popper
- Plus basic kitchen supplies such as a large sauce pot, large prep bowls, towels, large slotted spoon, tongs, knife, and a cutting board.
Step 2: Prepare the canning equipment
Check the jars carefully for nicks and cracks. Eliminate any that are damaged as these will break in the canner. Wash the jars, lids, bands and canning tools in warm, soapy water and rinse well. Set the lids, bands, and tools aside to air-dry until you are ready to use them.
Jars must be heated before filling to prevent breakage due to thermal shock. Place the canning rack into the water bath canner, set the jars upright in the canner, and add water to cover the jars. Bring the canner to a simmer (180˚F) for 10 minutes, and keep hot until you are ready to fill them.
Step 3: Make the syrup
Add the sugar and water to a large saucepan and bring to a boil over medium-high heat to dissolve sugar, and then reduce heat to a simmer (180˚F) and keep warm.
Step 4: Prepare a lemon water bath
To prevent browning, you can dip the peeled and sliced pears into a lemon water bath. Fill a large bowl with about a gallon of cold water and juice from one lemon or 1/2 cup of bottled lemon juice. You can also use Fruit Fresh to prevent browning. Follow the instructions on the container.
Step 5: Prepare the pears
Wash the pears well under clean, running water. Peel pears, remove the core, and cut into halves, quarters, or slices. Add the pear pieces to the prepared lemon bath as you work.
Drain the pears and add them to the sugar-syrup pot. Cover the pot, raise the heat, and bring the pot to a boil, and boil for 5 minutes. Reduce the heat to low and fill the jars.
Step 6: Can the pears
Spread a kitchen towel on the counter. Use the jar lifter to remove a hot jar from the canner, drain, and place on the towel. Keep the remaining jars in the canner, so they stay warm.
Use tongs and pack the hot pears into the jar. Use the canning funnel and ladle to pour the hot syrup over the pears maintaining a 1/2-inch headspace.
Run the bubble popper through the jars to remove air bubbles. Wipe the rim with a damp towel to remove residue. Center a lid on the top, place the band over the lid, and screw it on until fingertip tight. Place back into the canner, and repeat with the rest of the jars.
Adjust the water level so it is covering the jars by several inches, bring the pot to a boil, and process for the times indicated in the recipe below. Let the jars cool, test the seals, label and date, and store in a cool, dark location.
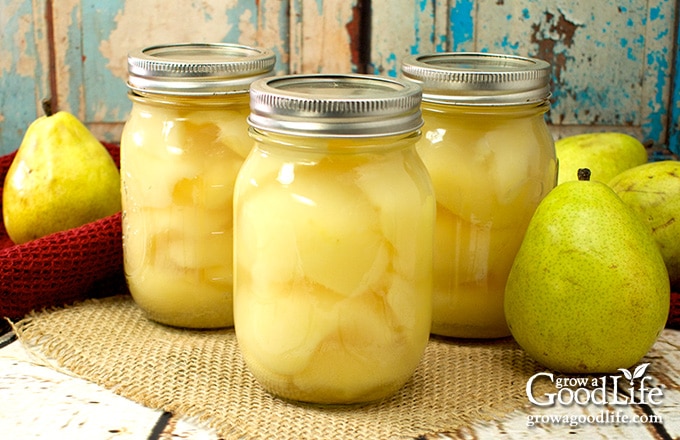
Drain the liquid and use your home canned pears in pies, crumbles, and other baked goods the same way as fresh. Add to oatmeal and yogurt, or enjoy as a snack straight from the jar.
Canning Pears for Food Storage
Ingredients
- 11 pounds pears
- 6 1/2 cups water
- 3/4 cups sugar
- 1 lemon or 1/2 cup lemon juice
Instructions
Prepare the canning equipment:
- Wash your jars, lids, screw bands, and canning tools in hot soapy water. Rinse thoroughly to remove all suds. Set aside to air dry on a clean kitchen towel.
- Place the canning rack into water bath canner, place jars in the canner, and add water to cover. Bring the canner to a simmer (180˚F) for 10 minutes, and keep hot until you are ready to fill them.
Make the syrup:
- Add the sugar and water to the large saucepan and bring to a boil over medium-high heat to dissolve sugar.
Prepare the pears:
- To prevent browning, dip the peeled and sliced pears into a lemon water bath as you work. Fill a large bowl with about a gallon of cold water and 1/2 cup of lemon juice (or use Fruit Fresh and follow the instructions on the bottle).
- Wash the pears well under clean, running water. Peel, core, and cut the pears into halves, quarters, or slices. Add the pear pieces to the prepared lemon bath as you work.
- Drain the pears and add them to the sugar-syrup pot. Cover the pot, raise the heat, and bring the pot to a boil, and boil for 5 minutes. Reduce the heat to low and fill the jars.
Can the pears:
- Spread a kitchen towel on the counter. Use your jar lifter to remove a jar from the canner, drain, and place on the towel. Keep the remaining jars in the canner so they stay hot.
- Use your canning funnel and ladle, to fill the warm jar with hot pears and top off with the syrup leaving 1/2-inch headspace.
- Run you bubble popper through the pears to release air bubbles.
- Wipe the rim with a clean, damp towel. Place the lid on gasket side down. Screw the metal band down fingertip tight. Place the jar back into the canner, and repeat with the remaining jars. Try to leave some space in between the jars.
- Once all the jars are in canner, adjust the water level to two inches above the tops.
- Cover the canner and bring to boil over high heat. Once water boils vigorously, process pints for 20 minutes at altitudes of less than 1,000 ft. Adjust processing time for your altitude if necessary (see notes below).
- When processing time is complete, turn off the heat and allow the canner to cool down and settle for about 5 minutes.
- Spread a kitchen towel on the counter; remove the cover by tilting lid away from you so that steam does not burn your face.
- Use the jar lifter to lift jars carefully from canner and place on the towel. Keep the jars upright, and don't tighten bands or check the seals yet. Let the jars sit undisturbed for 12 to 24-hours to cool.
- After the jars have cooled for at least 12 hours, check to be sure lids have sealed by pushing on the center of the lid. The lid should not pop up. If the lid flexes up and down, it did not seal. Refrigerate and use within a few days.
- Remove the screw on bands and wash the jars. Label, date, and store your jars in a cool, dark place. Use within 12 to 18 months. Yields about 9 pint jars of pears.
Notes
- Very Light = 10 1/2 cups water and 1 1/4 cups sugar
- Light = 9 cups water and 2 1/4 cups sugar
- Medium = 8 1/4 cups sugar and 3 3/4 cups sugar
- Heavy = 7 3/4 cups sugar and 5 1/4 cups sugar
- Light Honey = 11 cups water and 1 cup honey
- Pints at altitudes of 1,001 – 3,000 ft. is 25 minutes, 3,001 – 6,000 ft. is 30 minutes, and above 6,000 feet is 35 minutes.
- Quarts at altitudes of 1,001 – 3,000 ft. is 30 minutes, 3,001 – 6,000 ft. is 35 minutes, and above 6,000 feet is 40 minutes.
Nutrition
Canning Resources and Further Reading:
- Syrups for Canning Fruit – National Center for Home Food Preserving
- Frequently Asked Canning Questions – National Center for Home Food Preserving
You May Also Like:
40+ Meals in a Jar Pressure Canning Recipes
In this eBook, you will find 50 pressure canning recipes, including 44 meals, along with homemade stocks and bone broths. Recipes include soups, stews, chilis, beans, beef, pork, and poultry. Explore the world of preserving delicious home-cooked meals for all seasons.

Do you know why the pears are supposed to be used in 12-18 months? Are they unsafe to eat after that? I had a bumper crop of pears this year from just one semi-dwarf tree, running out of canning jars LOL. Gonna be eating lots of pears for a long time! Thank you for the detailed instructions, which gave me confidence in the process. 😁
Eileen, Home-canned pears are best enjoyed within 12–18 months for peak flavor, color, and texture. They’ll still be safe to eat beyond that timeframe as long as the lids remain sealed and the jars show no signs of spoilage — the main change is that quality may slowly decline. Congratulations on such a big harvest — sounds like you’ll have plenty of delicious pears to enjoy! 😁
When you put the jars in the water bath to heat while preparing the pears for processing, do you put the lids on and keep the jars empty? That part was unclear to me.
Tina, When heating the jars in the water bath canner, you can leave the lids and bands aside for now. Just place the empty jars in the canner on the rack, then fill the canner with water. The jars should be completely filled and covered with water. The lids and bands will be used later once the jars are filled with the prepared pears. Does this help?
Yes it does. Thank you very much. We managed 7 quarts and are about to finish canning the rest tonight.
I haven’t canned Pears for prob 30 or more years. This whole recipe gave perfect info plus more. I shared with family and friends about how to determine the ripeness. I loved this detailed description. I had a couple slices of fruit that wouldn’t fit in the last jar…. simply delish. Thank you. I’m sitting here listening to my jars “pop”. I love that sound!