Sweet Summer Squash Relish Canning Recipe
This post may contain affiliate links, which means that I may receive a commission if you make a purchase using these links. As an Amazon Associate I earn from qualifying purchases.
Preserve your garden’s bounty with this simple summer squash relish recipe. Sweet, tangy, and perfect for using up overgrown summer squash, this versatile condiment adds a burst of flavor to any meal.
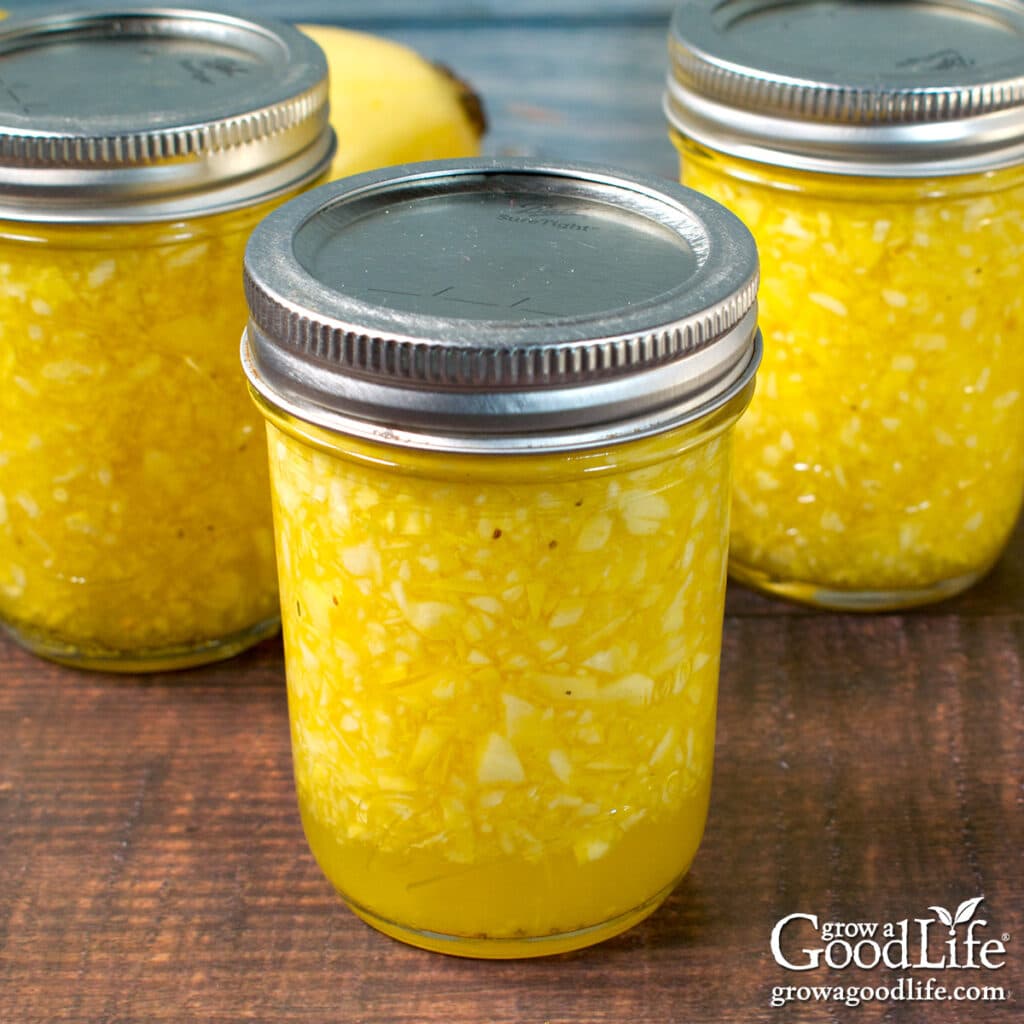
If you’re looking for a simple way to preserve an abundance of summer squash from your garden, this sweet and tangy relish is the perfect solution. Whether you have a surplus of perfectly tender fruit or a few large, overgrown summer squash that seem to have taken on a life of their own, this recipe will help you transform them into a delicious condiment that you can enjoy all year long.
Turning summer squash into relish is a fantastic way to make the most of your harvest. If you find that your squash has grown a bit too large, don’t worry—you can easily peel off the tough skins and scoop out the seeds before shredding them for this recipe. The result is a versatile relish that’s full of flavor, with just the right balance of sweetness and tang.
This quick and easy canning recipe is not only a great way to preserve your garden’s bounty but also adds a burst of summer freshness to your meals long after the growing season has ended.
About the Ingredients
This relish combines the mild flavors of shredded summer squash and onions with a tangy vinegar brine, enhanced by a blend of mustard seeds, celery seeds, and turmeric. The result is a flavorful, bright relish that captures the essence of summer.
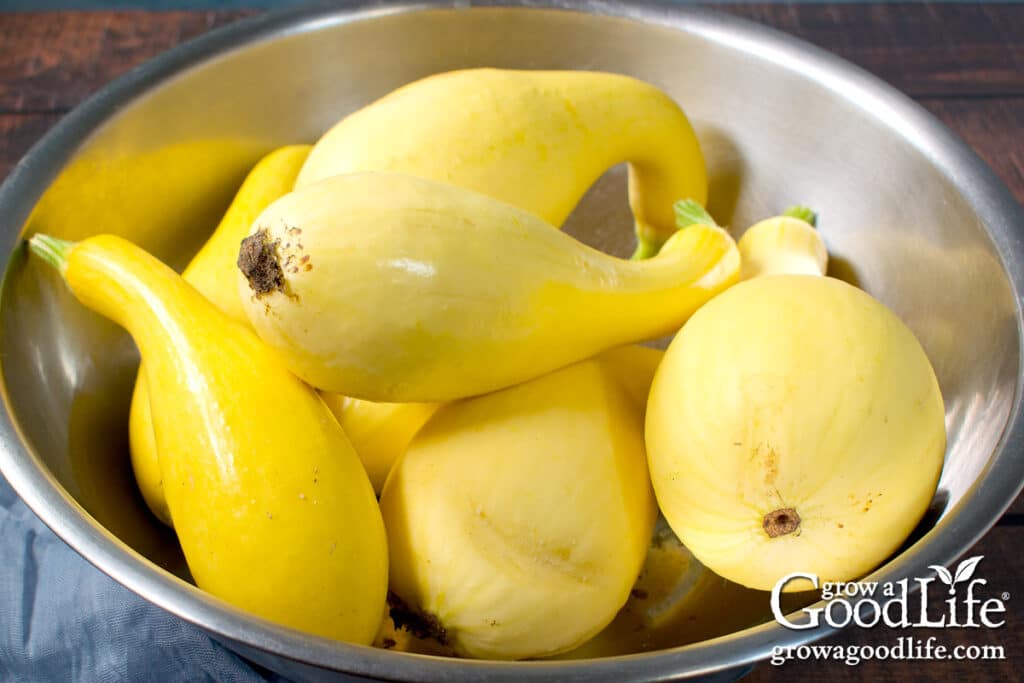
- Summer Squash, known for its tender skin and mild flavor, serves as the perfect base for this relish, providing a blank canvas for infusing flavor. You can use any variety of summer squash—whether it’s zucchini, yellow squash, or pattypan—each will contribute its unique texture and subtle flavor. For the best results, use squash that’s freshly harvested from your garden or fresh from a local farmers’ market.
- Vidalia Onions bring a mild, sweet, and savory depth to the relish, complementing the squash and the tang of the vinegar. However, you can choose from any variety of bulb onions, such as red, yellow, white, sweet onions, or even a mix. One medium onion will yield about 1/2 cup of chopped onions, adding just the right amount of bite to the relish.
- Vinegar is the key to preserving the relish and providing its signature tangy flavor. Use commercial vinegar with at least 5% acidity to ensure the relish is safe for canning and has the proper balance of acidity.
- Sugar helps balance the acidity of the vinegar, and adds a sweetness that enhances the overall flavor of the relish.
- Spices: Mustard seeds, celery seeds, and turmeric are the heart of this relish’s flavor profile. The mustard seeds add a subtle pop of heat, the celery seeds bring a hint of earthiness, and the turmeric provides a warm, golden color along with its mild, peppery flavor. Together, these spices elevate the simple ingredients, turning them into a relish that’s as vibrant in taste as it is in color.
Safe Ingredient Changes or Substitutions
You can make certain changes and ingredient swaps to this research-tested recipe without compromising safety. While it’s important to maintain the proportions of summer squash and vinegar as specified, the following adjustments can be made without affecting the safety of your relish:
- Use Any Summer Squash: I I’m using yellow summer squash in this recipe, but feel free to swap it for another variety. This versatile recipe works well with any type of summer squash, including green zucchini, Romanesco, yellow zucchini, young yellow crookneck, round zucchini, pattypan, or zephyr.
- Exchange the Onions: While Vidalia onion is called for in this recipe, you can substitute it with any bulb onion, such as red, yellow, white, sweet onions—or even a mix. You can also reduce or omit the onions entirely if you prefer, but do not increase the quantity, as this could affect the safety of the relish.
- Swap the Vinegar: Although this recipe calls for distilled white vinegar, you can substitute it with any commercial vinegar that has at least 5% acidity, such as apple cider vinegar.
- Adjust the Sugar: I’ve already reduced the sugar from the original recipe, but you can reduce it further if you prefer a less sweet pickle relish. Conversely, if you enjoy a sweeter relish, you can safely increase the sugar up to 2 1/4 cups. Brown sugar can also be used as a substitute for a deeper, more complex flavor.
- Adjust the Seasonings: You can safely omit or replace the mustard and celery seeds with an equal amount of other pickling spices according to your taste. The turmeric can also be skipped or swapped out for other dried spices. Additionally, canning salt can be added to taste. If using larger pickling spices like allspice berries, peppercorns, or crushed bay leaves, consider placing them in a spice bag and simmering briefly in the brine to extract their flavor. Then, remove the spice bag before adding the shredded summer squash to prevent unwanted texture in the relish.
- Jar Size: This relish can be safely canned in either pint or half-pint jars, allowing you to choose the size that best suits your needs.
Steps for Making and Canning Summer Squash Relish
This recipe is adapted from the “Summer Squash Relish” recipe found on the National Center for Home Food Preservation website. I reduced the amount of sugar and mustard seeds.
Before you begin, reviewing the information on using boiling water canners on the NCHFP website may be helpful.
You can find the complete printable recipe at the bottom of this article, but here are the detailed illustrated steps to making and canning summer squash relish:
Step 1: Gather Your Kitchen and Canning Equipment
Gather and prepare your kitchen and canning equipment. You will need:
- Water bath canner with a canning rack
- 10 half-pint sized canning jars, or 5 pint sized jars for larger portions
- Canning lids and ring bands (new lids for each jar; bands can be reused)
- Canning tools: jar lifter, funnel, and bubble popper
- Kitchen scale to weigh the summer squash before prep
- Food Processor, box grater, or knife and cutting board to shred the squash
- Basic kitchen supplies: large pot, large bowl, measuring cups and spoons, ladle, and clean kitchen towels
Wash everything in warm, soapy water. Rinse well, and set aside to air dry on clean kitchen towels. Check over the jars and eliminate any with nicks, scratches, or cracks. Pay careful attention to the rims of the jars. Small nicks can prevent the lids from sealing.
Preheat your jars in the water bath canner by placing the canner on the stove. Add the canning rack to the bottom, and place the jars upright on the rack. Add enough water to fill and cover the jars. Bring the canner to a simmer (180˚F), simmer for at least 10 minutes, and keep warm.
Step 2: Prepare the Ingredients
You need about 4 pounds of summer squash for this recipe. Weigh the summer squash, then rinse it well under clean running water.
If you are using overgrown summer squash, the skins and seeds may add unwanted texture. Remove the tough skins using a vegetable peeler, slice open the squash, and scoop out the seeds. Weigh the squash after peeling and seeding.
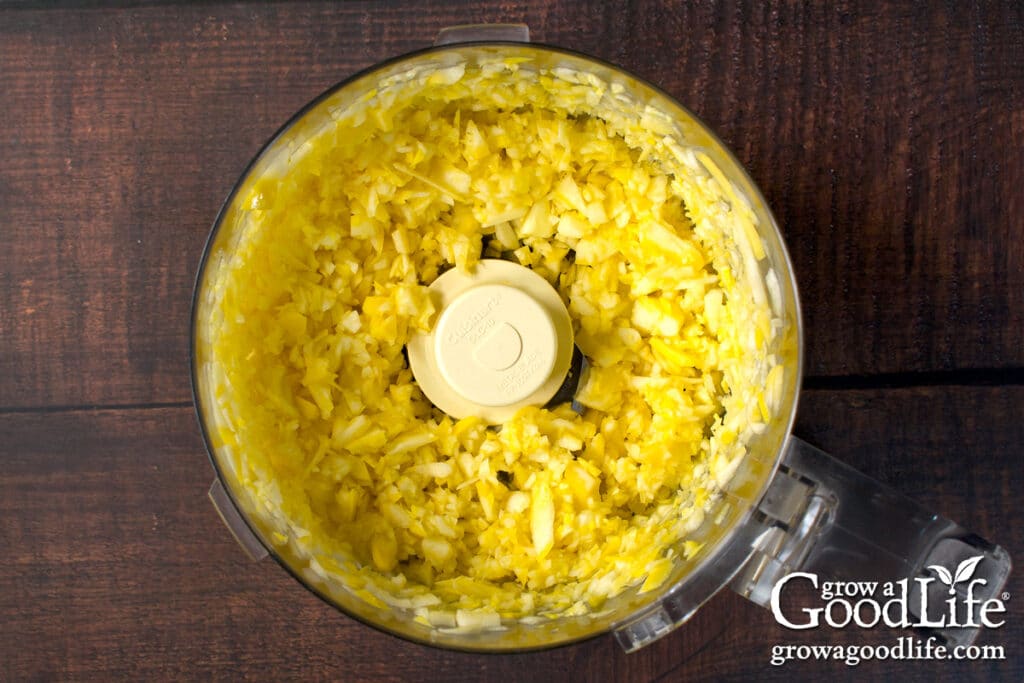
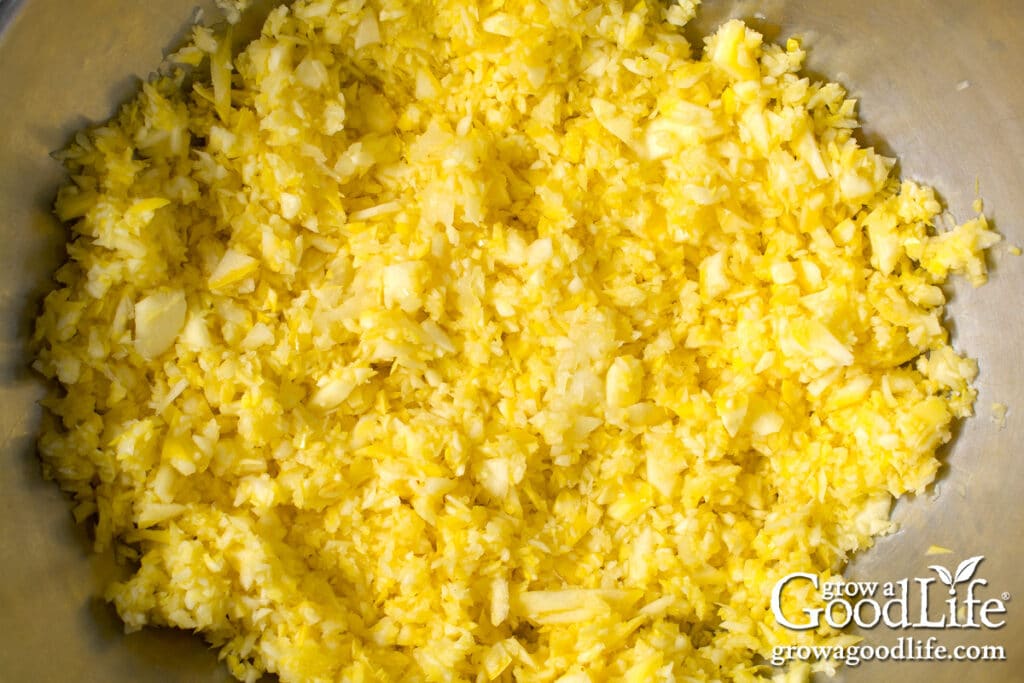
Trim off the stem and blossom ends, cut them into manageable pieces, and then shred them using a food processor. Squash may also be finely chopped using a knife or grated by hand using the large holes of a box grater. Add the shredded squash to a large prep bowl.
Peel and chop or shred the onion. Measure 1/2 cup of chopped onions and add to the prep bowl. Set aside as you make your picking brine.
Step 3: Make the Relish
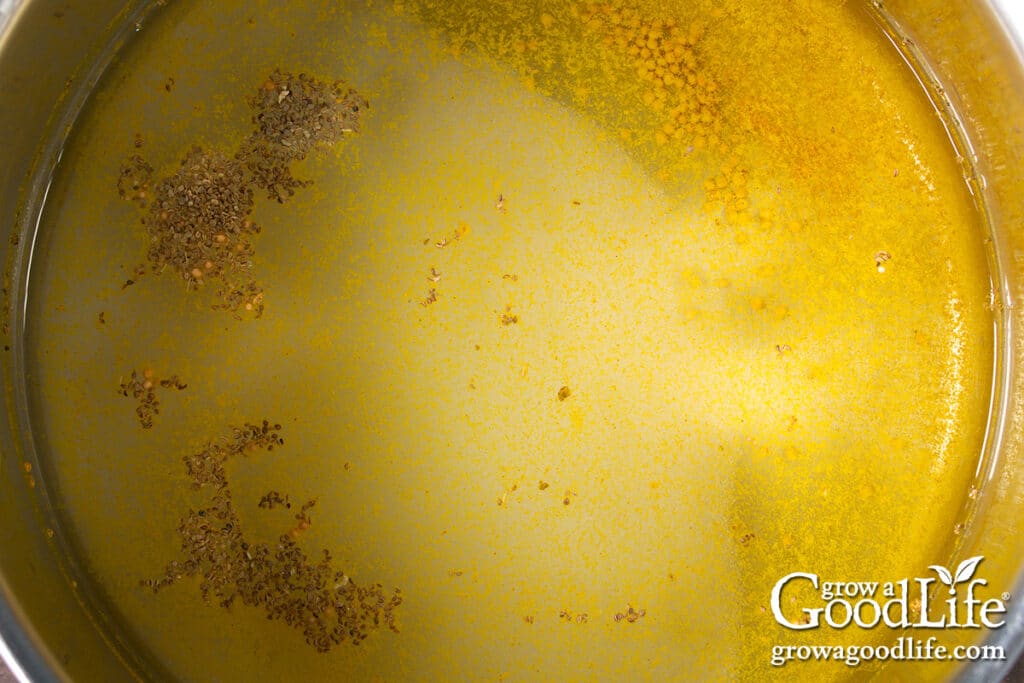
In a large saucepan, combine the vinegar, sugar, mustard seeds, celery seeds, and turmeric. Bring the mixture to a boil over medium-high heat, stirring constantly until the sugar is fully dissolved.
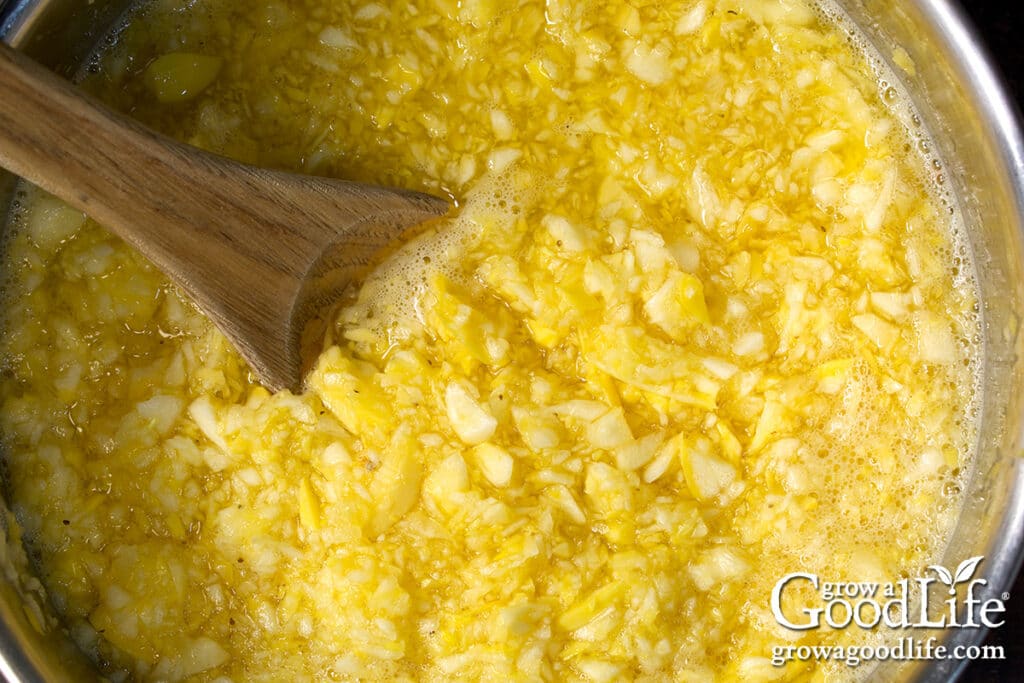
Next, add the shredded summer squash and onions to the saucepan and stir to mix everything together. At first, it may seem like there isn’t enough brine to cover the vegetables, but don’t worry—the summer squash will soften as it cooks and release its own moisture, creating more liquid. Keep stirring frequently and let the mixture return to a boil. Once boiling, continue to cook for 5 minutes. Then, reduce the heat and keep the relish warm while you prepare to fill your jars.
Step 4: Fill the Jars
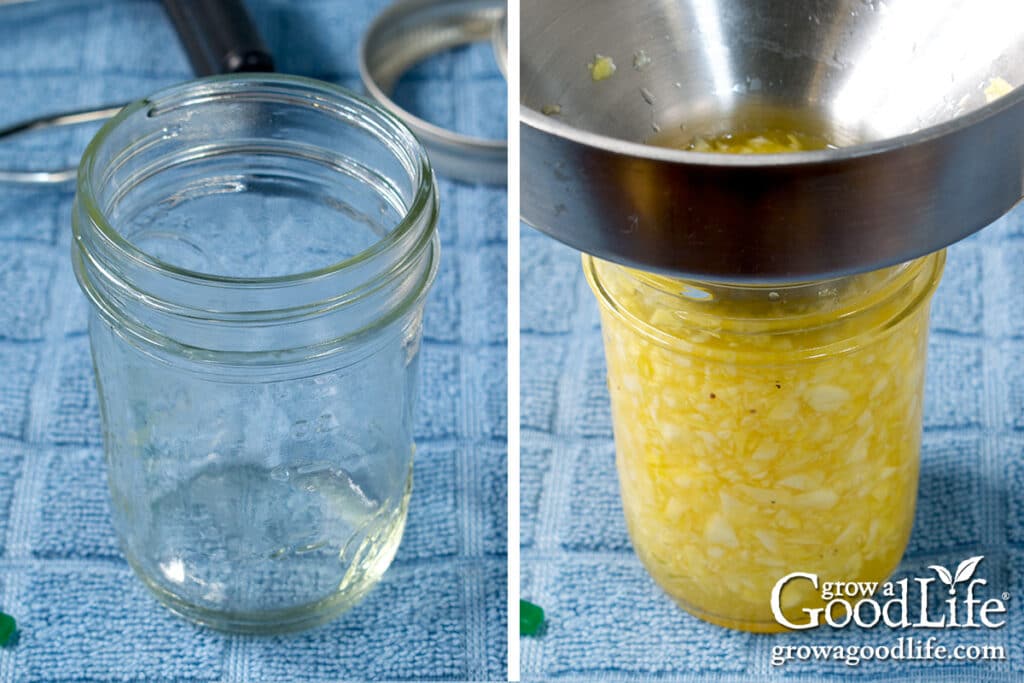
Spread a dry towel on the counter. Use the jar lifter to remove one jar from the canner, draining the water back into the canner. Place the jar on the towel, keeping the remaining jars in the canner to stay warm.
Use the canning funnel and ladle to fill the warm jar with the hot relish, leaving a 1/2-inch headspace. Run the bubble popper through the jar slowly to release any air bubbles. Adjust the headspace again if needed to maintain 1/2-inch.
Wipe the rim with a clean towel to remove any residue. Add the lid and secure it with a screw band until it is fingertip-tight. Return the jar to the canner. Repeat with the remaining jars.
Step 5: Process in a Water Bath Canner
Once all the filled jars are in the canner, adjust the water level so it is at least 2 inches above the tops of the jars. Cover the pot and bring it to a full boil. Once the water boils vigorously, set a timer and process for the times indicated in the recipe below.
Step 6: Cool and Store the Jars
When the processing time is complete, turn off the heat, remove the lid, and let the canner cool and settle for about 5 minutes. Spread a dry kitchen towel on the counter. Use the jar lifter to remove the hot jars from the canner and place them on the towel, spacing them several inches apart. Keep the jars upright, and do not tighten bands or check the seals yet. Let the jars sit undisturbed for 12 to 24 hours to cool.
After 12 to 24 hours, check to ensure the lids are sealed by pressing on the center of each lid. Refrigerate any jars that failed to seal and consume within a month.
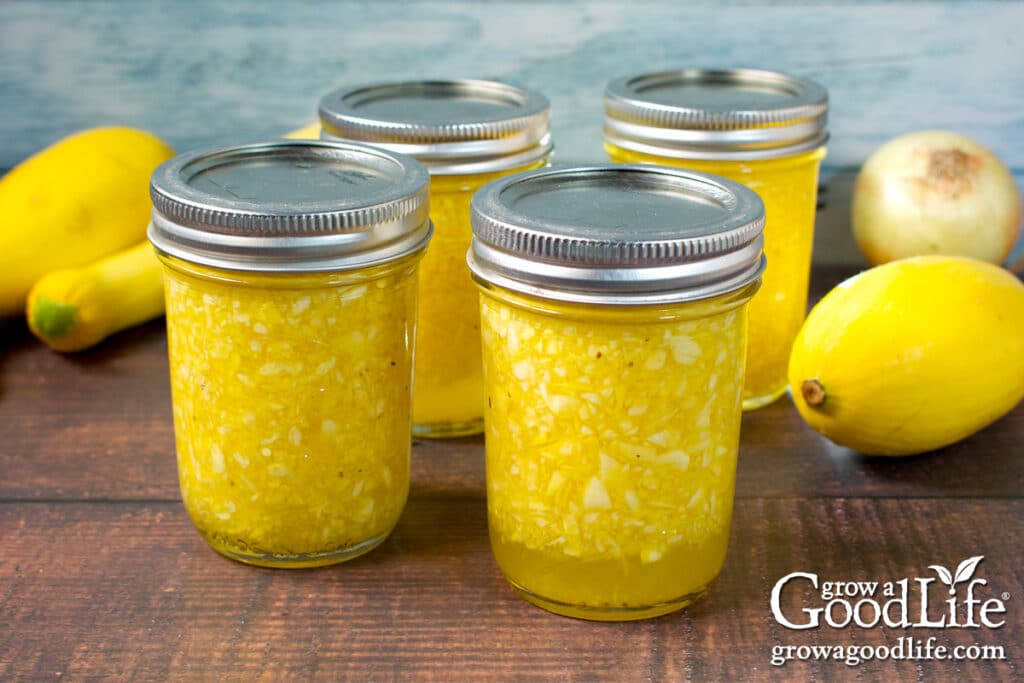
Prepare your jars for storage by removing the ring bands and washing them thoroughly in warm, soapy water to eliminate residue. Dry the jars, then label and date them. Store in a cool, dark place between 50 and 70˚F. Let the salsa sit for 2 to 4 weeks to develop flavor. Use within 12 to 18 months for the best quality. This recipe yields about 5 pints or 10 half-pints.
Ways to Use Your Summer Squash Relish
Summer squash relish is a versatile condiment that adds a burst of flavor to a wide variety of dishes. Here are some delicious ways to enjoy your homemade relish:
- Elevate Your Sandwiches and Burgers: Spread a spoonful of summer squash relish on sandwiches, wraps, or burgers to add a tangy, crunchy element. It pairs especially well with grilled chicken, turkey, or veggie burgers, giving your meals a fresh, zesty kick.
- Enhance Your Grilled Meats: Use the relish as a topping for grilled meats such as hot dogs, sausages, and brats. The bright flavors of the relish complement the smoky, savory notes of grilled meats, making it a perfect addition to your summer cookouts.
- Serve as a Tasty Topping for Tacos: Add a dollop of summer squash relish to your tacos for an unexpected twist. It works beautifully with fish tacos, chicken, or vegetarian options, providing a refreshing contrast to the warm, rich flavors.
- Mix into Salads: Incorporate the relish into potato salads, pasta salads, or coleslaw for extra flavor and texture. The relish adds a tangy sweetness that enhances the overall taste of these classic side dishes.
- Use as a Dip or Spread: Blend the relish into cream cheese, sour cream, or mayonnaise to create a flavorful dip or spread. This can be served with crackers, chips, or fresh vegetables for a quick and easy appetizer.
- Accompany Cheese and Charcuterie Boards: Include a jar of your summer squash relish on your next cheese and charcuterie board. Its tangy, slightly sweet flavor pairs well with a variety of cheeses, cured meats, and crackers, adding a gourmet touch to your spread.
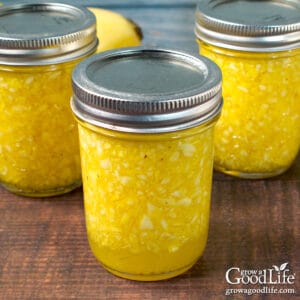
Sweet Summer Squash Relish Canning Recipe
Ingredients
- 4 pounds summer squash any variety
- 1/2 cup chopped Vidalia onions or any bulb onion
- 2 cups white vinegar 5% acidity
- 1 1/2 cups sugar
- 1 tablespoon mustard seeds
- 2 teaspoons celery seed
- 2 teaspoons ground turmeric
Instructions
Prepare the Canning Equipment:
- Wash the jars, lids, screw bands, and canning tools in hot soapy water. Rinse well to remove all suds.
- Place the jar rack into the water bath canner, place jars in the canner, and add water to cover. Bring the canner to a simmer (180˚F) for 10 minutes, and keep the jars warm until you are ready to fill them.
Prepare the Vegetables:
- Rinse the squash well under clean running water. Remove the blossom and stem ends. If the squash is large, you may want to remove the seeds as well. Finely chop or shred the squash using a food processor. Add to a prep bowl.
- Peel and chop the onions and measure 1/2 cup of chopped onions. Add to the prep bowl and set aside.
Make the Relish:
- Combine the vinegar, sugar, mustard seeds, celery seeds, and turmeric in a large saucepan, and bring it to a boil over medium-high heat while stirring until the sugar dissolves.
- Add the prepared summer squash and onions and stir to combine. Return to a boil, and continue to boil for 5 minutes, then reduce the heat and keep warm as you fill your jars.
Fill the Jars:
- Spread a towel on the counter. Use the jar lifter to remove a warm jar from the canner. Drain the water back into the canner and place it on the towel. Keep the remaining jars in the canner so they stay warm.
- Use the canning funnel and ladle to fill the jar with hot relish, leaving a 1/2-inch headspace. Run the bubble popper through the jar to release air bubbles. Adjust the headspace again if needed to maintain 1/2-inch.
- Wipe the rim clean with a damp paper towel. Center a lid on the jar, and screw on the band until it is fingertip tight. Use the jar lifter to place the jar back into the canner, and repeat with the remaining jars.
Process in a Water Bath Canner:
- Once the filled jars are all in the canner, adjust the water level to two inches above the jar tops.
- Cover the canner and bring it to a rolling boil over medium-high heat. Once it boils, set a timer and process both pints and half-pints in a boiling water bath canner for 15 minutes at altitudes of less than 1,000 ft. Adjust processing time for your altitude if necessary. (See notes)
- When the processing time is complete, turn off the heat, remove the cover by tilting the lid away from you so that steam does not burn your face, and allow the canner to cool down and settle for 5 minutes.
- Spread a dry kitchen towel on the counter. Use a jar lifter to remove the jars one at a time from the canner. Keep the jars upright and place them on the towel. Do not tighten ring bands or test the seals yet. Let the jars sit undisturbed for 12 to 24 hours to cool.
- After the jars have cooled for at least 12 hours, check to be sure lids have sealed by pushing on the center of the lid. The lid should not pop up. If the lid flexes up and down, it did not seal. Place the jar in the refrigerator, and use within a month.
- Remove the ring bands, wash, label, date the jars, and store in a cool, dark place between 50 to 70 degrees F for 12 to 18 months. Once the jar is open, refrigerate and use it within a month. Yields about 5 pints or 10 half pints.
Notes
Nutrition
You May Also Like:
- Sweet Cucumber Relish Canning Recipe
- Zucchini Relish Canning Recipe
- Other Ways to Preserve Summer Squash
If you love salsa, consider adding our eBook, Grow a Good Life Guide to 50 Salsa Canning Recipes, to your resource library. This 72-page eBook is packed with a variety of delicious salsa recipes, including classic tomato salsas to roasted and grilled salsas to tomatillo and delicious fruit blends, all safe for water bath canning. It’s the perfect guide to help you preserve your garden harvests.

