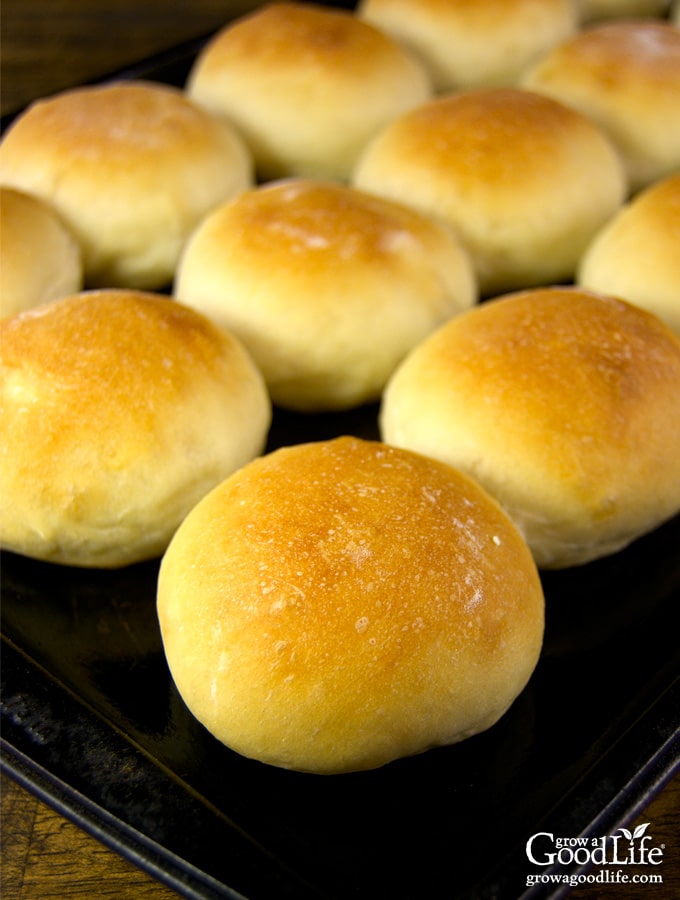
Homemade Mini Slider Buns
This post may contain affiliate links, which means that I may receive a commission if you make a purchase using these links. As an Amazon Associate I earn from qualifying purchases.
Mini slider buns are so versatile! They make fantastic appetizer sandwiches, such as mini burgers, pulled pork sandwiches, and even breakfast sandwiches.
Tips for Making Mini Slider Buns
Mixing and Kneading the Dough: The dough for the mini slider buns can be prepared by using a bread machine, stand mixer, or kneaded by hand. Check out the tips for kneading bread in this post: Roasted Garlic Rosemary Bread.
Making Uniform Sized Buns: Use a kitchen scale to weigh out equal portions of dough so all your buns will be the same size and cook up evenly. First, place the dough on the scale to get the overall weight. Then, divide the weight amount by 15. This is the weight each dough piece should be. It should be around 40 grams depending on your dough. Split the dough into 15 pieces using the scale to measure out the weight of each piece.
Optional Topping Ideas: For a shiny crust, brush the mini slider buns with egg wash just before baking. After brushing, you can also sprinkle sesame, poppy, or white chia seeds on top for a fun finishing touch. Or jazz up the flavor even more with sea salt, onion flakes, and garlic powder.
How to Make Mini Slider Buns
Mix and knead the dough, and let it rise until doubled in size. After rising, turn the dough out to a well-floured board.

Divide the dough into 15 equal pieces and shape each piece into a round, ball.
Place each ball on your prepared baking sheet. Cover and let the dough rise again until doubled.
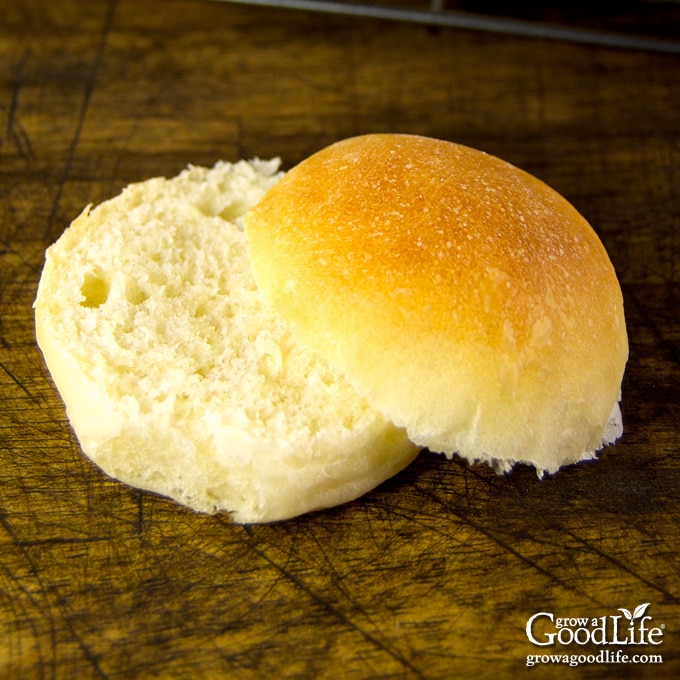
Bake in a preheated oven until tops are brown. Cool the mini slider buns on a rack and use for mini sliders, burgers, or even plain as dinner rolls.

Homemade Mini Slider Buns
Ingredients
- 1 teaspoon active dry yeast
- 3/4 cup warm water (105-115˚F)
- 1/4 cup milk
- 2 tablespoons butter softened
- 1 tablespoon cane sugar
- 1 teaspoon kosher salt
- 2.5-3 cups unbleached bread flour (300-360gm)
- extra flour for kneading
Instructions
- Dissolve the yeast in the warm water. Combine all the ingredients using a bread machine, stand mixer, or knead by hand until the dough is smooth and elastic. If you are using a bread machine's dough cycle, skip to step 3.
- Grease a large bowl with butter or olive oil. Place the dough in the bowl and turn to grease the top. Cover and let rise in a warm place, free from drafts, until doubled, about 45-60 minutes.
- When the dough is doubled in size, press it down, turn it onto a lightly floured surface, and let rest for 15 minutes.
- Divide the dough into 15 pieces. Shape the pieces into smooth, round balls and place on a lightly oiled sheet pan. Cover and let the dough rise again until doubled, about 45-60 minutes.
- Preheat your oven to 400˚F when your dough is almost finished rising.
- Bake the mini slider buns in a preheated oven for 12-15 minutes until the tops are golden brown. Remove the buns from the oven and place on a cooling rack. Serve warm or store in a plastic bag once the rolls have cooled completely.
Nutrition
You May Also Like:
- Roasted Garlic Rosemary Bread
- How to Make Homemade Bread Crumbs
- Garlic and Cheddar Stuffed Mushrooms

Hi. What’s the procedure for freezing and defrosting these? Thank you.
Yolande, Freezing homemade buns is a convenient way to have them on hand. Here’s a general procedure for freezing and defrosting: Let the buns cool completely after baking. Place them in a resealable freezer bag and label with the date. To defrost, remove the desired number of buns and let them thaw at room temperature for a few hours. To refresh the buns, you can warm them in the oven at a low temperature, 300°F/150°C, for a few minutes. The texture might differ slightly from freshly baked buns, but freezing is an excellent way to preserve them.
Can I use sourdough starter? How would I replace it instead of the dry yeast?
Sierra, While I appreciate your enthusiasm for using sourdough, I must note that this specific recipe hasn’t been tested with a sourdough starter. Substituting the yeast with a sourdough starter would require adjustments to the entire recipe, considering the moisture content the starter adds. It involves more than a simple swap and would need thorough testing. If you’re keen on sourdough rolls, I recommend finding a dedicated sourdough bread recipe that uses a starter. Once you have the sourdough bread dough, you can shape it into rolls before baking. This way, you’ll have the best results with a tried-and-true sourdough approach.
Hello, can the dough be made the night before? If so, do you put in fridge or leave on the counter.
Lilian, Yes, bread dough can be made the night before and refrigerated. Make the dough as described in the recipe, let it rise, then punch it down and store it in a sealed container in the refrigerator. The dough will expand even when chilled, so be sure to use a container that is large enough. When you are ready to bake, remove the dough from the refrigerator, form your rolls, let them rise in a warm place until double in size, and then bake. Keep in mind that chilled dough may take a little longer to rise.
Just made them, never have I baked bread before, only cakes and desserts. They came out soooo good, but no as expected…they came out like the Red Lobster’s 😂!!!!
I think my yeast is not as effective, next time Im using the whole packet (11grs) instead of just a teaspoon.
Either way they tasted great, lasted about 20 mins in the counter 😁😍
Alejandra, I am so glad you enjoyed the recipe. However, did your rolls fail to rise as much as you expected? You don’t need the whole yeast packet for this recipe, but the yeast should be fresh. Older yeast does lose its potency over time. Also, be sure to let the dough rise until it has doubled in size. I hope you try the recipe again 🙂
Just got a new bread machine to replace the one that I had for 20 years, and this was the first recipe I tried. They came out amazing! Perfectly risen, light, airy and soft. One of the best things I’ve ever baked. I made them to make sandwiches but my family devoured them before I could, just eating them warm with a little butter. I’m working on a second batch now. I was able to make 15 bunsvthat were 46 grams each. A little bigger than standard sliders, but thats ok. This recipe is going in the regular rotation!
Thanks for your comment, Sarah! I am so glad you enjoyed the recipe. I make these often because they come in handy for breakfast sandwiches, burgers, and dinner rolls.
First time making any type of bread and this was super easy to make! Tastes delicious! Thank you for an amazing recipe. 😀
These are my grandson’s new favorite rolls! I made mine just a tad smaller at 36 grams of dough making 21 rolls. I only did this because I have to watch my carb intake since I am diabetic. I used one cup each of AP, bread, and whole wheat flours, but I’m sure these rolls are outstanding with all AP flour. I’m anxious to try other recipes from Grow a Good Life!
I made these last night and they were perfect. I used King Arthur bread flour. I proofed the Red Star yeast for 10 minutes. I used my stand mixer with a dough hook for 5 minutes and the dough was just right. I made my dough balls to weigh 40 g each and got 15 of them just like this simple, but tasty recipe said I would. I used the egg wash with poppy seeds. I lined a sheet pan with parchment paper and baked them until golden brown. I will be making them from now on as my wife loved them. Thank you for the great recipe!
Bruce, Thank you for the comment! I am so glad you enjoyed the recipe.
Making as I am writing. . Will post pictures as soon as they come out of oven. I have a luncheon scheduled and plan to make Ruban sliders. Sure hope they love them
I haven’t made these yet, so I can’t rate the recipe yet, but I do have a question. I am looking for a recipe for very small slider buns. I realize that the recipe is titled “mini” slider buns, but I can’t get a good idea from the photos about how big these come out. Can you give me a rough idea of the size of each bun; for instance, the approximate diameter? This will help me to determine if I want to make 15 per the recipe, or divide the dough to make more buns in order to make them smaller. Thank you so much!
Lisa, I happened to have some in the freezer. They measure about 3-inches across.
Thank you so much Rachel! That is very helpful to know. Looking forward to making these very soon! 🙂