Pickled Garlic Scapes (Easy Refrigerator Pickles Recipe)
This post may contain affiliate links, which means that I may receive a commission if you make a purchase using these links. As an Amazon Associate I earn from qualifying purchases.
Turn fresh garlic scapes into crisp refrigerator pickles with this easy pickled garlic scapes recipe. A tangy, garlicky snack perfect for sandwiches, burgers, and charcuterie boards.

If you grow hardneck garlic, you are in for a treat because the plant provides two harvests. Several weeks before the garlic is ready for harvesting, it sends up a flower stalk. This usually happens in late spring or early summer, depending on your growing location and the garlic variety.
The stalk sprouts from the center of the garlic plants, and grows upwards for a while, and then curls once or twice before continuing to grow towards the sky. If left alone, it will bloom into a garlic flower.

However, most growers remove the garlic stems before they blossom so the plants can devote energy to developing larger garlic bulbs. The garlic scape stem and flower bud are edible and have a mild garlic flavor with a hint of sweetness.
If you don’t grow your own garlic, you may have spotted the squiggly stems at your local farmer’s market, or in your CSA box in early summer. They are usually sold in bunches and can be stored in the refrigerator for several weeks.
This pickled garlic scapes recipe is an easy way to enjoy this short-season harvest.
Editorial Update: This recipe was originally adapted from an Extension canning recipe for pickled garlic scapes. Because that recipe has since been withdrawn, the instructions have been updated to a refrigerator pickle method.
Why You’ll Love Pickled Garlic Scapes
Pickled garlic scapes are one of the easiest ways to preserve this short-season harvest. These quick refrigerator pickles are crisp, garlicky, and ready to enjoy in just a few days.
- Easy refrigerator pickle with no canning required.
- A great way to preserve garlic scapes during their short season.
- Crisp, tangy flavor with a mild garlic bite.
- Perfect for snacking, sandwiches, and charcuterie boards.
- Ready to enjoy in about a week.
If you enjoy pickles and garlic, you’ll love the flavor of these pickled garlic scapes.
Tips for Making Pickled Garlic Scapes
My favorite way to use garlic scapes is to turn them into garlic scape pickles. The stems stay crisp and crunchy, and they are delicious as a snack, sandwich topping, or blended into a salad dressing.
In this recipe, garlic scapes are packed into jars and covered with a hot vinegar brine flavored with pickling spice, salt, and a little chili pepper for heat. The jars are stored in the refrigerator, where the scapes develop a tangy pickled flavor while staying crisp and crunchy.
If you enjoy quick pickles like this, see How to Make Refrigerator Pickles with Any Vegetable to learn how to pickle other garden vegetables using the same method.
Here are tips for making pickled garlic scapes:
Harvest Young Scapes
For tender scapes, harvest the stems after the first loop forms. If picked a little later, the base develops a woody texture, making it difficult to chew. You can remove this woody part and freeze it to use when making stocks.

Store in Refrigerator
If you are not ready to use your garlic scapes right away, place the stems in a glass of water and store them in the fridge. Change the water every few days, and plan on using the garlic scapes in the next week or so for the best quality.

Use Pickling Salt
Pickling salt, also known as canning salt, is just pure granulated salt (sodium chloride) with no additives. Avoid using table salt because it contains iodine and anti-caking agents that can darken food and make jars cloudy.
Flavor with Pickling Spice
Pickling spice is a blend of dried spices commonly used to flavor pickled vegetables. The mixture adds warm, aromatic flavors that complement the tangy vinegar brine.
Most pickling spice blends include a combination of whole or cracked spices such as mustard seeds, coriander seeds, black peppercorns, dill seed, cloves, and bay leaves. Some blends may also include red pepper flakes, allspice berries, or cinnamon.
You can use a store-bought pickling spice blend or make your own at home. See my recipe for Homemade Pickling Spice if you would like to mix your own blend using whole spices.
Choose Type of Vinegar
You can use different types of vinegar as long as it contains at least 5% acidity.
- Apple cider vinegar is made from fermented apples and adds a light, sweet fruit flavor to your pickles.
- White vinegar is a clear vinegar made by distilling corn and rye. The flavor is a bit sharper than apple cider vinegar.
- Wine vinegars add a fruity tang that works well with garlic scape pickles.
Other Ways to Use Garlic Scapes
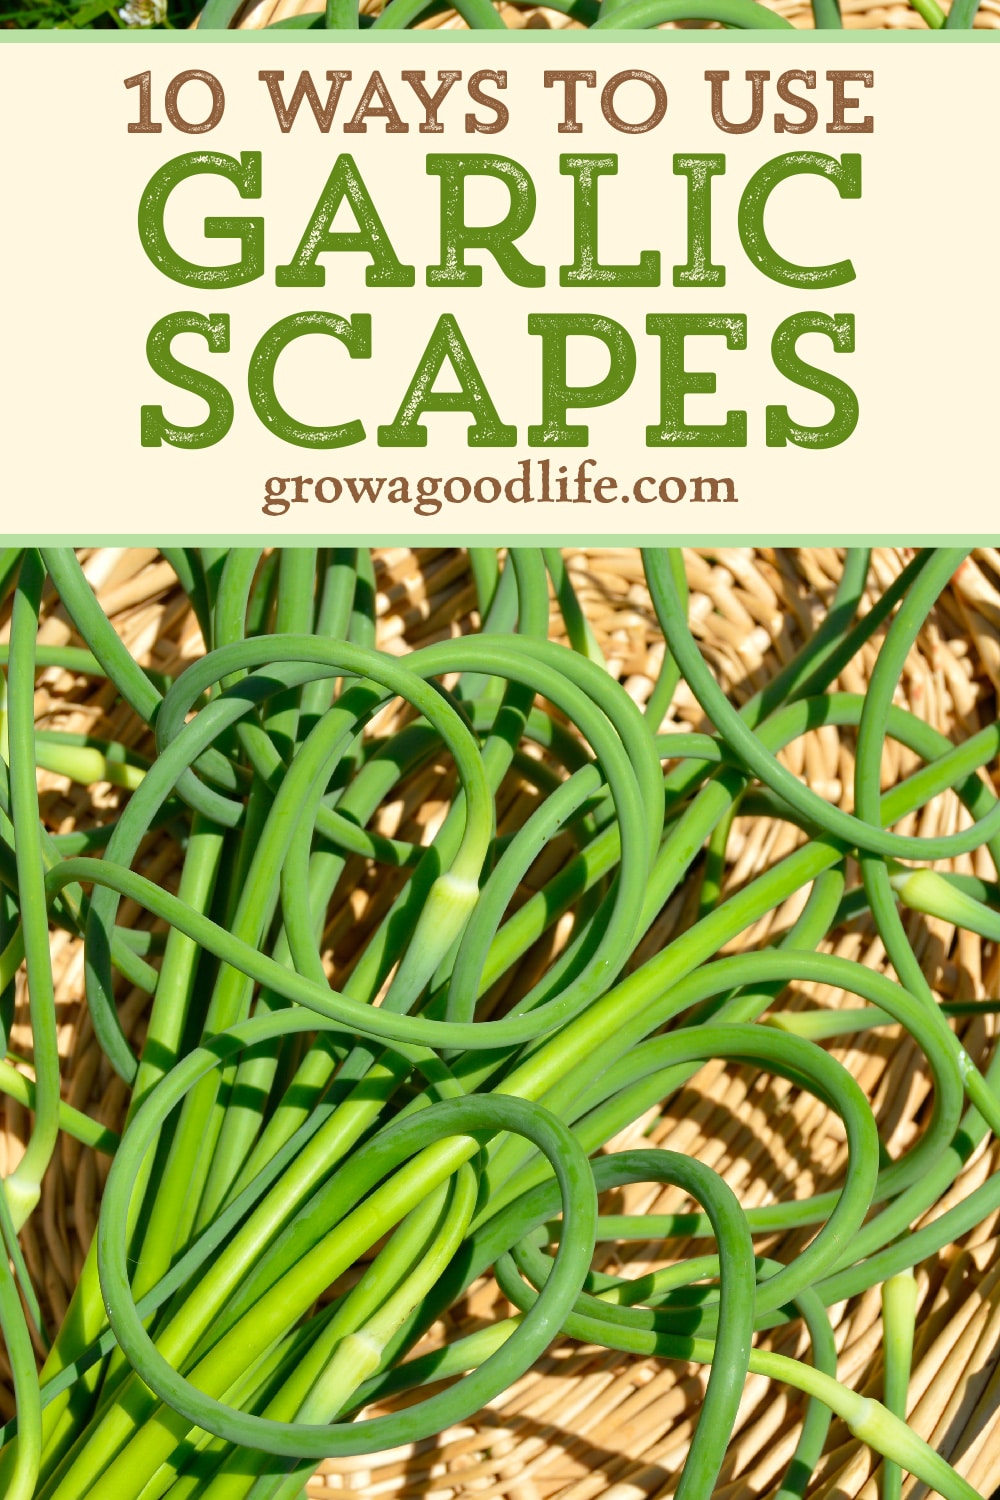
If you are growing a lot of garlic, you will end up with an abundance of garlic scapes, since they usually form at once. Luckily, there are many ways to enjoy garlic, from garlic scape pesto and grilled garlic scapes to using it as a substitute for garlic in any recipe. Check out this article for more delicious ways to use garlic scapes: 10 Ways to Use Garlic Scapes (Fresh and Preserved).
How to Make Pickled Garlic Scapes
Garlic scapes are only around for a short time. Preserve their mild garlic flavor with these quick refrigerator pickled garlic scapes. Layer on sandwiches and burgers, serve as a side dish with grilled meats, or as part of a classic pickle tray. My favorite way to enjoy pickled garlic scapes is simply snacking right out of the jar.
The full and printable recipe can be found at the bottom of this article, but these are the steps for making pickled garlic scapes.
Step 1: Gather Your Equipment
Gather your kitchen equipment. You will need:
- 4 pint jars with lids
- Measuring cups and measuring spoons
- Medium stainless-steel or enamel saucepan
- Knife and cutting board
- Ladle
- Funnel (optional but helpful)
Wash your jars and lids well with hot, soapy water. Rinse well and set aside to air dry on a towel until you are ready to fill them.
Step 2: Prepare the Garlic Scapes
Rinse the garlic scapes and cut into 4-inch long pieces to fit in the jar. If the garlic scapes are very curly, cut them into shorter pieces so they fit easily in the jars and remain fully submerged in the brine.
If the ends are fibrous and woody, remove them by bending the stalk the same way you would asparagus. Gently bend each stalk until it snaps. Each scape will snap off right above the spot where it turns woody. Save the ends of the scapes in the freezer, and use to flavor homemade stock.
Step 3: Heat the Pickling Liquid
Combine the vinegar, water, and pickling salt in a medium pot. Cover, bring to a boil, and then reduce the heat and simmer for 10 minutes. Keep the brine warm.

Step 4: Pack the Jars
Place the following spices into each clean pint jar:
- 1 teaspoon pickling spice
- 1 dried bay leaf
- 1/4 teaspoon red pepper flakes or 1 whole dried chili pepper
Pack the garlic scapes vertically into the jars. Pour the hot brine over the scapes, making sure the stems are completely submerged. Let the jars cool to room temperature, then cover with lids.

Step 5: Refrigerate
Place the jars in the refrigerator. Allow the garlic scapes to pickle for at least 1 week before eating for the best flavor. Give the jars a shake every few days to help distribute the flavorful spices. For best quality, use within 2–3 months.
How Long Do Pickled Garlic Scapes Last?
Because these are refrigerator pickles, they must be stored in the fridge.
Once prepared, pickled garlic scapes will keep for 2 to 3 months when refrigerated and kept submerged in the brine. For the best flavor and texture, allow the scapes to pickle for about one week before eating.
Always use a clean utensil when removing scapes from the jar to keep them fresh longer.
What Do Pickled Garlic Scapes Taste Like?
Pickled garlic scapes have a mild garlic flavor with a bright tang from the vinegar brine. The stems stay crisp and slightly crunchy, similar to pickled green beans. The pickling spices add warmth and depth, while the chili pepper provides a subtle kick.
They are delicious served:
- Alongside grilled meats.
- On sandwiches and burgers.
- Chopped into potato salad.
- Added to charcuterie boards.
- As a snack straight from the jar.
Frequently Asked Questions About Pickling Garlic Scapes
If you’re new to pickling garlic scapes, these frequently asked questions may help.
Can you home can pickled garlic scapes for shelf storage?
This recipe is now a refrigerator pickle. In the past, some Extension publications included canning instructions for pickled garlic scapes. However, that recipe has since been withdrawn, and a currently verified tested canning process for garlic scapes is not widely available through trusted home food preservation sources. For that reason, this recipe is prepared as a refrigerator pickle and stored in the fridge.
Do you need to blanch garlic scapes before pickling?
No. Garlic scapes can be pickled raw. The hot vinegar brine softens the stems slightly while keeping them crisp.
How long do garlic scapes need to pickle?
For the best flavor, allow the scapes to pickle for at least 5–7 days before eating.
Can you freeze garlic scapes instead of pickling them?
Yes. Garlic scapes can be chopped and frozen for later use in soups, stir fries, or pesto.
Why are my garlic scapes tough?
Garlic scapes become fibrous as they mature. For the best texture, harvest when the scape forms its first curl.
Pickled Garlic Scapes (Easy Refrigerator Pickles)
Ingredients
- 4 pounds garlic scapes
- 3 cups apple cider vinegar 5% acidity
- 3 cups water
- 1/4 cup pickling salt
- 4 teaspoons pickling spice 1 teaspoon per jar
- 4 bay leaves 1 per jar
- 1 teaspoon red pepper flakes or 4 whole dried chili peppers, 1/4 teaspoon per jar or 1 whole pepper per jar
Instructions
Prepare the Garlic Scapes:
- Rinse garlic scapes and cut into 4-inch pieces to fit in the jar. Discard the tough ends (or toss them into a freezer bag and save to use for making stock).
Make the Pickling Brine:
- Add the vinegar, water, and pickling salt to a medium pot and stir to combine. Bring to a boil, and then reduce the heat and simmer for 10 minutes. Turn off the heat and let the brine cool slightly.
Pack the Jars:
- To each jar, add 1 teaspoon pickling spice mix, 1/4 teaspoon red pepper flakes or 1 whole dried chili pepper, and 1 dried bay leaf.
- Pack the garlic stems lengthwise into the jar. It may help to turn the jar on its side and stack the scapes inside. Try to pack as tightly as you can.
- Pour hot brine over the garlic scapes, covering the stems completely.
- Cover the jars and let them cool at room temperature for about an hour. Then, transfer to the refrigerator.
Store in the Fridge:
- Store pickled garlic scapes in the refrigerator. The flavor will continue to develop over the first week. For the best quality, enjoy within 2 to 3 months.
Nutrition
Enjoy Your Pickled Garlic Scapes
Pickled garlic scapes are a simple way to make the most of this short-season garden treat. With their mild garlic flavor and crisp texture, they add a bright, tangy bite to sandwiches, burgers, salads, and snack plates. Once you make a jar, it’s hard not to reach for them straight from the fridge.
If you find yourself with an abundance of scapes during garlic season, there are plenty of other delicious ways to enjoy them. See 10 Ways to Use Garlic Scapes (Fresh and Preserved) for more ideas, from pesto and stir-fries to grilling and freezing for later.
If you enjoy quick pickles like this recipe, you may also like my How to Pickle Garlic (Easy Refrigerator Pickled Garlic Recipe) or learn How to Make Refrigerator Pickles with Any Vegetable so you can turn almost any garden harvest into crisp, tangy pickles.
And if you’re new to growing garlic, or want to improve your harvest, you may find these guides helpful:
- How to Grow Garlic: Tips for Growing Great Garlic
- How to Harvest, Cure, and Store Garlic
- Planting Sprouted Garlic: What to Do When Garlic Starts to Grow
Growing your own garlic is incredibly rewarding, and those curly garlic scapes in early summer are just one of the delicious bonuses of planting hardneck varieties.

Can you substitute the garlic scapes for the green beans in dilly bean recipe ( to make dilly garlic scapes?)
Lori, Yes, you can easily turn this recipe into a dill version by swapping the pickling spice for dill seeds. For each pint jar, add:
• 1 teaspoon dill seed and/or 1–2 fresh dill sprigs
• ½ teaspoon black peppercorns
Then follow the recipe using the same vinegar brine and refrigeration instructions. This creates a flavor similar to classic dill pickles while still keeping the bright garlic flavor of the scapes.