Homemade Mini Slider Buns
This post may contain affiliate links, which means that I may receive a commission if you make a purchase using these links. As an Amazon Associate I earn from qualifying purchases.
Mini slider buns are so versatile! They make fantastic appetizer sandwiches, such as mini burgers, pulled pork sandwiches, and even breakfast sandwiches.
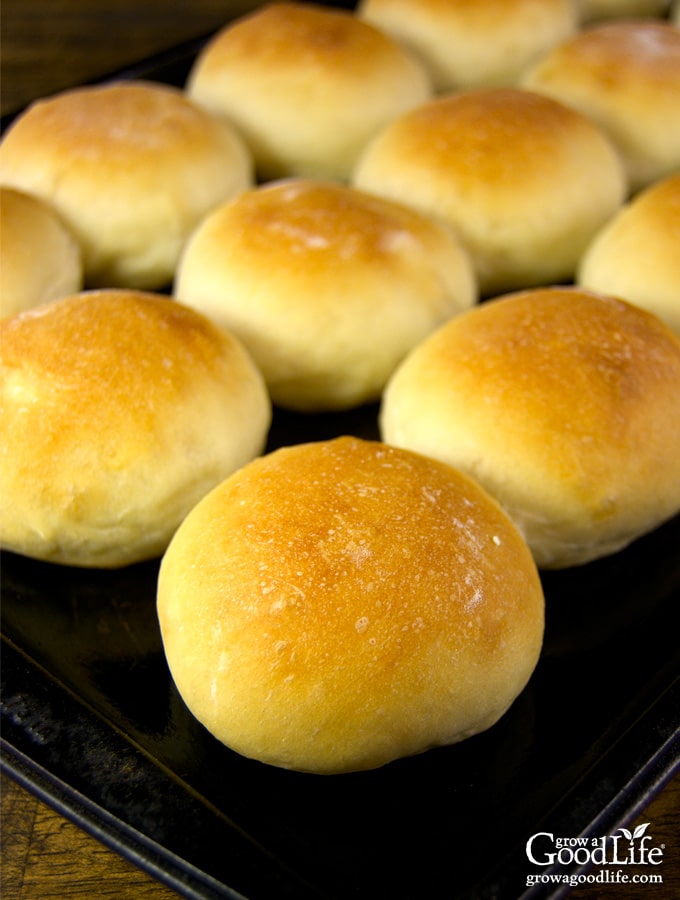
Tips for Making Mini Slider Buns
Mixing and Kneading the Dough: The dough for the mini slider buns can be prepared by using a bread machine, stand mixer, or kneaded by hand. Check out the tips for kneading bread in this post: Roasted Garlic Rosemary Bread.
Making Uniform Sized Buns: Use a kitchen scale to weigh out equal portions of dough so all your buns will be the same size and cook up evenly. First, place the dough on the scale to get the overall weight. Then, divide the weight amount by 15. This is the weight each dough piece should be. It should be around 40 grams depending on your dough. Split the dough into 15 pieces using the scale to measure out the weight of each piece.
Optional Topping Ideas: For a shiny crust, brush the mini slider buns with egg wash just before baking. After brushing, you can also sprinkle sesame, poppy, or white chia seeds on top for a fun finishing touch. Or jazz up the flavor even more with sea salt, onion flakes, and garlic powder.
How to Make Mini Slider Buns
Mix and knead the dough, and let it rise until doubled in size. After rising, turn the dough out to a well-floured board.
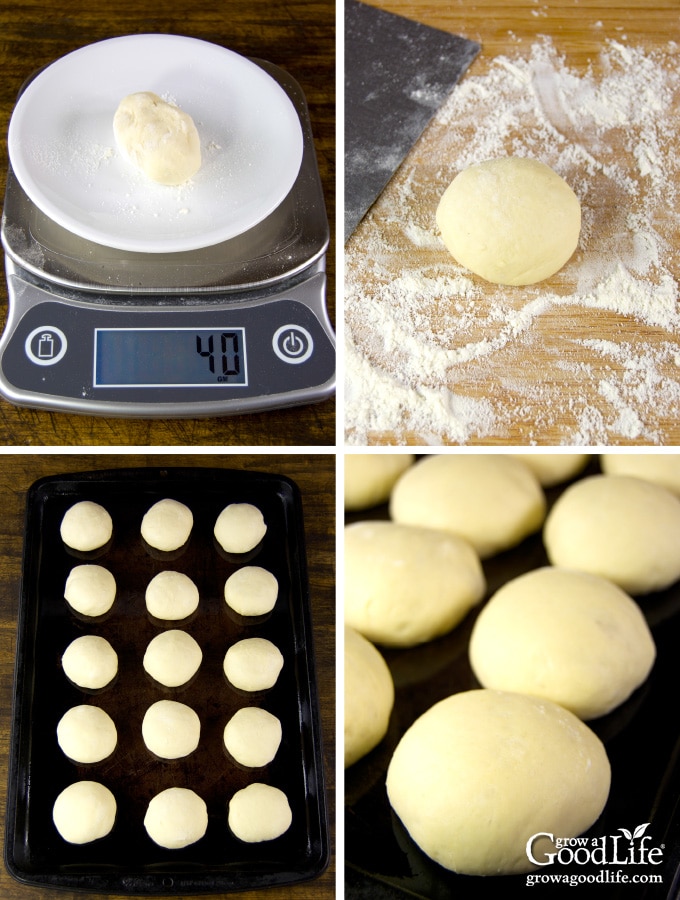
Divide the dough into 15 equal pieces and shape each piece into a round, ball.
Place each ball on your prepared baking sheet. Cover and let the dough rise again until doubled.
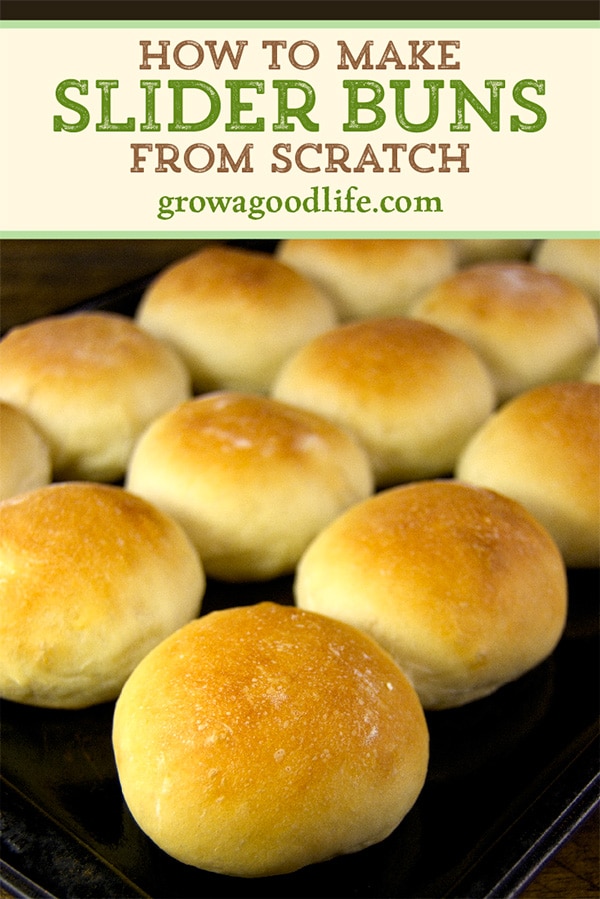
Bake in a preheated oven until tops are brown. Cool the mini slider buns on a rack and use for mini sliders, burgers, or even plain as dinner rolls.
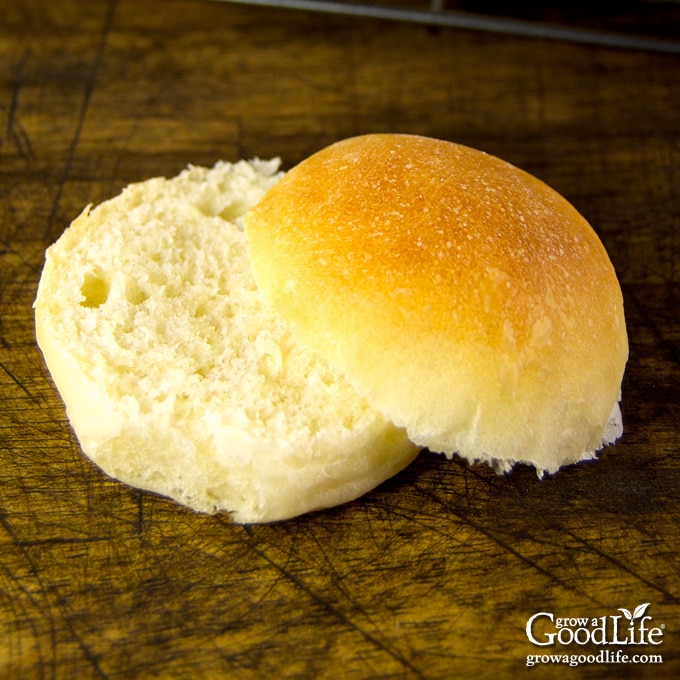
Homemade Mini Slider Buns
Ingredients
- 1 teaspoon active dry yeast
- 3/4 cup warm water (105-115˚F)
- 1/4 cup milk
- 2 tablespoons butter softened
- 1 tablespoon cane sugar
- 1 teaspoon kosher salt
- 2.5-3 cups unbleached bread flour (300-360gm)
- extra flour for kneading
Instructions
- Dissolve the yeast in the warm water. Combine all the ingredients using a bread machine, stand mixer, or knead by hand until the dough is smooth and elastic. If you are using a bread machine's dough cycle, skip to step 3.
- Grease a large bowl with butter or olive oil. Place the dough in the bowl and turn to grease the top. Cover and let rise in a warm place, free from drafts, until doubled, about 45-60 minutes.
- When the dough is doubled in size, press it down, turn it onto a lightly floured surface, and let rest for 15 minutes.
- Divide the dough into 15 pieces. Shape the pieces into smooth, round balls and place on a lightly oiled sheet pan. Cover and let the dough rise again until doubled, about 45-60 minutes.
- Preheat your oven to 400˚F when your dough is almost finished rising.
- Bake the mini slider buns in a preheated oven for 12-15 minutes until the tops are golden brown. Remove the buns from the oven and place on a cooling rack. Serve warm or store in a plastic bag once the rolls have cooled completely.
Nutrition
You May Also Like:
- Roasted Garlic Rosemary Bread
- How to Make Homemade Bread Crumbs
- Garlic and Cheddar Stuffed Mushrooms

Can you freeze these? If so, would you freeze them before baking or after?
Shannon, The buns freeze wonderfully. Once the rolls have cooled completely, store them in plastic freezer bags and place them in the freezer. They will stay good for up to 3 months. To thaw a bun, simply take it out of the freezer and let it sit at room temperature for a few hours. You can also warm it up in the oven at a low temperature for a few minutes.
I love these for homemade roastef garlic pizza sliders, but my friends love them plain just as much!
Very fluffy and soft, they are perfect!
I just got my bread maker a couple of months ago. I don’t know to go for raw dough or leaven. I believe leaven will rise twice. Can I then roll out dough after that? My screen doesn’t light up to tell me the time.
Bettie, Congratulations on your new bread maker! You can use either the “raw dough” or “leavened dough” cycle on your bread maker.
The raw dough setting likely just mixes and kneads the dough but does not let it rise. After the machine completes the raw dough cycle, you can proceed to step 2 in the recipe: “Grease a large bowl with butter or olive oil. Place the dough in the bowl and turn to grease the top. Cover and let rise in a warm place, free from drafts, until doubled, about 45-60 minutes.”
I believe the “leavened dough” setting mixes, kneads, and allows the dough to rise in the machine. In this case, you can proceed to step 3 in the recipe after the machine completes the cycle: “press it down, turn it onto a lightly floured surface, and let rest for 15 minutes.”
I hope this helps! Please feel free to reach out if you have any more questions. If you do, please let me know the brand and model of your bread machine so I can look it up to see how it works.