How to Safely Adjust Soups and Meals in a Jar Canning Recipes
This post may contain affiliate links, which means that I may receive a commission if you make a purchase using these links. As an Amazon Associate I earn from qualifying purchases.
Are you curious about how to safely adjust pressure canning recipes for soups, stews, chilis, and meals in jars? Learn which ingredient substitutions are safe and which should be avoided.

Home canned soups, stews, chilis, and meals in a jar are a welcome convenience on busy days. With just a pop of the lid and a quick reheat, you can enjoy a hearty, homemade meal straight from your pantry. While it may be tempting to treat canning soup like making soup for dinner, preserving these mixed-ingredient recipes safely requires special care.
Soups and combination meals include a mix of low-acid vegetables, meats, and seasonings, impacting the final product’s thickness, density, and acidity. That’s why it is important to use lab-tested soup and meal-in-a-jar recipes, such as those provided by Ball and the National Center for Home Food Preservation, and follow them closely.
But even with these guidelines, you can make some slight modifications to safely adjust your home canned meals. Below, we will go over safe tweaks and changes you can make to home canned soups and other meals-in-a-jar recipes and what to avoid.
This article is part of the Safe Changes and Substitutions for Home Canning Recipes series, which breaks down what you can and can’t safely modify in tested canning recipes.
In this installment, we’ll walk through the safe changes you can make when pressure canning soups, stews, chilis, and other one-jar meals, and which adjustments should be avoided. Understanding these guidelines will help you make safe tweaks and preserve flavorful and shelf-stable soups and meals in a jar with confidence.
Why Safety Matters
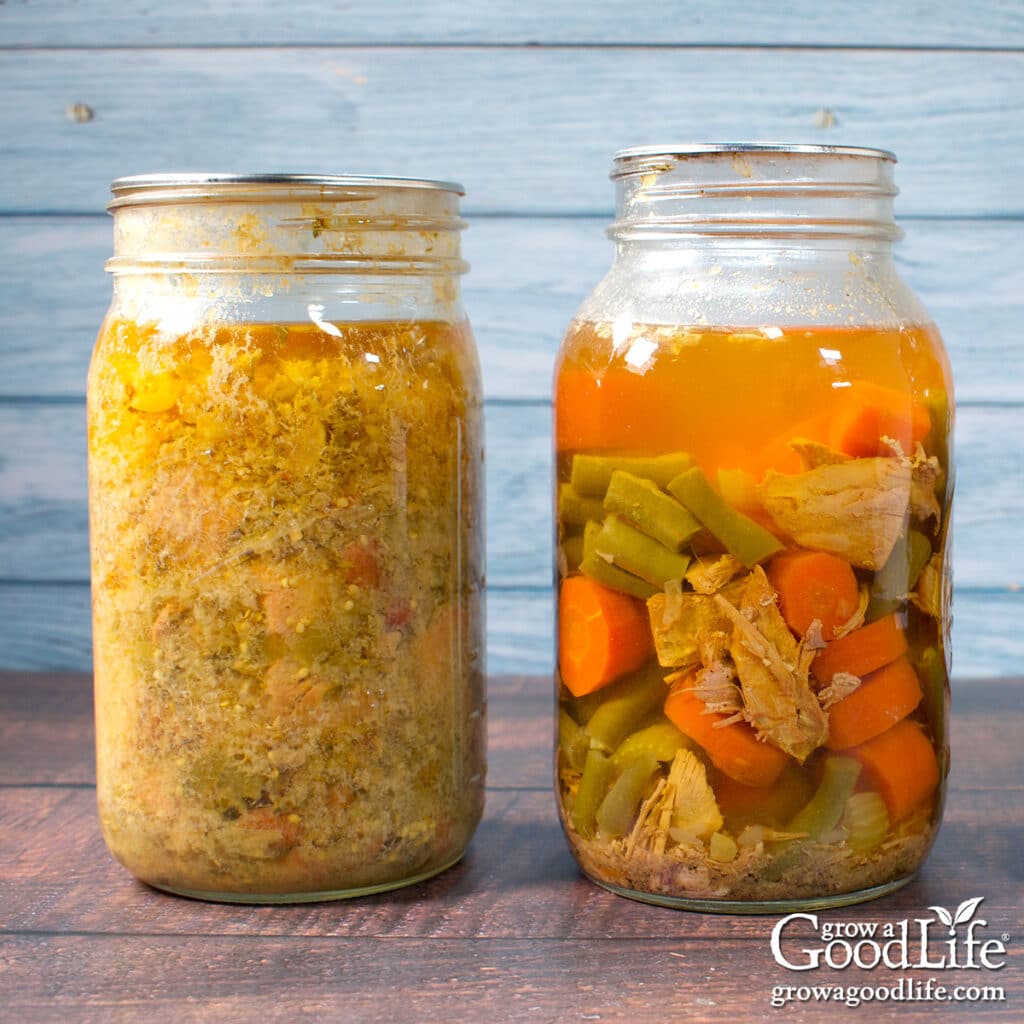
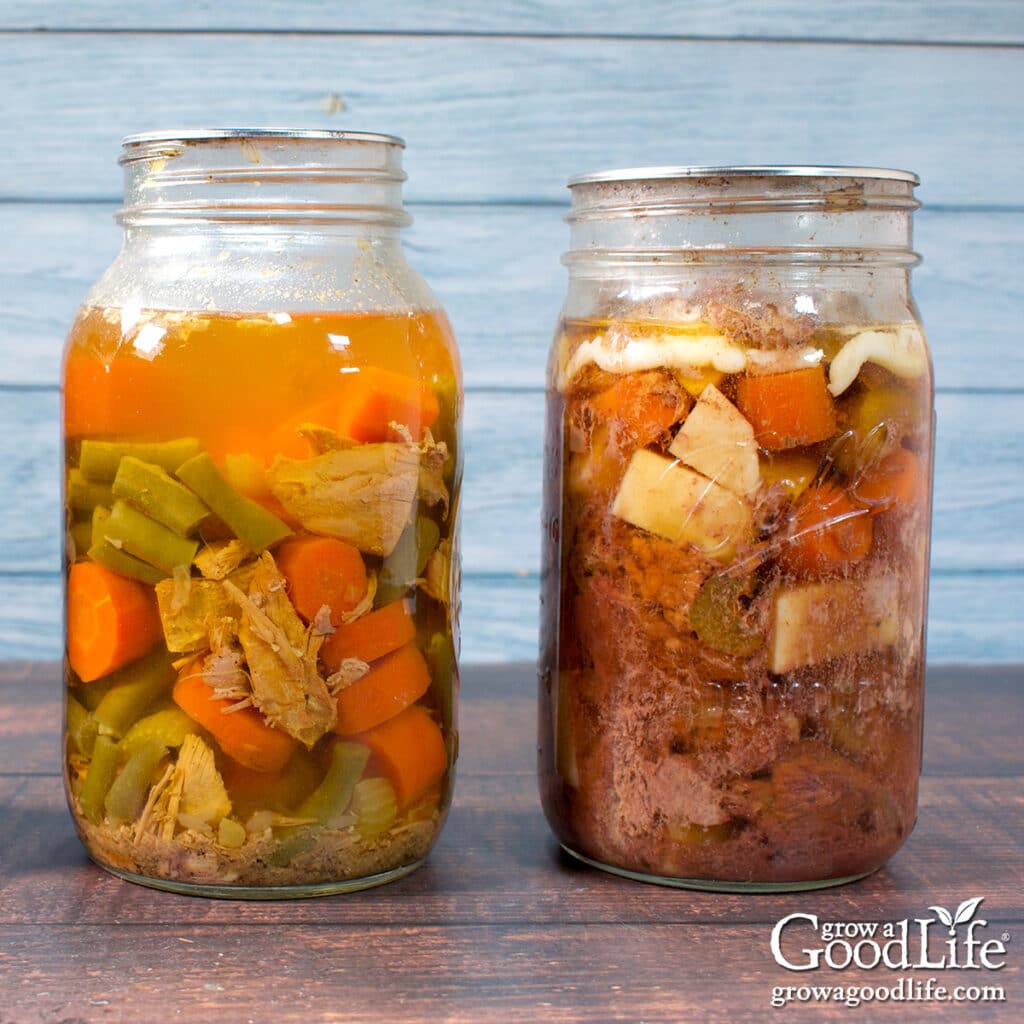
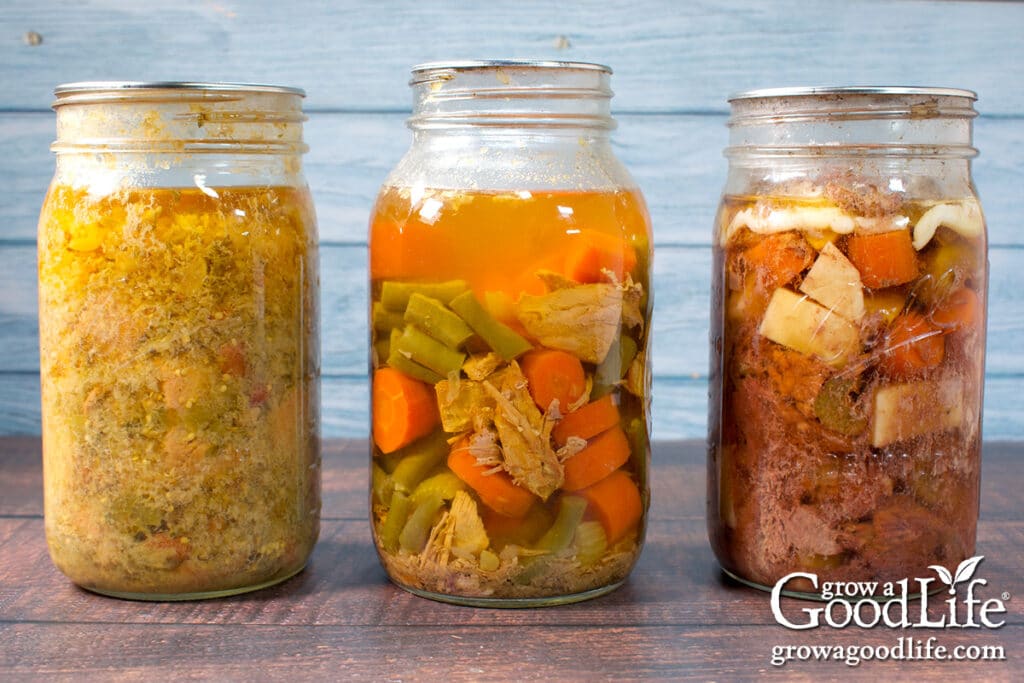
Soups, stews, and meals in a jar canning recipes contain a mix of ingredients that make them especially risky to preserve without proper testing. Most of these ingredients are low in acid and require pressure canning to destroy bacteria that can cause botulism. The risk increases significantly when recipes are too thick or dense or contain ingredients that interfere with heat circulation.
Improperly canned soups and stews may not reach and maintain the internal temperatures needed to kill dangerous microorganisms. Even a seemingly small change can make a jar unsafe by altering how heat flows through the contents during processing. And because these dangers can’t be seen, smelled, or tasted, the consequences of unsafe canning practices can be severe.
That’s why it’s so important to use tested recipes and stick to approved preparation methods when pressure canning soups and full-meal jars.
Safe Tweaks for Canning Soups, Stews, and Meals in a Jar
While pressure canning homemade soups and meals in a jar requires careful attention to safety, there is still room for a few safe tweaks.
These adjustments won’t compromise heat penetration or alter the acidity of the recipe, so you can make your meals more flavorful or better suited to your family’s tastes. Here are some safe changes you can make to soups, stews, chilis, and meals in a jar canning recipes:
Swap Meats in Equal Amounts
When using a research-based canning recipe that includes meat, you can safely substitute one type or cut of meat for another as long as the total amount stays the same. For example, if the recipe calls for boneless chuck, you may use an equal amount of a different beef cut, such as round or sirloin. If it calls for boneless chicken, either breasts or thighs may be used.
It’s also safe to substitute domestic meats like turkey for chicken or pork for beef, again keeping the total volume unchanged. Additionally, wild game meats, such as venison or elk, can be swapped for beef in the same quantity.
Always use lean cuts, remove as much fat as possible, and follow the preparation instructions outlined in the original recipe.
Adjust Vegetable Quantities Slightly
You can safely reduce or omit some vegetables from a tested recipe. For example, if your family dislikes celery, you can leave it out. However, do not increase the total volume or add additional low-acid vegetables, as this may affect the heat penetration and safety of the finished product.
You can also substitute some vegetable varieties with others of the same type. These are considered safe swaps:
- Peppers: You can exchange one variety of pepper for another in equal amounts. For example, swap out jalapeños for bell peppers if you prefer a milder flavor.
- Tomatoes: It’s safe to substitute one variety of tomatoes for another in equal measure, such as using San Marzano tomatoes instead of Roma tomatoes.
- Onions: Different bulb onions (yellow, white, or red) may be used interchangeably in equal amounts.
Reduce or Omit Salt
Salt is added for flavor, not preservation, so you can reduce or leave it out entirely. The safety will not be affected.
Swap Dried Herbs and Spices
Dried herbs and spices can be easily adjusted or exchanged to suit your taste. For example, you can use thyme instead of oregano or add crushed red pepper for a bit of heat.
It’s best to avoid using fresh herbs unless a recipe specifically calls for them, as they can introduce moisture and bacteria. Additionally, be cautious not to over-season. Canning tends to intensify some seasoning. Stick to moderate amounts to maintain a balanced flavor. You can always add more seasoning or fresh herbs at serving time if needed.

Unsafe Changes to Avoid
When pressure canning soups, stews, and meals in a jar, following tested recipes and avoiding alterations that interfere with safe processing is important. The following unsafe changes can prevent proper heat penetration or introduce ingredients unsuitable for home canning. Here are some unsafe changes to avoid:
Don’t Use Thickeners
Never add flour, cornstarch, roux, or other thickening agents before canning. Thickeners change the food’s consistency and slow heat transfer during processing, which can leave harmful bacteria alive inside the jar. If you want a thicker soup, add these ingredients after opening the jar when you are ready to heat and serve.
Don’t Add Dairy Products
Avoid adding milk, cream, cheese, sour cream, or butter to home-canned soups. These low-acid ingredients are not safe for canning and may lead to spoilage or foodborne illness. If you want to include dairy, stir it in after opening just before serving.
Don’t Add Pasta, Noodles, or Rice
Starches like pasta, noodles, and rice absorb liquid and swell during processing. This can lead to dense contents and uneven heating, making it difficult to ensure food safety. Instead, cook and add these ingredients when serving.
Avoid Excess Fat
Excessive fat from meat or added oils can interfere with heat penetration and may prevent jars from sealing properly. Choose lean cuts and trim visible fat before cooking when canning meat-based jars. If the recipe calls for some oil to brown meat, drain it well after cooking to remove excess grease.
Don’t Use Dry Beans Without Rehydrating
Dry beans and peas must be fully rehydrated (soaked and partially cooked) before being added to any home-canned soup or meal-in-a-jar recipe. Adding dry legumes directly to jars is not safe.
Heat cannot penetrate a dry bean in the same way it can a rehydrated one. If the heat doesn’t reach the center of the food, dangerous bacteria like Clostridium botulinum may survive. Dry beans also absorb liquid and swell, which can alter the density of the jar contents and prevent proper heat penetration.
Always follow tested guidelines requiring beans to be soaked and boiled before canning to ensure the finished product is safely processed.
Don’t Add Processed Meats
Avoid adding cured, smoked, salted, or highly processed meats, such as bacon, ham, corned beef, or summer sausage, to your home-canned soups and meals. While a few tested recipes (like Baked Beans with Ham or Habitant Soup) safely include small amounts of cured meat, most processed meats haven’t been researched for home canning.
Processed meat is any meat that has been preserved by smoking, curing, salting, or adding preservatives. These methods can alter the texture and density of the meat, making it harder for heat to penetrate evenly during pressure processing. Stick to tested guidelines and approved ingredients to ensure your home-canned meals are safe and shelf-stable.
Don’t Increase Jar Size
Always stick to the jar size specified in the tested recipe. While most soups and meals in a jar recipes give you the option of using pint or quart jars, some, such as Chili Con Carne, are approved for pints only.
Using a larger jar increases the volume of food, which slows heat penetration and may prevent the center of the jar from reaching a safe temperature during processing. There is no safe way to extend the processing time for oversized jars, so follow the guidelines precisely.
Note: It is safe to use smaller jars than the recipe calls for if you use the same processing time as the tested jar size.
Tips for a Safe and Successful Canning Session
Before starting your next canning session for soups, chilis, or meals in a jar, choose a tested recipe from a trusted, research-based source. Look to reliable online sites such as the National Center for Home Food Preservation (NCHFP), Ball, or Bernardin, or choose from the safe canning books recommended here.
Explore our collection of meals in a jar, stews and soups canning recipes on the Grow a Good Life website. These recipes include easy to follow, step by step directions and come from reliable sources.
Also check out our Grow a Good Life Guide to 40+ Meals in a Jar Pressure Canning Recipes eBook. Inside, you’ll find a collection of soups, chilis, meals in a jar, homemade stocks, and bone broths, all carefully adapted from research-tested recipes provided by trusted canning sources.
Keep the following tips in mind to ensure both safety and quality when pressure canning soups, stews, chilis, and meals in a jar:
Always Use a Pressure Canner
Low-acid recipes must be processed in a pressure canner to eliminate harmful bacteria like Clostridium botulinum. Water bath canning is unsafe for soups, stews, or mixed meals in jars.
Review the Recipe in Advance
Read through your recipe thoroughly before getting started. Make sure you have all the necessary ingredients on hand. Plan ahead if you need to:
- Thaw frozen meats completely in the refrigerator before use.
- Make homemade stocks or broths a day in advance, chill, and skim off excess fat before reheating.
- Rehydrate dried beans by soaking and precooking them beforehand. Overnight soaking works well if you’re planning ahead.
Prepare the Food
Start with fresh, high-quality meats, vegetables, and broth for the best flavor and food safety. Weigh or measure ingredients carefully, and follow the preparation steps outlined in your tested recipe.
Trim meat to remove skin, visible fat, and gristle, then cut it into the size specified in the recipe to ensure even heat penetration. Wash all produce thoroughly, removing any bruised or damaged spots, and prepare as directed.
Follow the Processing Time and Adjust for Altitude
Always use the exact processing time and pressure specified in your tested recipe, adjusted based on your elevation. Proper pressure is critical to ensuring that harmful bacteria is destroyed during processing.
If you’re unsure of your elevation, use a reliable tool like WhatIsMyElevation.com or consult a trusted altitude chart. Then adjust your pressure setting accordingly, based on the type of gauge your pressure canner uses:
Altitude Adjustments for Pressure Canning:
- 0–1,000 feet: Weighted Gauge = 10 lb | Dial Gauge = 11 lb
- 1,001–2,000 feet: Weighted Gauge = 15 lb | Dial Gauge = 11 lb
- 2,001–4,000 feet: Weighted Gauge = 15 lb | Dial Gauge = 12 lb
- 4,001–6,000 feet: Weighted Gauge = 15 lb | Dial Gauge = 13 lb
- 6,001–8,000 feet: Weighted Gauge = 15 lb | Dial Gauge = 15 lb
- 8,001–10,000 feet: Weighted Gauge = 15 lb | Dial Gauge = 15 lb

Final Thoughts
Home canning soups, stews, chilis, and meals in a jar is a rewarding way to preserve nourishing, ready-to-heat meals if you follow research-tested guidelines and avoid unsafe substitutions. Stick with approved recipes, make only the safe adjustments outlined above, and save your creative touches for when you serve the meal.
This article is part of our Safe Canning Substitutions series, where we break down which changes are safe and which aren’t so you can confidently preserve your harvest without compromising food safety.
Looking for more canning guidance? Explore the rest of the series for tips on modifying tested recipes for:
- How to Safely Modify Tomato Canning Recipes
- Safe Adjustments for Canned Salsa Recipes
- How to Modify Pickle and Relish Canning Recipes Safely
- Safe Tweaks for Pressure Canning Vegetables
- Safe Changes for Pressure Canning Meat and Poultry
- Safe Tweaks for Canning Fruit, Juice, and Preserves
Resources and Further Reading:
- Play it Safe! Safe Changes and Substitutions to Tested Canning Recipes. North Central Food Safety Extension Network (NCFSEN)
- USDA Complete Guide to Home Canning.
- Canning Dry Beans: It Matters How They Go in the Jar. National Center for Home Food Preservation.
- Canning Soup Safely. Penn State Extension.
- Food Preservation: Canning Soup. Ohio State University Extension.
- Oehler, Nellie. Interchangeable Meats in Canning (FAQ #877114). Ask Extension. Oregon State University Extension Service.
- Let’s Preserve: Soup. Penn State Extension.
40+ Meals in a Jar Pressure Canning Recipes
In this eBook, you will find 50 pressure canning recipes, including 44 meals, along with homemade stocks and bone broths. Recipes include soups, stews, chilis, beans, beef, pork, and poultry. Explore the world of preserving delicious home-cooked meals for all seasons.

