Oven-Roasted Tomato Sauce Canning Recipe
This post may contain affiliate links, which means that I may receive a commission if you make a purchase using these links. As an Amazon Associate I earn from qualifying purchases.
Make this oven-roasted tomato sauce for canning with Roma tomatoes, roasted garlic, and fresh herbs. Rich flavor and safe canning instructions included.
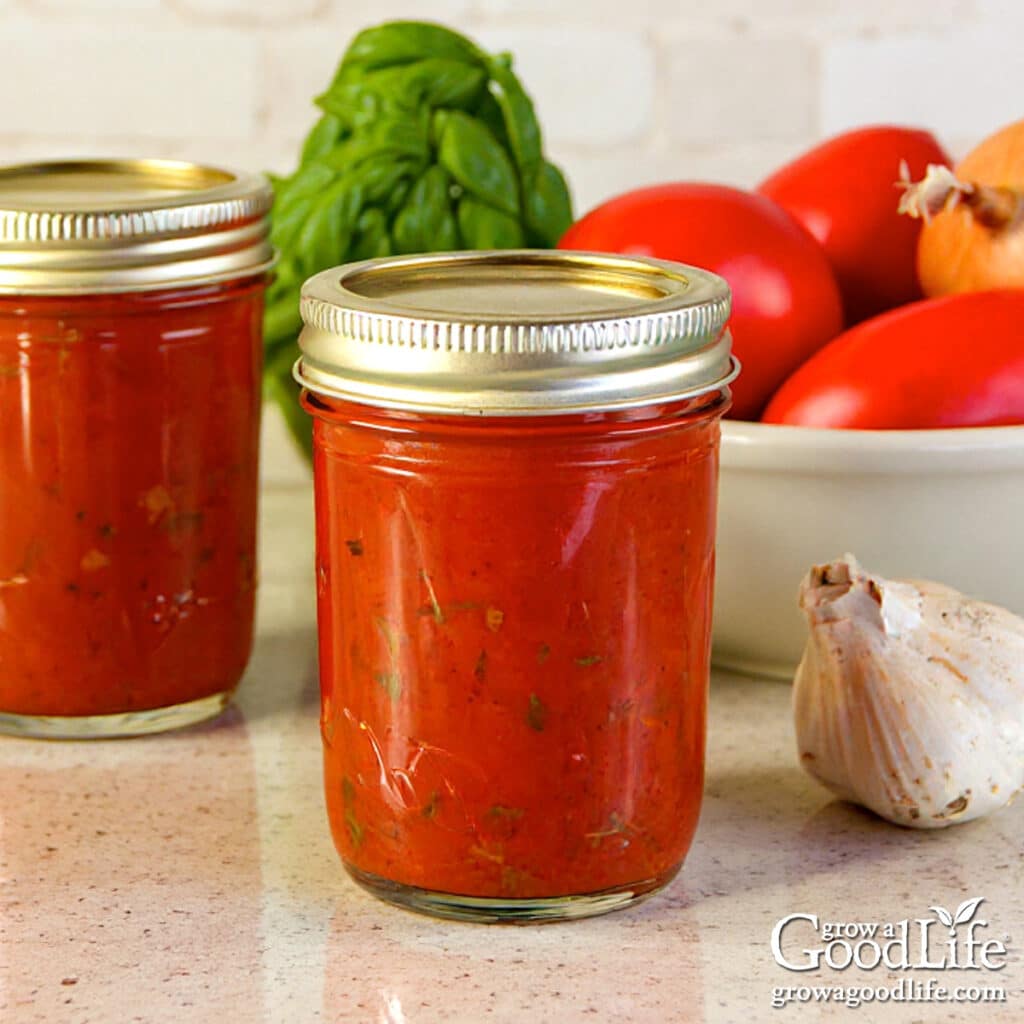
If you’re looking to preserve a tomato sauce with rich, deep flavor that captures the best of fresh tomatoes, this oven-roasted tomato sauce for canning is it. Roasting the tomatoes concentrates their natural sweetness, while roasted garlic adds a mellow richness that takes this sauce to another level. With fresh basil, oregano, and parsley, every jar is filled with bright garden freshness.
Whether you’re new to canning or looking to add something special to your pantry shelves, this roasted tomato sauce is versatile and can be used for pasta, pizza, lasagna, soups, and more all year long.
The detailed step-by-step instructions below will guide you through the entire process, from roasting the tomatoes to processing the jars safely in a boiling water bath canner.
Why You’ll Love This Roasted Tomato Sauce
This isn’t your average canned tomato sauce. This one is rich, bold, and bursting with real garden flavor. Here’s what makes it special:
- Deep roasted flavor: Roasting the tomatoes concentrates their natural sweetness and adds a hint of caramelized richness you can’t get from simmering alone.
- Packed with garlic: If you love a sauce with serious garlic personality, this recipe is for you. It uses three full heads of roasted garlic for incredible depth without being harsh or overpowering.
- Fresh herbs instead of dried: Many canning recipes rely on dried herbs, but this version lets you enjoy the bright flavor of fresh basil, oregano, and parsley straight from the garden.
- Perfect for pantry meals: Ideal for pasta, pizza, lasagna, casseroles, or simmering with meatballs. This sauce will be a staple on your shelf all year long.
About the Ingredients
Here’s an overview of what you’ll need to make this oven-roasted tomato sauce:
Tomatoes
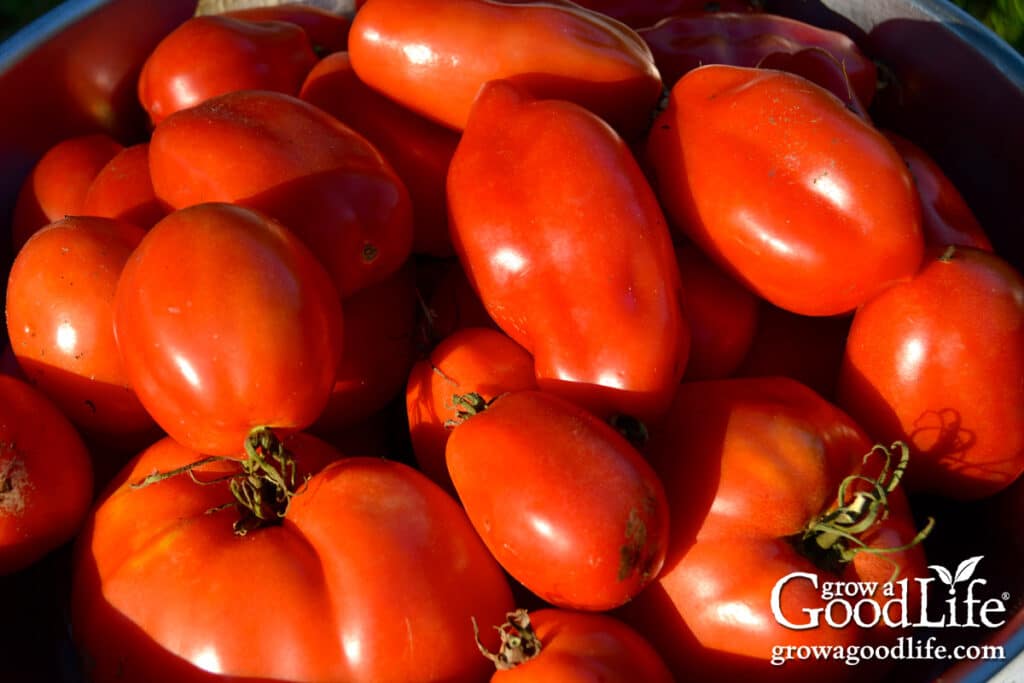
Paste or plum-type tomatoes are best for sauce because they contain less water and cook down into a rich, thick texture. Roma, Amish Paste, San Marzano, and Juliet are excellent choices.
Use ripe, firm tomatoes picked from healthy plants. Avoid tomatoes with rot, insect damage, or disease. Do not use tomatoes from frost-killed vines, as their acidity may be unsafe for canning. You will need about 10 pounds of tomatoes for this recipe.
Garlic
This recipe is full of delicious garlic flavor. You’ll need three whole heads of fresh garlic. Roasting mellows the sharpness and brings out a deep, savory sweetness that blends beautifully into the sauce.
Onions
Any bulb onion can be used safely in this tested recipe style. Yellow, white, red, or sweet onions are all fine as long as you keep the measured quantity the same. You’ll need about 1 cup of chopped onion, which is roughly 1 medium onion.
Fresh Herbs
Unlike many canning recipes that use dried herbs, this sauce features fresh basil, oregano, and parsley for bright, garden-fresh flavor. Choose herbs with vibrant, healthy leaves and avoid any that are wilted or yellowing.
Acidifier (Citric Acid or Bottled Lemon Juice)
Tomatoes vary in natural acidity, so additional acid is required to ensure safe canning. You can use bottled lemon juice or food-grade citric acid. These guarantee a consistent, safe pH level for processing.
Safe Adjustments
This recipe follows tested home canning guidelines, and there is some flexibility to customize the flavor while staying within safe limits. Here are a few safe adjustments you can make:
- Use any tomato variety: While paste tomatoes like Roma, Amish Paste, or San Marzano make a thicker sauce, you may substitute other meaty heirloom varieties or use a mix.
- Swap fresh herbs: You may safely substitute other fresh herbs such as thyme or rosemary, as long as the total amount of fresh herbs remains the same (no more than 3 tablespoons chopped). You can decrease the amount, but do not increase the total quantity.
- Use dried herbs instead of fresh: If fresh herbs are unavailable, use 1 tablespoon of dried herbs. Dried herbs have a stronger, more concentrated flavor, and additional fresh herbs can always be added when serving.
- Add a little sugar: If desired, you may add sugar to balance acidity or enhance sweetness. Up to 1 teaspoon per pint or 2 teaspoons per quart is safe and will not affect processing.
If you’d like to learn more about safe adjustments you can make, see this article: How to Modify Tomato Canning Recipes Safely.
Steps for Making and Canning Roasted Tomato Sauce
This recipe is adapted from the Roasted Garlic Roma Tomato Sauce in the Ball Blue Book Guide to Preserving and follows safe, tested home canning guidelines.
If you’re new to water bath canning, you may want to review the basics before you begin: Water Bath Canning for Beginners.
To stay organized during your canning session, I also recommend using my free Home Canning Checklist. It includes a prep checklist and space to record each batch you preserve. Get it here:
Grab your Free copy
Home Canning Checklists
You’ll find the full recipe with exact measurements at the bottom of this article, but the step-by-step instructions below will walk you through the entire process with helpful tips along the way.
Step 1: Gather Your Kitchen and Canning Equipment
Having everything prepared before you begin will make the process smoother. You will need:
- Water bath canner with a canning rack
- Canning jars: 3 quart jars, or 6 pint jars, or 12 half-pint jars (Yields vary. Prepare a few extra jars just in case)
- Canning lids and ring bands: New lids for each jar; bands can be reused
- Canning tools: jar lifter, jar funnel, and bubble popper/headspace tool
- Large canning ladle
- 3 to 4 rimmed sheet pans (standard 18×13-inch half-sheet pans)
- Parchment paper to line the pans
- Aluminum foil for wrapping garlic
- Large nonreactive stockpot for simmering the sauce
- Medium pot or tea kettle for heating extra water
- Kitchen scale for weighing tomatoes
- Basic kitchen tools: knife, cutting board, prep bowls, measuring cups and spoons, and plenty of clean kitchen towels.
Wash the canner, jars, lids, bands, and tools in warm soapy water, then rinse well. Inspect each jar carefully and discard any with chips, cracks, or rough edges, especially around the rim. Damaged jars may break during processing, and nicks in the rim can prevent the lids from sealing properly.
Step 2: Prepare the Ingredients
Prep the Produce
Weigh 10 pounds of fresh Roma or paste tomatoes. Rinse the tomatoes under cool running water to remove dirt and debris. Set aside to air dry on clean towels.
Rinse the fresh basil, oregano, and parsley and set aside to air dry.
Roast the Tomatoes and Garlic
Preheat the oven to 425°F. Line 3 to 4 sheet pans with parchment paper for easy cleanup.
Arrange the tomatoes in a single layer on the sheet pans, leaving space between them for even roasting.
Keep the garlic bulbs intact, but trim just the top tips to expose the cloves. Remove any loose outer skins. Wrap each bulb loosely in aluminum foil and place on one of the pans with the tomatoes.
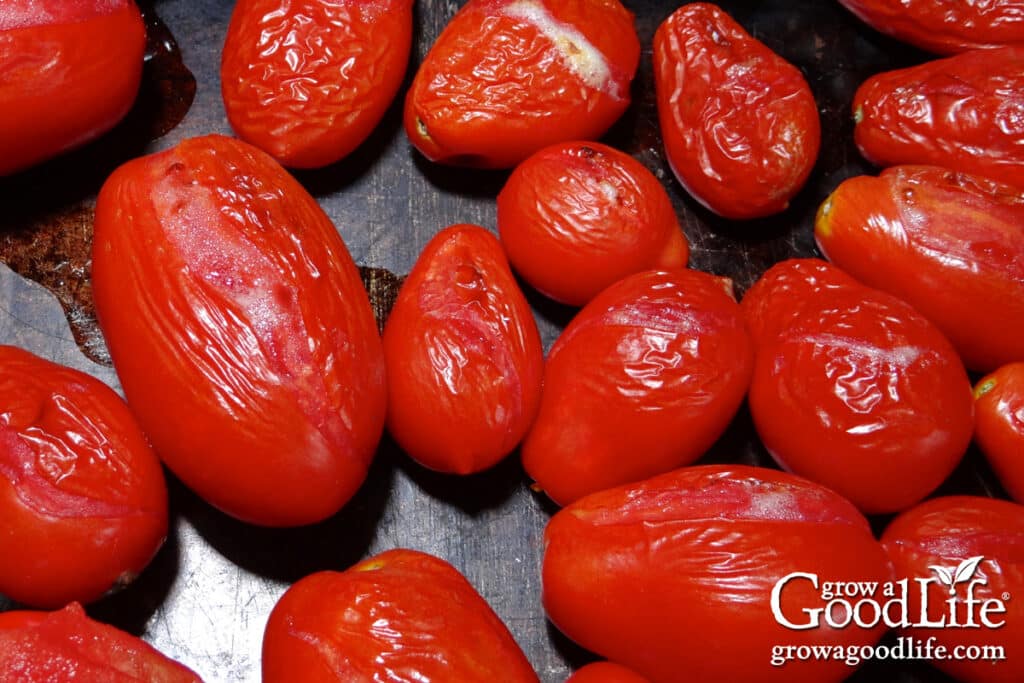
Roast the tomatoes and garlic for 40 to 50 minutes, or until the tomato skins are puffed, split, and lightly charred, and the garlic cloves feel soft when pressed. Rotate pans halfway through roasting for even cooking.
Remove the roasting pans from the oven and let the tomatoes and garlic cool until they are safe to handle.
Step 3: Make the Tomato Sauce
While the tomatoes are cooling, peel and chop the onion. Measure 1 cup of chopped onion and set aside.
Mince the fresh herbs and measure 1 tablespoon basil, 1 tablespoon oregano, and 1 tablespoon parsley, and set aside.
Once the tomatoes are cool enough to handle, cut them in half and remove the skins, cores, and seeds. Chop into 1/2-inch pieces and add to a large sauce pot.
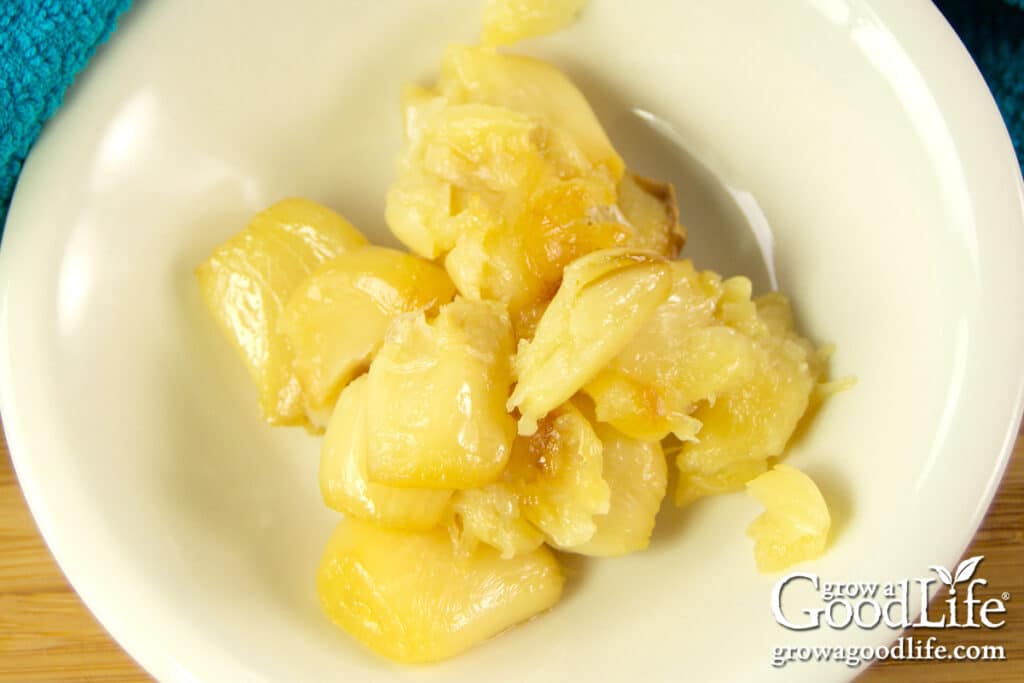
Squeeze the roasted garlic cloves from their skins into a bowl, mash lightly with a fork, and add to the pot.
Add the prepared onions, basil, oregano, parsley, and salt and pepper.
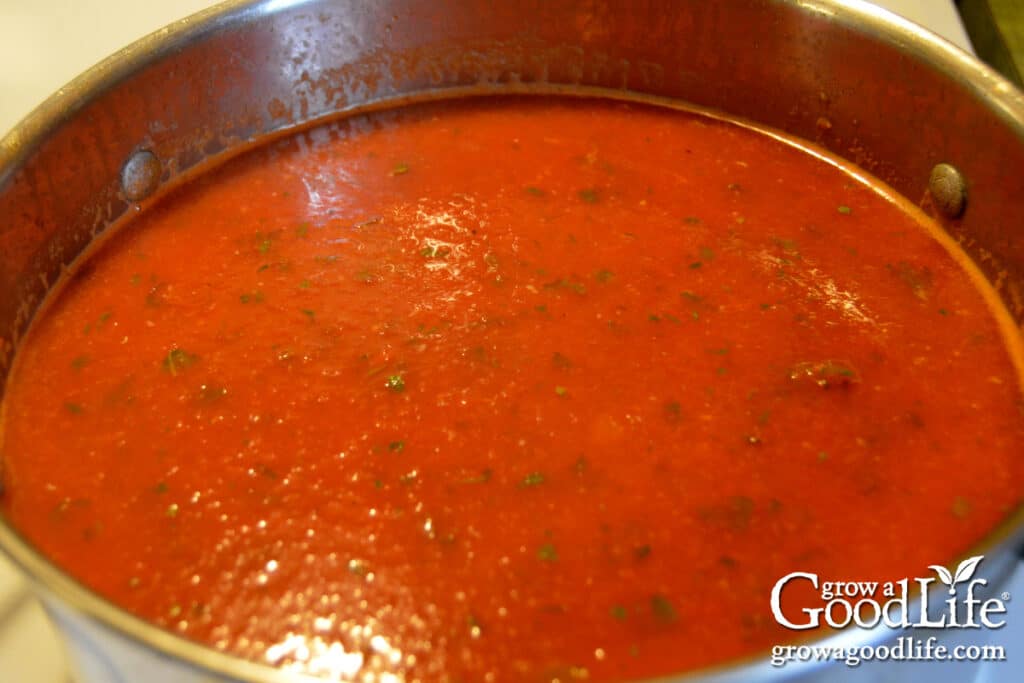
Bring to a boil over medium-high heat, then reduce to medium and simmer until thickened. Stir occasionally to ensure even cooking and prevent sticking. Keep the sauce hot as you fill your jars.
Step 4: Prepare the Canner and Jars
While the sauce is simmering, prepare your canner and jars.
Set the water bath canner on the stove, place the rack inside, and arrange the clean jars upright on the rack.
Add enough water to the canner to cover the jars. Bring the water to a simmer (180°F), and simmer for 10 minutes, then keep warm until you are ready to fill your jars. This helps prevent jar breakage when adding hot sauce.
Fill a tea kettle or extra pot with water and place it on the stove. Because this recipe has a long processing time, you may need to add additional boiling water to top off the canner and keep the jars fully covered during processing.
Step 5: Fill the Jars with Tomato Sauce
Prepare your work area by laying a clean kitchen towel on the counter. Place the citric acid or bottled lemon juice, measuring spoon, lids, bands, canning tools, and a clean damp paper towel within easy reach.
Use the jar lifter to remove one hot jar from the canner, draining the water back into the pot. Place the jar on the towel. Measure and add the citric acid or lemon juice:
- Quarts: Add 1/2 teaspoon citric acid or 2 tablespoons bottled lemon juice
- Pints: Add 1/4 teaspoon citric acid or 1 tablespoon bottled lemon juice
- Half-pints: Add 1/8 teaspoon citric acid or 1/2 tablespoon bottled lemon juice
Using a canning funnel, ladle hot sauce into the warm jar, leaving 1/2-inch headspace. Remove air bubbles by gently running the bubble popper through the jar. Adjust headspace if needed.
Wipe the rim of the jar with a clean, damp paper towel to remove any residue. Center a lid on the jar and screw on the band until fingertip tight. Return the filled jar to the canner and repeat with the remaining jars.
Step 6: Process in a Water Bath Canner
Once all jars are filled and placed back into the canner, adjust the water level so it covers the jars by at least 2 inches. Cover the canner and bring the water to a rolling boil.
When the water boils vigorously, set a timer and process the jars in a boiling water canner for the time listed in the recipe below, adjusting for altitude if necessary.
Bring your tea kettle or extra pot of water to a full boil at this point and keep it boiling the entire time in case you need to top off the canner during processing.
Keep the canner covered as much as possible to maintain the boil and prevent evaporation, but check it frequently to ensure the water level remains at least 1 to 2 inches above the jars.
If additional water is needed, carefully add boiling water around the jars, not directly on top of them, so you don’t disturb the lids or interfere with sealing.
Step 7: Cool and Store
When the processing time is complete, turn off the heat and remove the canner lid. Let the jars rest in the canner for 5 minutes to help them adjust to the temperature change.
Spread a dry towel on the counter. Then, use the jar lifter to remove the jars and place them on the towel, spacing them a few inches apart. Keep the jars upright as you lift them out of the canner and onto the towel, and don’t touch the lids or bands yet. Let them cool undisturbed for 12 to 24 hours.
After the jars have cooled for at least 12 hours, check the seals by pressing the center of each lid. If the lid does not pop up, the jar is sealed. Remove the rings and wash the jars in warm, sudsy water to remove residue. Label the jars with the date and contents, and store them in a cool, dark place. For the best flavor, use within 12 to 18 months.
Store opened jars, and any jars that failed to seal in the refrigerator, and use them within a few days.
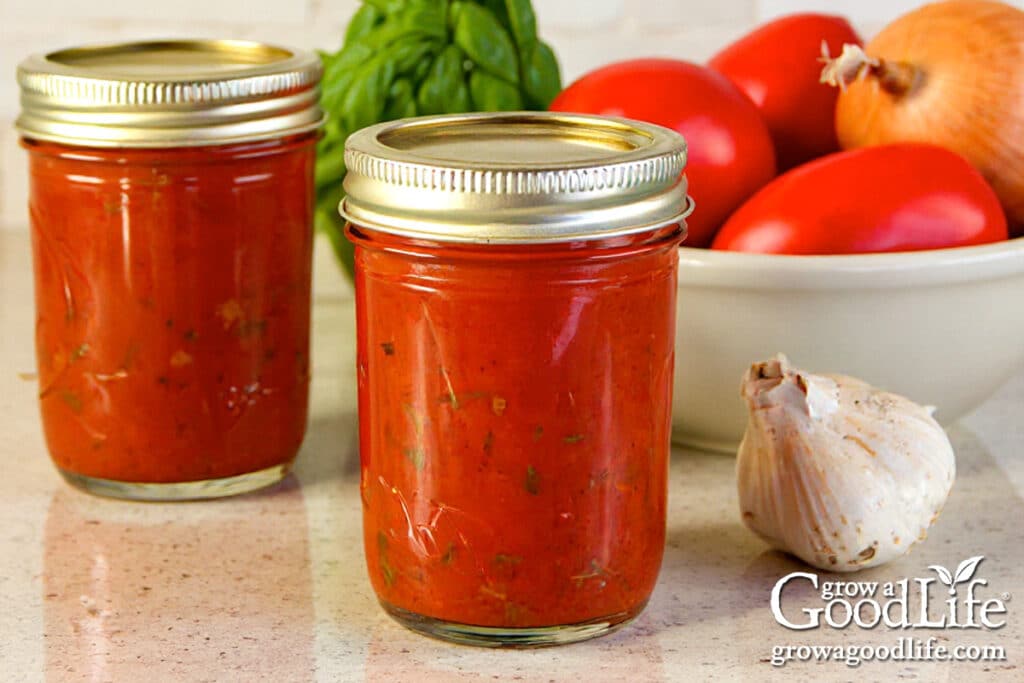
Ways to Use Roasted Tomato Sauce
This roasted tomato sauce brings deep, homemade flavor to so many meals. Try using it in:
- Classic Pasta Dinners: Toss with spaghetti, penne, or linguine for a quick and satisfying meal.
- Homemade Pizza: Spread on pizza dough, then top with mozzarella and basil.
- Ricotta Gnocchi: Simmer gently and spoon over pillowy homemade gnocchi.
- Baked Pasta Dishes: Perfect for stuffed shells, baked ziti, or zucchini lasagna.
- New England Style American Chop Suey: Swap it in for savory, old-fashioned comfort.
- Meatballs or Italian Sausage: Simmer in sauce for rich flavor.
- Soup Base: Add broth and vegetables for a hearty tomato vegetable soup.
- Dipping Sauce: Serve warmed with Zucchini Garlic Bites or mozzarella sticks.
Oven-Roasted Tomato Sauce Canning Recipe with Fresh Herbs
Ingredients
- 10 pounds Roma tomatoes
- 3 small whole heads of garlic
- 1 cup diced onions
- 1 tablespoon fresh minced basil
- 1 tablespoon fresh minced oregano
- 1 tablespoon fresh minced parsley
- 1 teaspoon salt
- 1/2 teaspoon ground black pepper
- Citric acid or bottled lemon juice
Instructions
Roast the Tomatoes and Garlic
- Preheat oven to 425°F (220°C). Arrange the tomatoes in a single layer on 3 to 4 parchment-lined baking sheets.
- Trim just the tips off each garlic head to expose the cloves, wrap them in foil, and place them on one of the pans.
- Roast the tomatoes and garlic in a preheated oven for 40 to 50 minutes, or until the tomato skins split and the garlic is soft. Rotate pans halfway through for even roasting.
- Remove the pans and, let cool until the tomatoes and garlic are safe to handle.
Make the Sauce
- Slip the skins off the tomatoes, remove the cores, scoop out the seeds, chop into 1/2-inch chunks, and add to a large saucepot.
- Squeeze roasted garlic cloves from skins into a bowl, mash with a fork, and add to the pot.
- Add the chopped onions, basil, oregano, parsley, salt, and pepper to the pot.
- Bring the mixture to a boil over medium-high heat. Then reduce the heat to medium-low and simmer until it thickens, which should take about 30 to 60 minutes. Stir the mixture often to prevent sticking. Keep it hot while you fill your jars.
Prepare the Canner and Jars
- Place the water bath canner on the stove and add the rack.
- Arrange clean jars upright on the rack.
- Fill the canner with water to cover the jars.
- Warm over medium heat (180˚F), and simmer for at least 10 minutes. Keep warm as you fill your jars.
- Fill a tea kettle or extra pot with water and and place it on the stove.
Fill the Jars with Sauce
- Lay a clean towel on your work surface.
- Use the jar lifter to remove one warm jar from the canner, drain the water back into the pot, and place it on the towel. Keep the remaining jars in the canner so they stay warm.
- Measure and add the citric acid or lemon juice:• Quart jar: Add 1/2 teaspoon citric acid or 2 tablespoons bottled lemon juice• Pint jar: Add 1/4 teaspoon citric acid or 1 tablespoon bottled lemon juice• Half-pint jar: Add 1/8 teaspoon citric acid or 1/2 tablespoon bottled lemon juice
- Place a canning funnel on the jar and ladle hot tomato sauce into the jar, leaving 1/2-inch headspace.
- Remove air bubbles with a bubble popper and adjust headspace if needed.
- Wipe the rim of the jar with a clean, damp paper towel to remove any residue. Center a lid on the jar and screw on the band until fingertip tight.
- Return the filled jar to the canner and repeat with the remaining jars.
Process in a Boiling Water Bath Canner
- Once the filled jars are back in the canner, adjust the water level so it covers the jars by at least 2 inches. Cover the canner and bring the water to a rolling boil.
- Bring your tea kettle or extra pot of water to a boil and keep it boiling in case you need to top off the canner during processing.
- Once the canner boils vigorously, set a timer and process in a boiling water bath canner for 85 minutes (1 hour and 25 minutes), adjusting for altitude if necessary (see notes below).
- Keep the canner covered to maintain the boil and prevent evaporation, but check it frequently to ensure the water level remains at least 1 to 2 inches above the jars.
- If additional water is needed, carefully add boiling water around the jars, not directly on top of them, so you don’t disturb the lids or interfere with sealing.
Cool and Store
- When the processing time is complete, turn off the heat, remove the cover, and let jars rest in the canner for 5 minutes.
- Spread a dry kitchen towel on the counter, then use the jar lifter to lift the jars straight up from the canner and transfer them to the towel-lined surface, spacing them a few inches apart.
- Don’t touch the bands or lids yet. Let the jars sit undisturbed for 12 to 24 hours to cool and seal.
- After the jars have cooled for at least 12 hours, check the seals by pressing the center of each lid. If the lid does not pop up, the jar is sealed. Any unsealed jars should be refrigerated and used within a few days.
- Remove the screw on bands and wash the jars in warm soapy water to remove any residue, then label and store sealed jars in a cool, dark place. For the best quality and flavor, use within 12 to 18 months.
- Store opened jars, and any jars that failed to seal in the refrigerator, and use them within a few days.
- Yield: About 3 quarts, 6 pints, 12 half-pints
Notes
- 1,001–3,000 feet: 1 hour 30 minutes
- 3,001–6,000 feet: 1 hour 35 minutes
- 6,001-8,000 feet: 1 hour 40 minutes
- 8,001-10,000 feet: 1 hour 45 minutes
Nutrition
Roasted Tomato Sauce for Your Pantry
Homemade roasted tomato sauce is a delicious way to preserve garden tomatoes and enjoy the rich, slow-roasted flavor of tomatoes and garlic all year long. Whether you use it for pasta dinners, pizza nights, or hearty comfort meals, this sauce is one you’ll come back to again and again.
If you enjoy preserving having a pantry filled with home canned sauce, you may also like these tomato sauce recipes:
- Plain Tomato Sauce for Canning – A smooth, versatile pantry staple.
- Seasoned Tomato Sauce for Canning – Made with classic Italian herbs.
- Spaghetti Sauce (Pressure Canning) – Hearty, thick, and full of flavor.
- Canning Pizza Sauce – Perfect for homemade pizza.
