Tips for Using Wood Chip Mulch in a Vegetable Garden
This post may contain affiliate links, which means that I may receive a commission if you make a purchase using these links. As an Amazon Associate I earn from qualifying purchases.
Learn how to use wood chip mulch in your garden to suppress weeds, retain moisture, and improve soil over time. Discover tips for applying mulch to beds and paths, plus what type of wood chips to use.
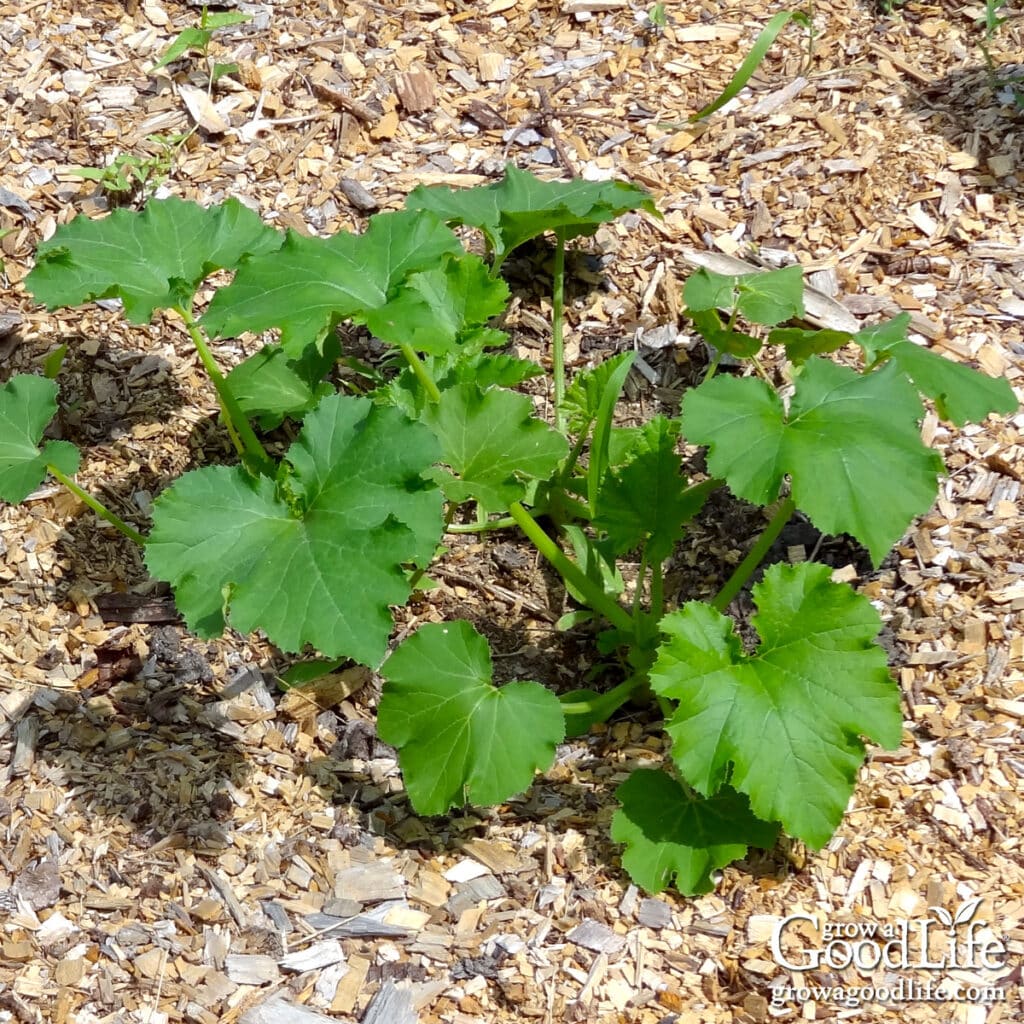
Mulch is a valuable tool in the organic garden. It helps suppress weeds, conserve moisture, regulate soil temperature, and enrich soil gradually as it breaks down. When sourced naturally from local arborists, wood chips are an affordable (often free) and effective mulch option that supports soil life and long-term garden health.
Unlike dyed or bark-based landscape mulches sold in garden centers, arborist wood chips are a natural mix of chipped branches, twigs, and leaves, materials that mimic nature’s way of building fertile soil on the forest floor. When used properly, wood chip mulch can be a game-changer in an organic vegetable garden.
What Is Wood Chip Mulch?
Wood chip mulch is made from chipped tree materials, typically including small branches, bark, twigs, and leaves. While commercial mulches are often made from bark or treated lumber and may contain dyes or chemicals, arborist wood chips come directly from tree trimming or removal jobs. They are a more natural, unprocessed option, especially when sourced locally.
Ramial Wood Chips vs. Arborist Wood Chips
Not all wood chip mulch is created equal. When it comes to gardening, two common types are ramial wood chips and arborist wood chips, and understanding the difference can help you use each one more effectively.
Ramial wood chips are made from the small-diameter branches (under 2.5 to 3 inches wide) of deciduous trees and include a high proportion of green material: twigs, buds, and leaves. Because this young wood is rich in nutrients and breaks down more quickly than mature wood, ramial chips are especially effective at building soil and supporting microbial life.
They’re often used in agroforestry and Back to Eden gardening as a way to mimic the natural forest floor, enriching the topsoil with a crumbly layer of organic matter as they decompose.
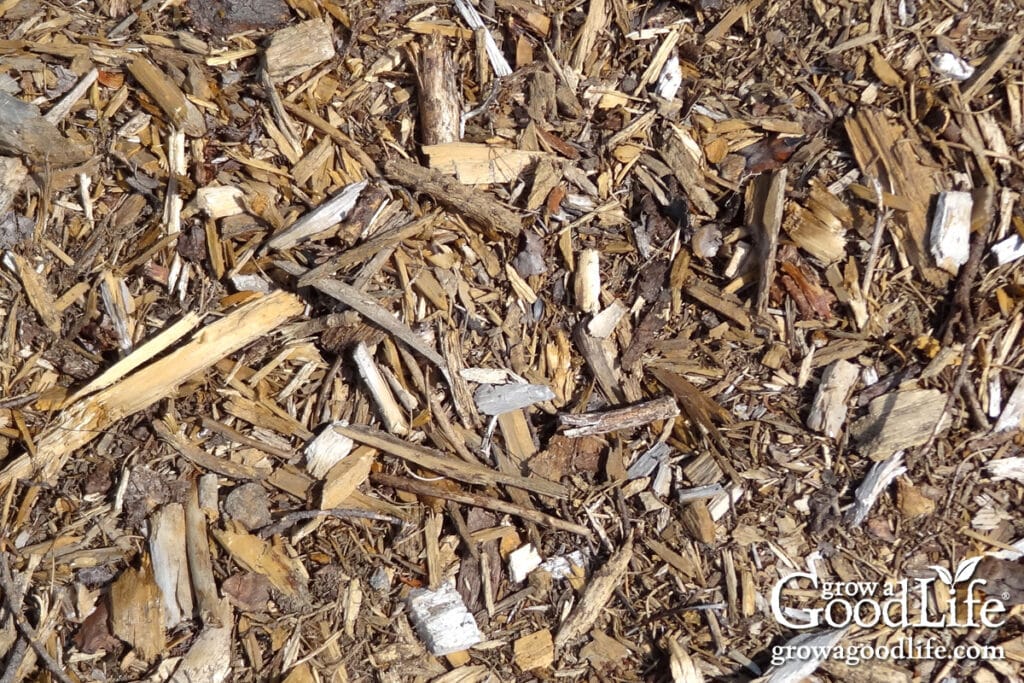
Arborist wood chips, on the other hand, are the byproduct of tree trimming or removal jobs. These typically include a wide variety of materials: large branches, trunk wood, bark, needles, leaves, and even pinecones. Because they contain more carbon-heavy, mature wood, they break down more slowly and are less nutrient-rich than true ramial chips.
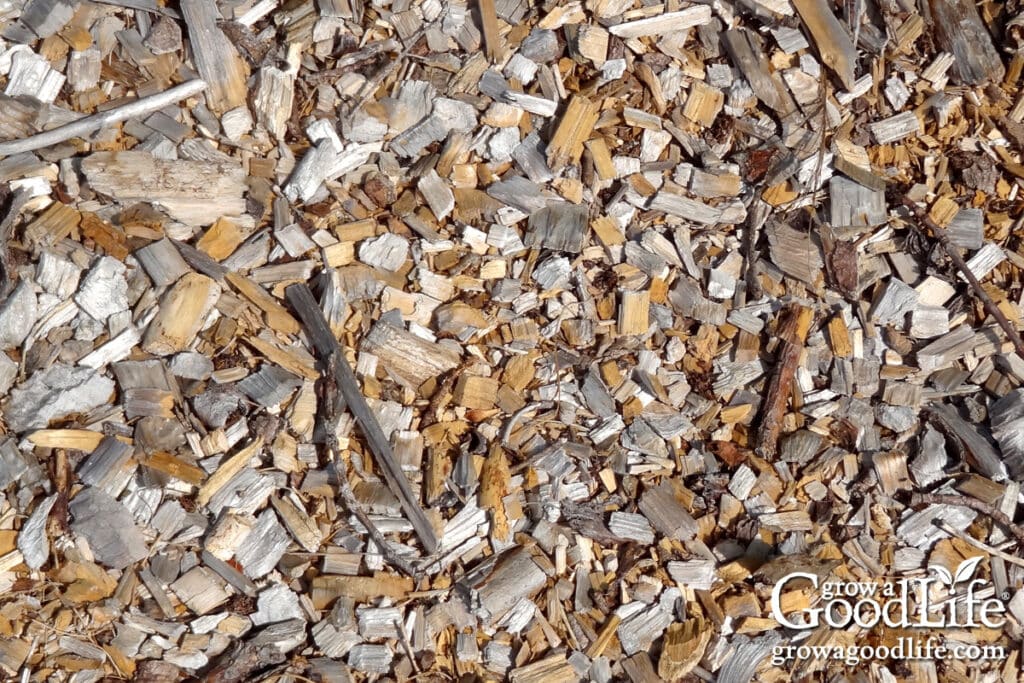
That said, arborist chips can still be beneficial in the garden, especially when the mix contains a good amount of leafy, twiggy material. They’re an excellent choice for garden paths, between rows, or even as surface mulch in beds once the soil has warmed. Just be sure to apply them correctly and keep them on the surface, not mixed in. If you’re lucky enough to get a load that includes a high percentage of young, green growth, you’ll enjoy many of the same soil-building benefits as with true ramial chips.
My Experience Using Wood Chips as Mulch
Several years ago, we had to remove a line of trees that had grown too close to the house. After the tree company cleared the area, I asked to keep some of the resulting wood chips for the garden. They left two piles. One was a rough mix of pine branches, needles, and bark. The other was a beautiful blend of young branches, brush, and leaves, exactly the kind of material you’d find in ramial wood chips.
That first year, I used the wood chips to mulch the garden paths between our raised beds and the landscape plantings around our yard. But I was especially curious about how wood chips would perform in the vegetable beds themselves.
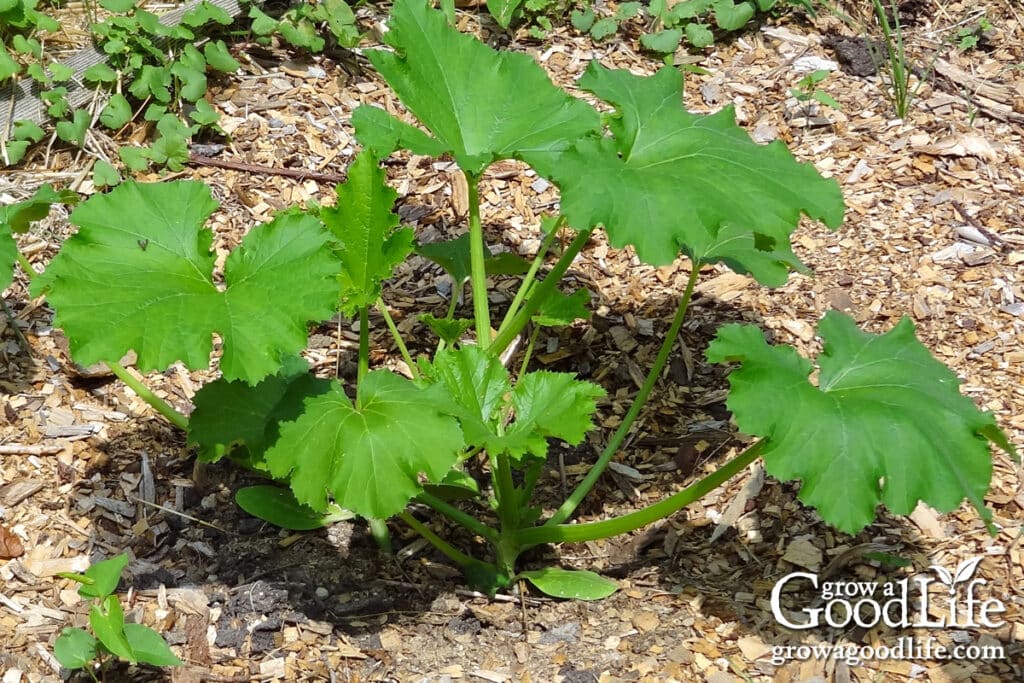
The following year, I chose two squash beds for the experiment. After a soaking rain thoroughly moistened the soil, I mulched one bed with a 4-inch layer of wood chips and the other with straw, keeping the mulch about 12 inches from the plant stems to allow for easy watering and air circulation.
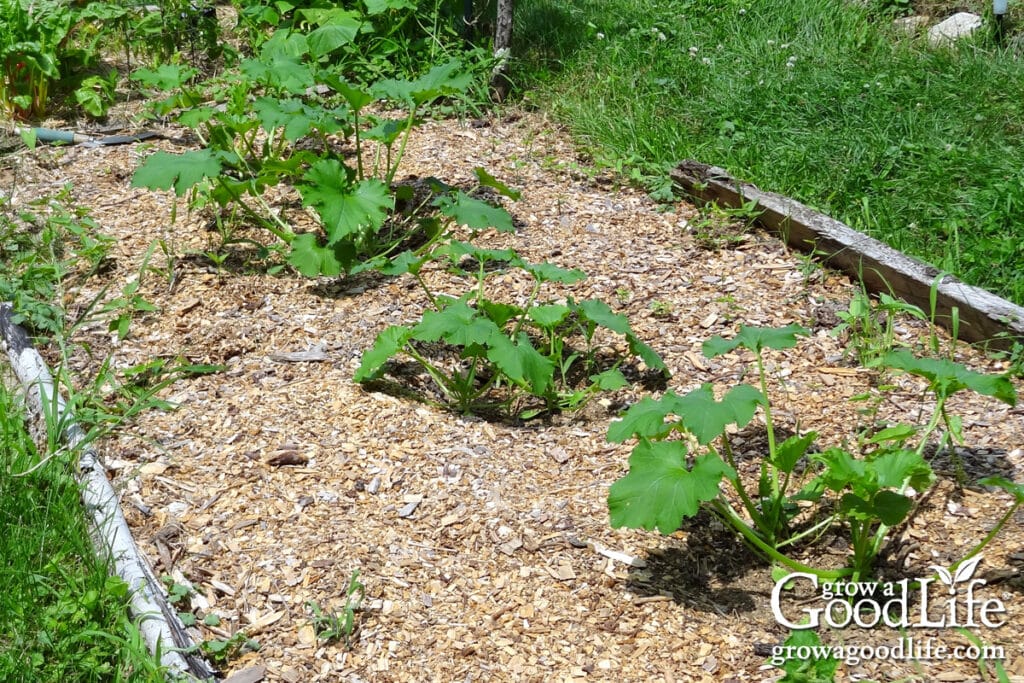
The results were impressive. Both mulches helped suppress weeds, retained moisture, and allowed rainfall to soak through easily. But the ramial wood chips outperformed the straw in several key ways. Weed suppression was stronger, the mulch lasted longer, and the squash plants mulched with wood chips matured faster and produced more fruit before the first frost.
The following spring, I noticed the soil beneath the wood chips was dark, rich, and full of life, while the straw-mulched bed needed to be topped up. Over time, the wood chips continued to decompose and improve the soil. While some weeds crept back in after a few seasons, they were far easier to pull from the loose, mulched soil than from bare ground.
Benefits of Using Wood Chips for Garden Mulch
Using arborist wood chips as mulch in your vegetable garden has many benefits:
- Weed suppression: A thick layer of wood chips blocks sunlight from reaching the soil, which prevents most weed seeds from germinating.
- Moisture retention: Wood chips help retain soil moisture by reducing evaporation, which can be especially helpful during hot, dry stretches.
- Temperature regulation: Mulch insulates the soil, keeping it cooler in the summer and warmer in the fall.
- Erosion control: A layer of mulch protects the soil from pounding rain and wind, reducing erosion and compaction.
- Slow-release nutrients: As the mulch breaks down, it slowly contributes organic matter to the soil, feeding beneficial microbes and improving soil structure.
Is It Safe to Use Wood Chips in the Vegetable Garden?
One of the most common concerns about using wood chips in the vegetable garden is nitrogen tie-up. This happens when high-carbon materials like wood are mixed into the soil, and soil microbes need to draw on available nitrogen to help break them down. In certain situations, this can reduce the amount of nitrogen available to your plants.
However, when wood chips are used as a surface mulch and not tilled into the garden soil, this issue is largely avoided.
To ensure your plants have enough nutrients, you can also amend your beds with finished compost before applying mulch. Compost adds organic matter and nitrogen to the soil, helping maintain a healthy balance for plant growth while the mulch slowly breaks down on top.
Other Safety Considerations When Using Wood Chips
- Fire Risk: Dry wood chips are flammable and can become a fire hazard, especially during hot, dry weather. Avoid using flame-based weed control methods like torches or flame weeders near mulched areas. Even a small spark can ignite dry mulch and quickly get out of control. If you live in an area prone to drought or wildfires, consider using finer mulch materials or keep a buffer zone of nonflammable groundcover around your garden beds.
- Source of Wood Chips: Avoid using wood chips from treated lumber, black walnut trees, or other allelopathic trees that can inhibit plant growth. If sourcing arborist chips, try to find out what types of trees were included and avoid using chips from trees recently treated with herbicides or pesticides.
- Mulch Against Structures: Don’t pile mulch directly against wooden garden borders, buildings, or fences. Wood chips can hold moisture and contribute to wood rot or attract termites and other pests near wooden structures.
- Slug and Rodent Habitat: Thick mulch can create a cozy environment for insects, slugs, and rodents, especially if it’s in constant contact with plant stems or fruits. Maintain a clear space around the base of plants and monitor for unwanted critters.
Where to Get Arborist Wood Chips
One of the best things about arborist wood chips is that they are often free or low-cost:
- Local tree trimming companies: Call and ask if they’ll deliver chips.
- Municipal yard waste programs: Some towns offer free mulch to residents.
- ChipDrop (chipdrop.com): A service that connects arborists with gardeners. You may get a large, mixed load, so be sure your space is ready.
Important Warning
When requesting chips for a vegetable garden, be clear about your intended use. Let providers know they’ll be used in a food-growing space and that you want clean, untreated material.
Avoid mulch made from:
- Treated lumber
- Chemically treated trees (sprayed with herbicides/pesticides)
- Diseased or pest-infested trees
- Invasive plants like poison ivy, poison oak, or aggressive weed species
These can introduce toxins, pests, or unwanted seeds that are hard to remove once established.
How to Use Wood Chip Mulch in the Garden Beds
In my own garden, I like to use fresh ramial chips in early spring because their active decomposition helps warm the soil as the season begins. Once the beds have warmed up and drained well, I’ve found that aged arborist wood chips work beautifully as a long-lasting mulch layer.
However, whichever type you use, applying mulch correctly will help you get the most benefits, such as suppressing weeds, conserving moisture, and improving soil over time.
Here’s how to do it:
1. Start with moist soil
Wood chips act as a barrier, so it’s best to apply them when the soil is already moist. Wait until after a soaking rain or water your garden thoroughly before mulching. This ensures that your plants have access to water right away and that the soil stays damp under the mulch.
2. Add a weed barrier (optional but helpful)
For extra weed suppression, lay down a biodegradable weed barrier such as cardboard or several layers of newspaper. Wet the material to help it conform to the soil surface and stay in place. This layer will break down over time and feed the soil while helping smother persistent weeds.
3. Spread 4 to 6 inches of wood chips
Apply a thick layer of wood chips, around 4 to 6 inches deep. This is enough to block sunlight from reaching weed seeds, keep the soil cool and moist, and slow down decomposition so the mulch lasts longer. Avoid using a thin layer, which can dry out quickly and allow weeds to sprout through.
4. Keep mulch away from plant stems
Avoid piling mulch directly against plant stems, trunks, or crowns. Instead, leave a 6 to 12-inch gap around the base of each plant. This helps prevent moisture buildup against the stem, which can lead to rot, mold, or pest problems. This clear space also makes it easier to deliver water directly to the root zone when watering by hand.
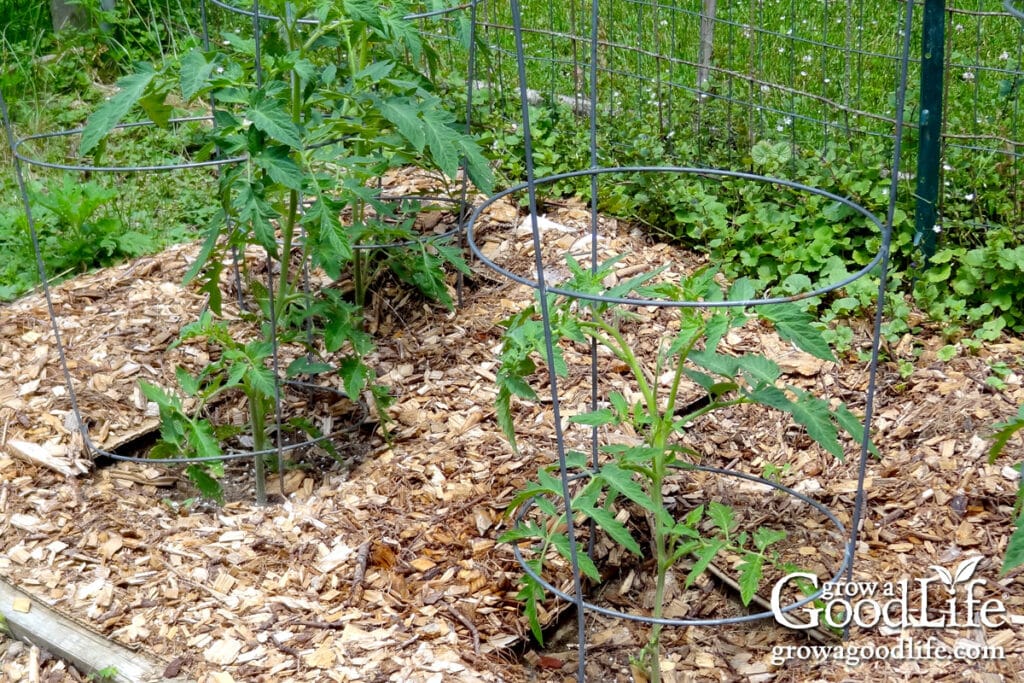
5. Replenish as needed
Wood chips will gradually break down and incorporate into the soil, improving its structure and fertility over time. Monitor your mulch throughout the season and top off as needed, especially exposed areas where it decomposes faster or gets disturbed. In most cases, a fresh layer added once a year is enough to maintain coverage.
6. Don’t mix wood chips into the soil
Always keep wood chip mulch on the surface of the soil. Mixing fresh chips into the soil can tie up nitrogen as they decompose, potentially robbing nutrients from your plants.
7. When replanting the following season
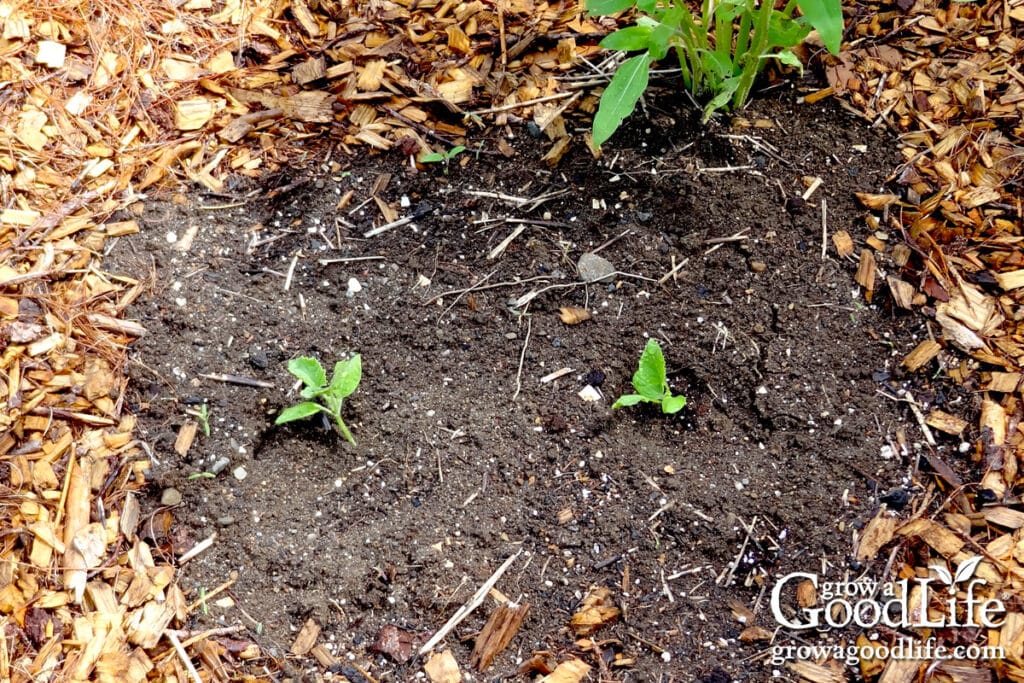
Rake the mulch aside to expose the soil before planting. Add compost or amendments if needed, then sow seeds or transplant seedlings. Once plants are established, pull the mulch back around them, keeping it a few inches away from the stems.
How to Use Wood Chips for Garden Paths
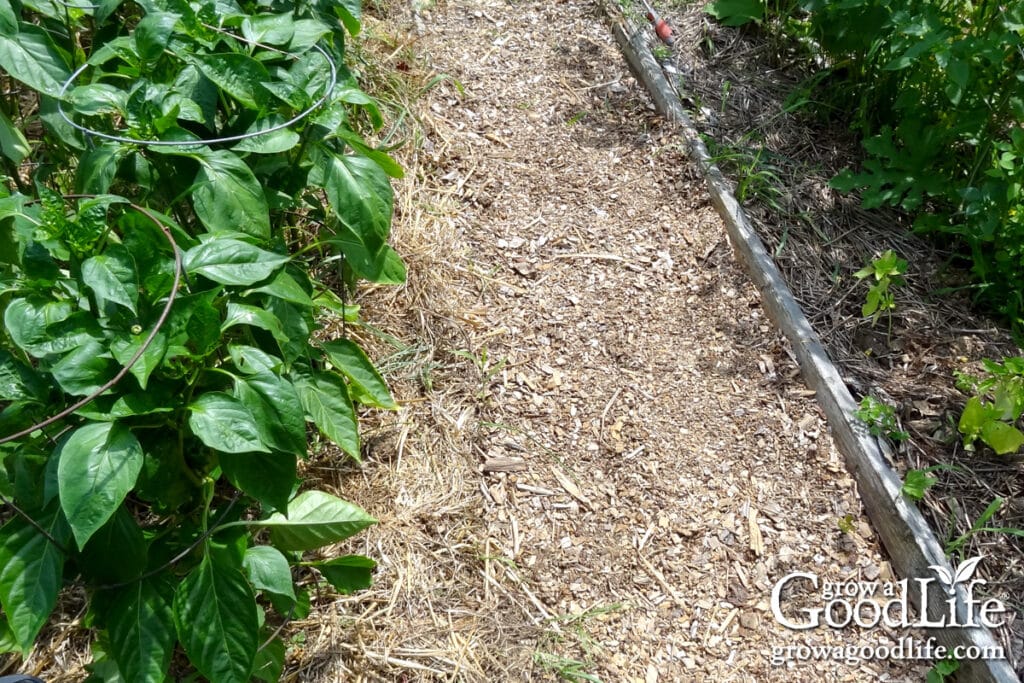
Wood chips make an excellent natural surface for garden paths. They help suppress weeds, reduce mud, and create a clean, defined walking area between beds. Here’s how to build long-lasting wood chip paths:
1. Clear weeds and debris
Start by removing any existing vegetation from the path area. Dig out persistent weeds, grasses, or sod to prevent them from pushing up through the mulch. Rake the surface to remove sticks, roots, and rocks.
2. Level and shape the path
Smooth out the soil to create an even walking surface. If needed, use a shovel or rake to shape the path with a gentle slope or edge. A well-leveled path helps the mulch stay in place and makes it easier to walk on without tripping or shifting.
3. Lay down a thick weed barrier
Add a generous layer of overlapping cardboard or several sheets of damp newspaper over the entire path area. This extra barrier helps smother weed roots and seeds, especially tough perennial weeds or aggressive grasses. Wet the barrier thoroughly to hold it down and help it begin decomposing.
4. Spread a thick layer of wood chips
Apply 4 to 6 inches of wood chips on top of the cardboard, spreading them evenly across the path. You can go even deeper (up to 8 inches) in high-traffic areas or if you’re starting with uneven ground. Rake the chips level and pat them down slightly to create a firm walking surface.
5. Maintain as needed
Over time, foot traffic and weather will break down the mulch. Replenish the pathways with a fresh layer of chips as it thins out, usually once a year. Keep an eye out for weeds poking through and pull them promptly to maintain a tidy path.
Building Better Soil
Wood chip mulch can be an excellent addition to your organic garden. Whether you use ramial wood chips in your garden beds or arborist wood chips for your paths, this natural mulch helps create a healthier, more resilient growing space over time. With a little care in sourcing and application, wood chips can support your garden’s success season after season.
If you’re just beginning to explore mulching methods, or want to compare different organic materials, be sure to check out 5 Ways Organic Mulch Helps Your Garden. It breaks down the benefits of organic mulch and helps you choose the right type for every part of your garden.
Healthy soil is the foundation of a productive vegetable garden. By using natural methods like cover crops, compost, and organic mulch materials, you can enrich your soil, increase fertility, and support a thriving garden ecosystem without the need for synthetic fertilizers or pesticides. When combined, these techniques help you build nutrient-rich soil that continues to nourish your plants season after season.
Looking for more ways to improve your garden soil? Check out these helpful resources:
Good planning is key to a successful vegetable garden.
Whether you are new to growing your own food or have been growing a vegetable garden for years, you will benefit from some planning each year. You will find everything you need to organize and plan your vegetable garden in my PDF eBook, Grow a Good Life Guide to Planning Your Vegetable Garden.

