Mulching with Straw: A Simple Way to Reduce Weeds and Build Healthier Soil
This post may contain affiliate links, which means that I may receive a commission if you make a purchase using these links. As an Amazon Associate I earn from qualifying purchases.
Mulching with straw protects soil, reduces weeds, and keeps your organic garden healthier and cleaner. Learn how to use straw mulch from spring to harvest.
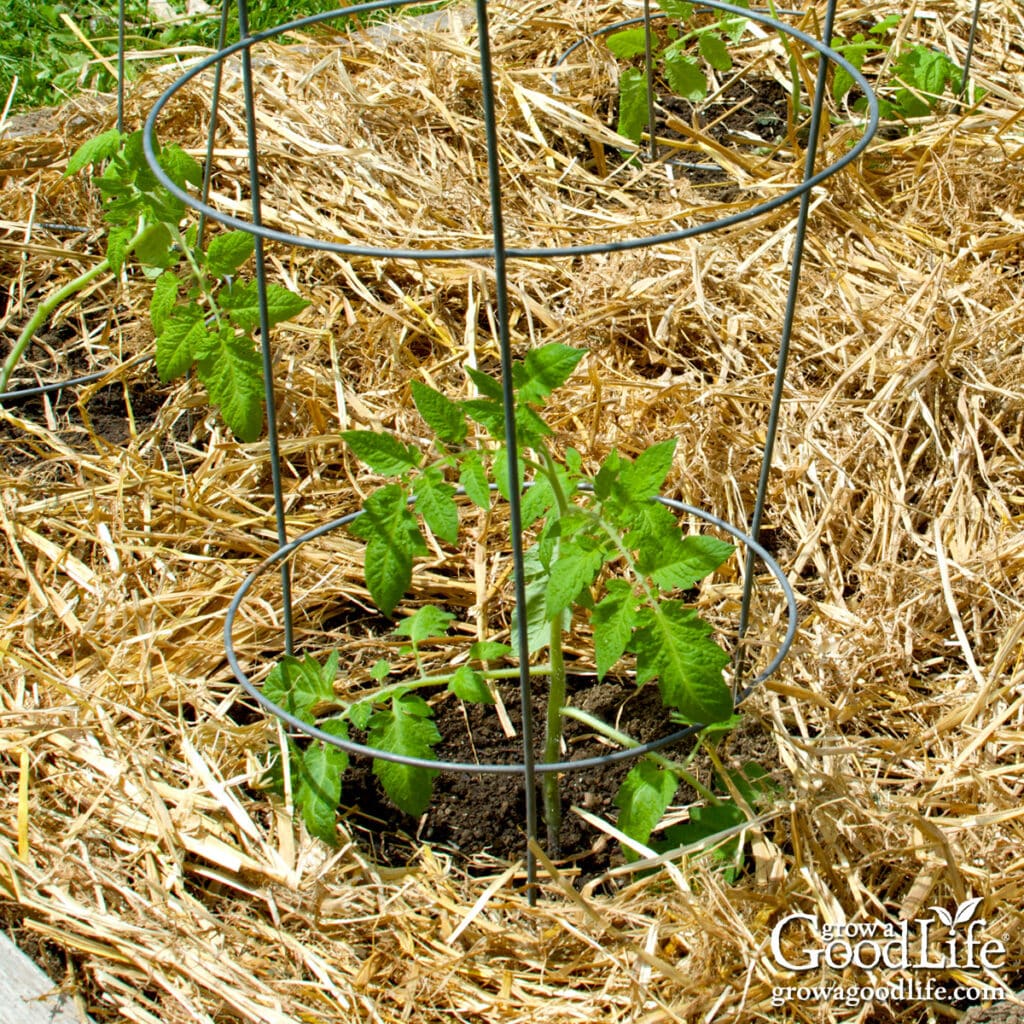
I’ll admit it: I hate weeding. It’s the kind of garden task that never ends. Just when you think you’ve caught up, something else pops through the soil. That’s why mulching is my go-to method for keeping the garden tidy and healthy with less effort.
While I now use various organic mulches in my garden, including compost, shredded leaves, and wood chips, I first began experiencing the benefits of mulch by experimenting with straw and hay mulch. Even now, mulching with straw is by far my favorite method.
This practice was inspired by the legendary Ruth Stout, who made the case for
“no-work” gardening long before mulching was mainstream. While she used hay to blanket her garden beds, I’ve found that straw offers many of the same benefits without the problem of sprouting seeds.
In this article, I’ll share how straw mulch works, why I prefer it over hay, and how to use it effectively in your vegetable garden. And if you’re curious about other natural mulch options, be sure to check out 5 Ways Organic Mulch Helps Your Garden for more ideas.
Ruth Stout and the No-Work Gardening Method
Ruth Stout was a pioneer of what she called the “No-Work Garden,” a method rooted in simplicity. Her philosophy was straightforward: stop tilling, and mulch with hay year-round. By layering organic material directly over the soil, she drastically reduced the need for weeding, watering, and fertilizing.
While Ruth swore by hay, I learned the hard way that hay often contains seeds that quickly sprout into a fresh batch of weeds. After a few seasons of pulling grass sprouts alongside my vegetables, I made the switch to straw and haven’t looked back.
Why I Use Straw Instead of Hay
Straw and hay may look similar, but they behave very differently in the garden. Hay is made from grasses harvested with their seed heads intact, making it more likely to introduce unwanted weeds.
Straw, on the other hand, is the leftover stalks from grain crops like wheat, barley, or oats, and is typically seed-free. It’s lighter, drier, and cleaner, making it a much better fit for mulch in the vegetable garden.
Every spring, I pick up a big rectangular straw bale from my local farm and feed store. One bale is usually enough to mulch the entire garden with extra to spare for lining nesting boxes in the chicken coop. It’s clean, easy to handle, and does the job beautifully.
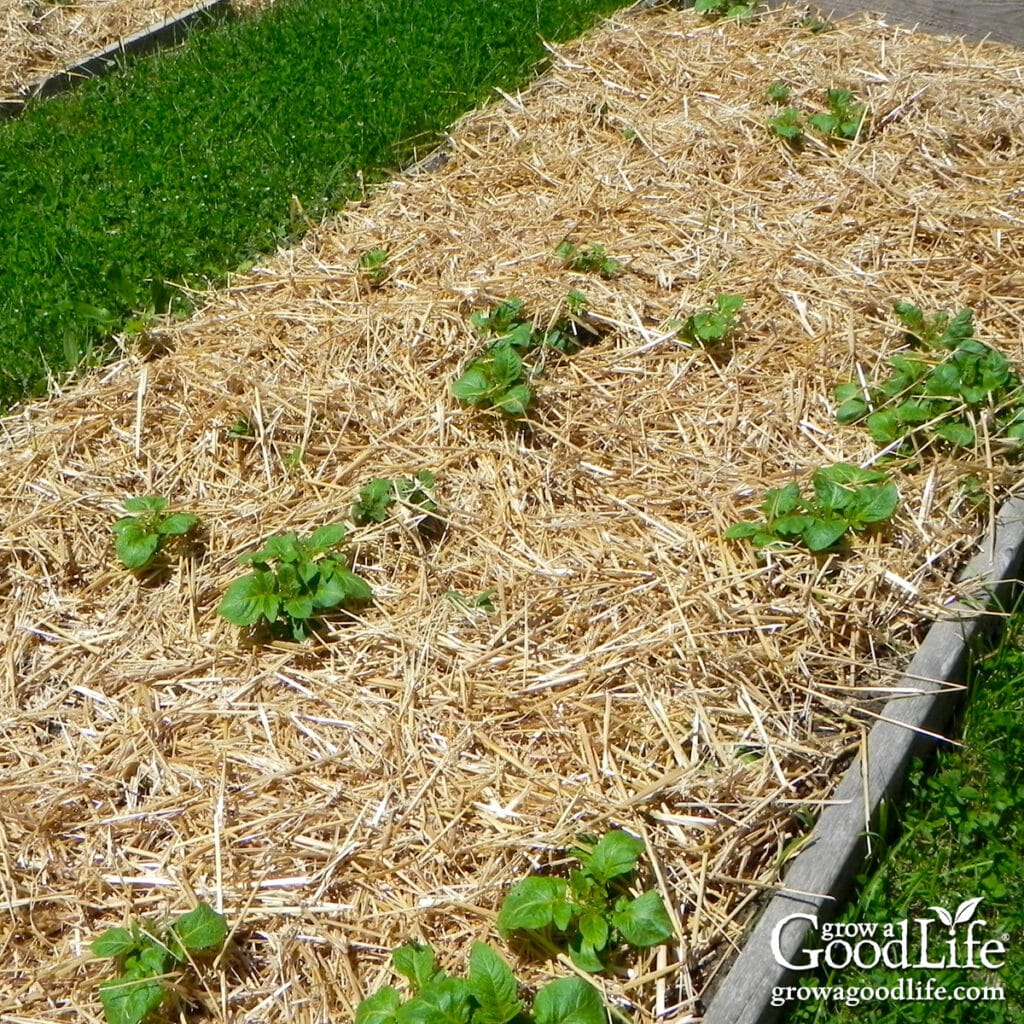
If they are out of the bales, I will use chopped straw. Chopped straw is simply straw that has been cut into smaller lengths, usually around 4 inches long. It is a little more expensive, but works in the same way and is much easier to spread.
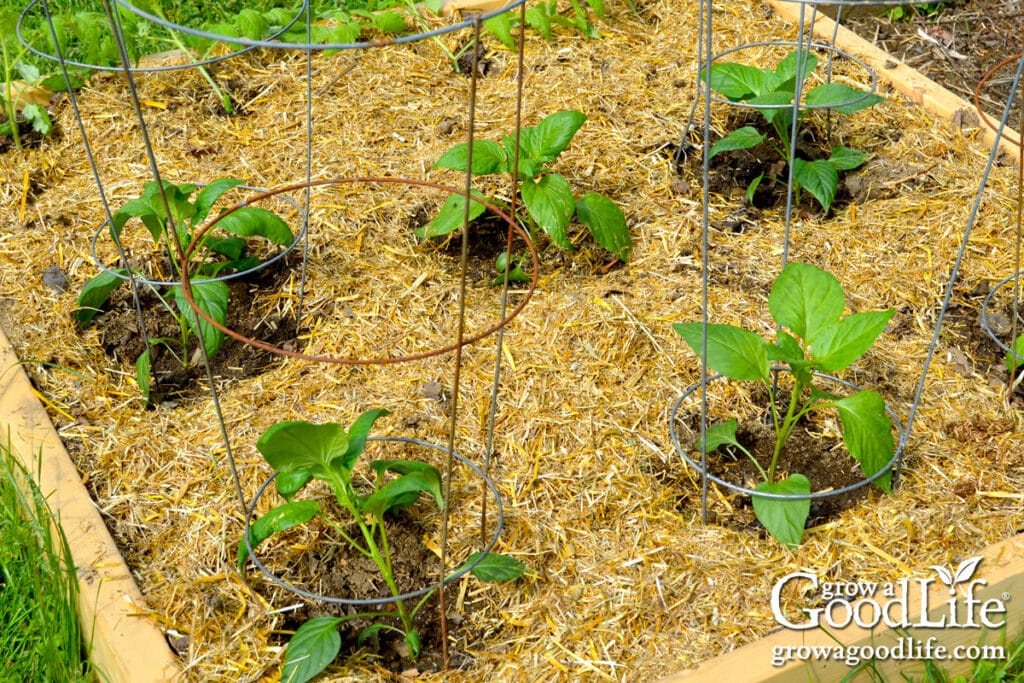
Benefits of Using Straw as Mulch
I especially love using straw to mulch garden beds with vining crops like melons, squash, cucumbers, and pumpkins. The vines sprawl across the straw, and the developing fruit rests on top of the dry mulch, protected from direct contact with the soil, which helps reduce the risk of rot, pests, and disease. As a bonus, the fruit stays much cleaner at harvest time.
Straw makes an excellent mulch in the vegetable garden for many reasons:
- Weed suppression: A thick layer blocks sunlight and smothers weed seedlings before they can take hold.
- Moisture retention: Straw helps lock moisture into the soil, reducing how often you need to water.
- Temperature moderation: It insulates the soil, keeping it cooler in the summer and reducing evaporation.
- Improved soil health: As straw breaks down, it adds nutrients and organic matter to the soil.
- Cleaner produce: It creates a dry surface that reduces soil splashing, which can spread diseases to your plants.
- Easy to handle: Straw is lightweight, easy to spread, and simple to pull back when you need to plant or harvest.
- Great for vining crops: Straw helps protect the plants from soil-borne disease, pests, and moisture. The result? Healthier plants and cleaner harvests.
What Kind of Straw to Use
Not all straw is suitable for garden use. For mulch, look for clean, dry bales labeled as wheat straw, oat straw, or barley straw. These are typically seed-free hollow stems left over after separating the grain from the stalks.
Straw is used for animal bedding and is available from your local farmer and at farm and feed stores. If you’re unsure, ask your supplier about the type of straw and whether it’s been treated with any chemicals.
Avoid anything labeled as “hay,” which usually contains viable seeds that can sprout into unwanted weeds. Also, steer clear of straw that smells moldy, appears green, or is overly compacted, as these may harbor seeds or pathogens.
It’s also important to be aware of potential herbicide contamination. Some grain crops are sprayed with glyphosate (Roundup) or other persistent herbicides before harvest. These chemicals can linger in the straw and cause serious problems in the garden, including stunted growth, distorted leaves, and nutrient deficiencies in sensitive plants like tomatoes, beans, and flowers. Even worse, residues can persist in the soil and affect future crops.
To protect your organic garden, always ask your supplier if the straw comes from fields treated with herbicides or pesticides. When possible, choose organic straw or material from a trusted local source. A little research up front can help you avoid introducing long lasting chemicals into your garden beds.
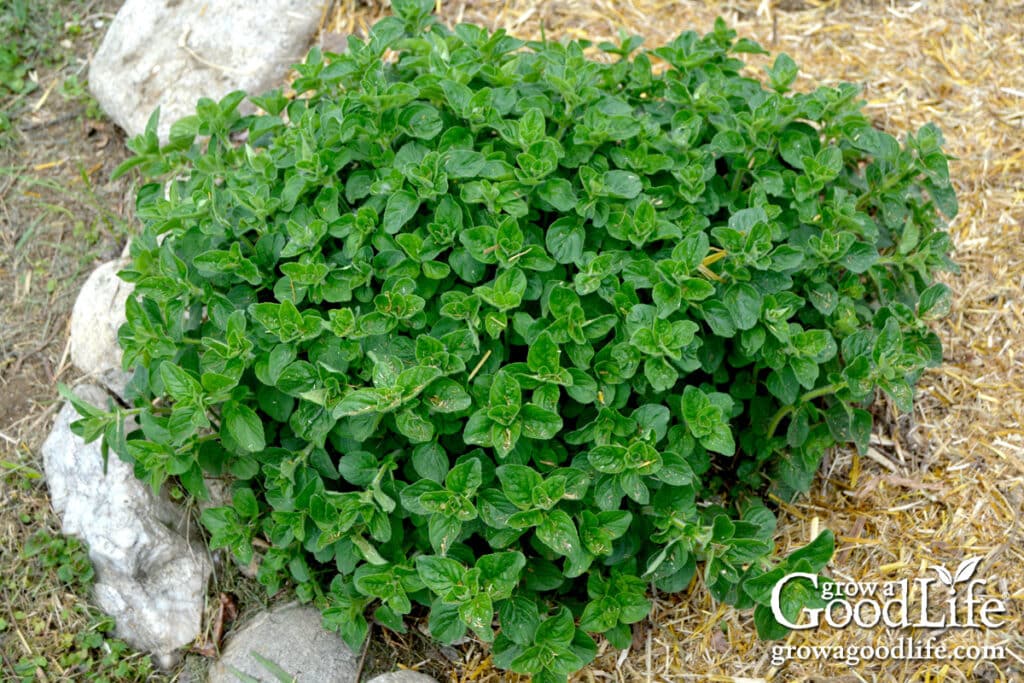
How to Mulch with Straw in the Vegetable Garden
Mulching with straw is easy, but a few simple steps will help you get the most benefit:
- Wait until the soil warms up: Straw mulch is best applied after the soil has warmed and drained in the spring. Applying it too early can keep the soil too cool for seed germination or slow early growth.
- Water the soil well before applying mulch: Moisture gets locked in under the mulch, so it’s best to start with damp soil. Wait until after a good soaking rain, or water well before adding the mulch.
- Fluff and shake the straw apart: Break up the flakes from the bale and fluff them so the straw spreads loosely over the surface. This helps with airflow and prevents matting.
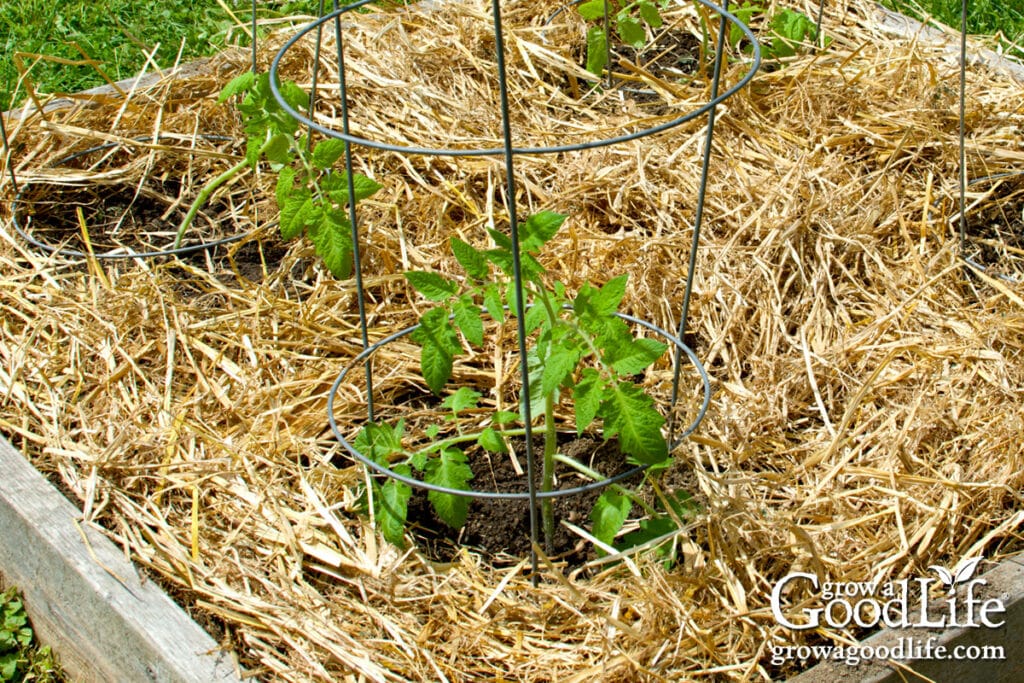
- Apply a 4 to 6-inch layer around plants: Cover the soil thoroughly, but keep a small gap around the base of your plants to prevent moisture buildup and stem rot.
- Replenish as needed: Straw breaks down slowly but may compress or blow away in windy conditions. Top it off midseason with a little straw mulch if needed.
- When replanting: When it’s time to replant the following gardening season, simply rake the mulch aside, amend the soil if needed, sow seeds or transplant seedlings, and then pull the mulch back into place, leaving a few inches of space around each plant.
Troubleshooting and Tips
It never fails! The day I decide to mulch the garden, the wind picks up. To keep straw from blowing away, try soaking it before spreading. Fill a deep wheelbarrow or a large tote with water, break apart the straw flakes, and let them soak briefly. The damp straw is easier to handle and stays put better once on the garden beds.
If soaking isn’t practical, you can also water the mulch down after spreading or weigh it down temporarily with a few branches or rocks until it settles.
- Slug problems? In cool, wet weather, slugs may hide under mulch. Keep an eye on vulnerable seedlings early in the season and adjust mulch thickness if slugs become an issue.
- Straw matting down? Over time, a thick layer of straw mulch can become compacted. Loosen it with a rake now and then to maintain airflow and reduce the risk of trapping too much moisture near the soil.
- Weeds popping through? Pull them while they’re still small, then add another light layer of straw to reinforce your mulch barrier.
A Natural Solution to a Never-Ending Problem
Mulching with straw has saved me countless hours of weeding, and it has become one of my favorite gardening shortcuts. It keeps the garden looking neat, protects the soil, and gradually improves it over time.
If you’re tired of constantly pulling weeds or watering dry beds, give straw mulch a try. It may just be your new favorite garden helper, too.
Want to explore more mulch options? Read 5 Ways Organic Mulch Helps Your Garden to learn about other natural materials that can protect and improve your soil.
Good planning is key to a successful vegetable garden.
Whether you are new to growing your own food or have been growing a vegetable garden for years, you will benefit from some planning each year. You will find everything you need to organize and plan your vegetable garden in my PDF eBook, Grow a Good Life Guide to Planning Your Vegetable Garden.

I don’t know what the price of straw in your area is, but here in Connecticut, the stuff is hard to find and is ALWAYS prohibitively expensive! I’m using cardboard and the worms are loving it!
Larry, You’re right, prices and availability vary a lot depending on where you live. Straw can be difficult to find (and pricey!) in some areas. Cardboard is a fantastic alternative, and I love that your worms are thriving under it. That’s always a good sign of healthy soil life!