How to Make Leaf Mold to Improve Your Soil
This post may contain affiliate links, which means that I may receive a commission if you make a purchase using these links. As an Amazon Associate I earn from qualifying purchases.
Turn fall leaves into rich leaf mold for better soil, healthier plants, and thriving organic gardens. Learn how to make leaf mold with this step-by-step guide.
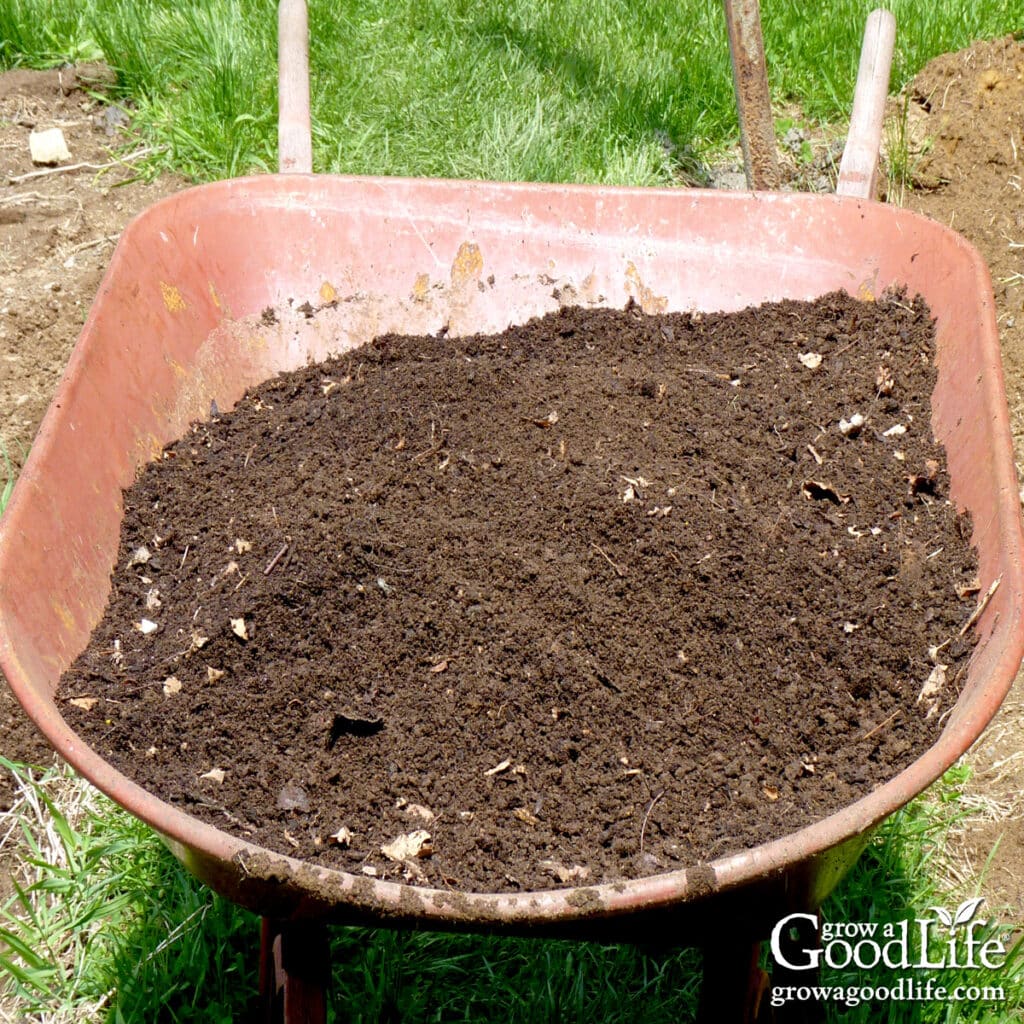
While my neighbors are using loud leaf blowers to chase leaves out of their yard, I’m doing the opposite. I love using my lawn mower and bagger to gather shredded leaves, which I pile into a bin to create rich, earthy leaf mold for my vegetable garden. It’s one of my favorite fall traditions and a simple way to turn what many see as “yard waste” into a free, soil-enriching resource.
If you’ve ever brushed aside a layer of dry leaves in the woods and found a crumbly, dark brown layer beneath, you’ve seen leaf mold in its natural state. It’s soft, earthy-smelling, and teeming with the kind of life that makes soil healthy and plants thrive. The best part? You can easily make it at home, and it works beautifully as a peat moss alternative in garden soil mixes.
In this guide, I’ll share:
- What leaf mold is and how it differs from regular compost
- The benefits for your garden soil
- The best types of leaves to use
- Step-by-step instructions (with photos!)
- How to put leaf mold to work in your garden
What Is Leaf Mold?
Leaf mold is the crumbly, dark, earthy material you get after leaves break down naturally over time, primarily through the work of fungi rather than bacteria.
Unlike traditional compost, which is made from a mix of “greens” (nitrogen-rich) and “browns” (carbon-rich), leaf mold is almost entirely leaves. It doesn’t provide a huge burst of nutrients, but it acts as a powerful soil conditioner.
Think of it as a long-term soil investment: it improves structure, holds moisture, and supports microbial life, just like peat moss, but without the environmental cost.
Benefits of Leaf Mold for the Garden
Leaf mold is more than just recycled leaves. Think of it as a moisture-holding, soil-improving amendment that works beautifully in vegetable beds, perennial gardens, and even seed-starting mixes.
Leaf mold improves the quality of your soil in multiple ways, including:
Improves Soil Structure
The crumbly texture of leaf mold works its magic on all soil types. In clay, it loosens dense particles to improve drainage and airflow. In sandy soil, it helps hold moisture and nutrients that would otherwise leach away. Even loamy soil benefits from the added organic matter and microbial activity.
Increases Moisture Retention
Leaf mold acts like a natural sponge, holding several times its own weight in water and slowly releasing it back into the soil. This keeps vegetable beds evenly moist, reduces the need for frequent watering, and helps plants stay hydrated during dry spells or summer hot weather.
Feeds the Soil Food Web
As leaf mold breaks down, it becomes a buffet for beneficial soil life. Microbes, fungi, and earthworms thrive in its rich, moist environment. These organisms improve soil fertility, cycle nutrients back to your plants, and help create the loose, airy structure that roots love.
Adds Trace Minerals
While leaves aren’t high in N-P-K (nitrogen, phosphorus, potassium), trees mine calcium, magnesium, and other trace minerals from deep in the soil. Those minerals end up in the leaves and are released back into your garden through leaf mold.
Restores Depleted Beds
Over time, leaf compost replenishes organic matter in tired, compacted, or overworked garden soil. It improves texture and increases resilience against erosion, compaction, and extreme weather, helping your vegetable beds bounce back stronger each season.
Sustainable Alternative to Peat Moss
If you’ve ever used peat moss for seed starting or soil mixes, leaf mold offers many of the same benefits, but it’s renewable, free, and eco-friendly.
Best Leaves to Use for Leaf Mold
Most leaves work well, but some decompose faster than others. I’ve found that the very best batches come from a mix of different leaves collected in fall. Almost like a seasonal “leaf blend” for your garden. If you’re using a mower and bagger like I do, you’ll also pick up a bit of grass clippings, which helps kickstart decomposition.
Leaves That Decompose Quickly (About 1 Year or Less):
These leaves tend to be thinner and break down faster than others:
- Ash: High in nitrogen and calcium; breaks down quickly.
- Beech: Produces excellent-quality leaf mold with a fine texture.
- Birch: Similar to beech, decomposes relatively quickly.
- Cherry: A good choice for fast leaf mold production.
- Elm: Breaks down well and is easy to shred.
- Lime (Linden): Thin leaves that compost into a light, crumbly mold.
- Maple: Thinner-leafed varieties break down more quickly than thicker types.
- Poplar: Soft leaves that decompose readily.
- Willow: Similar to poplar, with quick decomposition and easy shredding.
Leaves That Take Longer to Decompose (18 to 24 Months or More)
These are thicker, tougher, and higher in lignin, so expect to wait longer for finished leaf mold unless you shred well and maintain good moisture.
- Oak: Slow to break down but produces a rich, long-lasting leaf mold.
- Chestnut (sweet and horse chestnut): Thick, sturdy leaves that resist decay.
- Magnolia: Very thick and waxy; best shredded before composting.
- Sycamore: Similar to chestnut in thickness and decomposition time.
- Hawthorn: Dense leaves that are slower to break down.
Combining different types of leaves creates a more balanced nutrient profile and often results in a richer, more diverse finished product.
Leaves to Avoid
While most deciduous leaves can be used, a few types are best left out of your main pile, or handled separately, because they break down very slowly, create an undesirable texture, or alter soil pH.
- Pine Needles and Other Conifer Needles: Slow to decompose. If you do collect them, keep them in a separate pile to use as garden mulch.
- Black Walnut and Eucalyptus: Contain natural chemicals (juglone in walnut, cineole in eucalyptus) that can inhibit plant growth. These compounds can break down over time, but it’s safer to avoid using them in your gardens.
- Leaves Coated with Chemicals: Avoid leaves from treated lawns, powerlines, or streets that may have been treated with herbicides, pesticides, or exposed to heavy road pollution.
- Thick, Waxy Evergreen Leaves: Examples include holly, laurel, and camellia. These take years to break down unless heavily shredded and mixed with faster-decomposing materials.
How to Make Leaf Mold (Step-by-Step)
The process is simple: collect leaves, give them a little help breaking down, then let time and fungi do the work. I like to use a wire bin method because it keeps the pile neat, contains the leaves, and makes it easy to dig in later.
Step 1: Gather and Shred Your Leaves
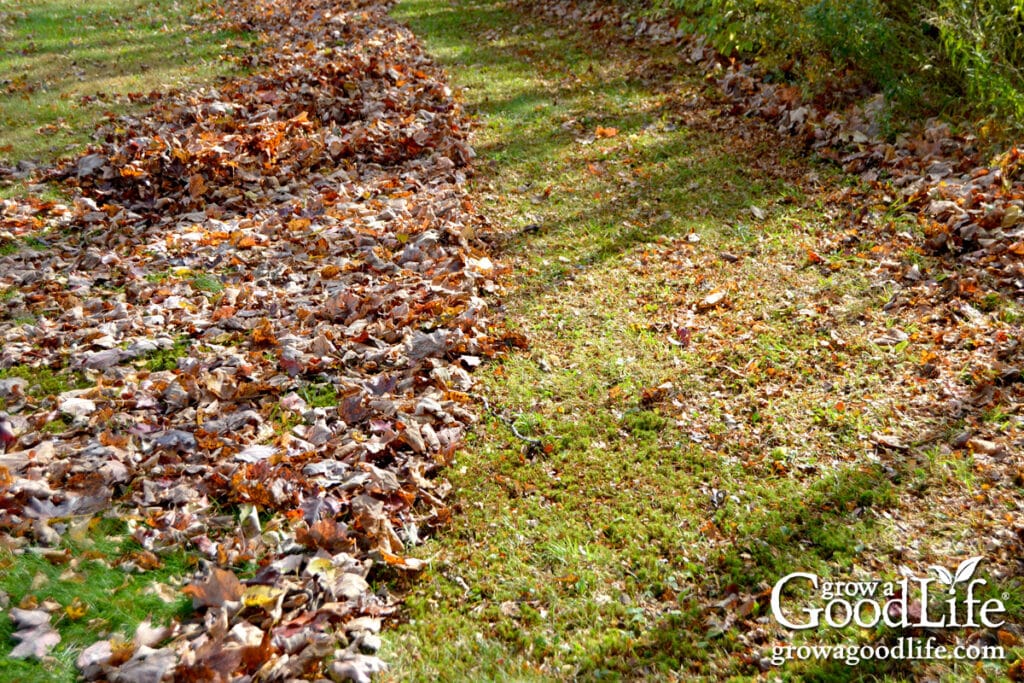
Rake fallen leaves in autumn when they’re dry. I prefer to use a mower with a bagger to collect and shred my leaves. If you use this method, you’ll pick up some grass clippings along the way. That’s a bonus because it jumpstarts decomposition.
Shredding is not essential, but it can accelerate the process by increasing the surface area for fungi to act on. You can use a mower with a bagger, a leaf shredder, or simply run over piles with a mower a few times. After that, gather the shredded material into a tarp and move it to your designated area.
Step 2: Choose Your Method
Here are three common ways to make leaf mold:
- Bin method: A simple wire enclosure or wooden bin keeps your pile contained and tidy.
- Pile method: Just heap leaves into a big pile in a corner of the yard at least 4 to 5 feet across and high. Then cover with a tarp to stop the leaves from blowing away.
- Bag method: Fill black trash bags with moist, shredded leaves, poke holes for airflow, and store them out of the way.
Step 3: Add the Leaves to a Bin
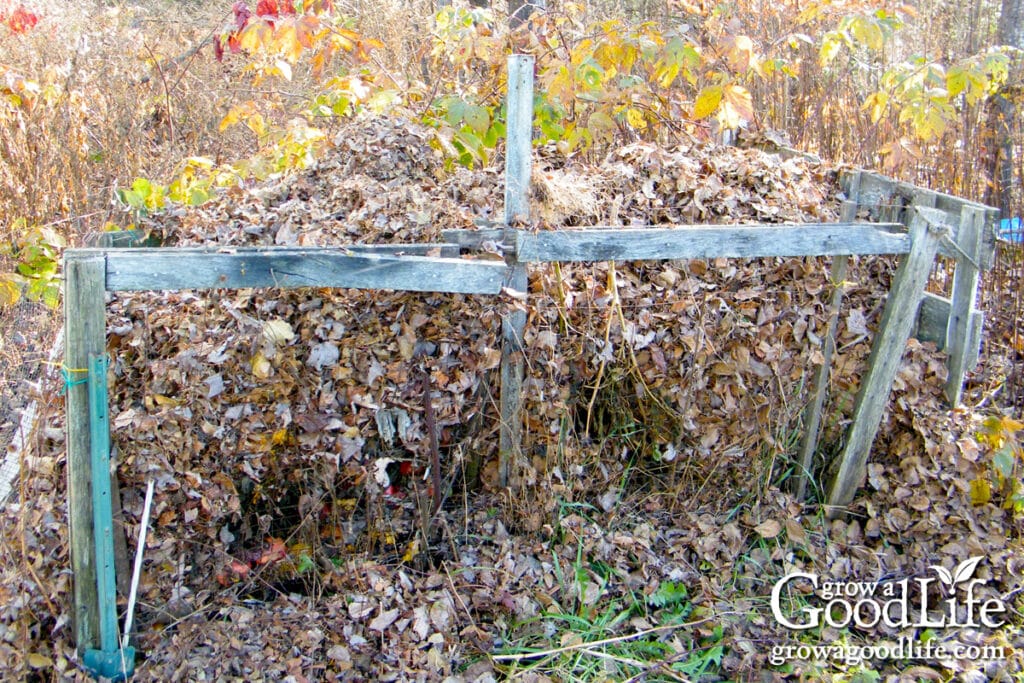
I prefer the bin method because it’s neat and easy to manage. Simply pile in your shredded leaves until the bin is full. Over time, the pile will shrink as the leaves settle and break down. Don’t worry about layering or adding extras, plain leaves work just fine.
Step 4: Keep It Damp
Leaf mold forms best when the pile stays moist. Think of the dampness of a wrung-out sponge. If your climate is dry, water occasionally or cover with a tarp. If it rains regularly, nature usually handles this step for you.
Step 5: Turn Occasionally or Let Nature Do the Work
If you want your leaf mold faster, give the leaf pile a fluff every few months to increase air circulation and redistribute moisture. This encourages fungi and microbes to work more efficiently.
That said, leaf mold is wonderfully low-maintenance. You can just leave it alone, and it will decompose on its own. It will just take longer.
Don’t stress if you forget to water or turn your pile. Leaf mold is forgiving. Even if left completely alone, the fungi will eventually do the work. You’ll just wait longer.
Step 6: Dig In and Harvest Your Leaf Mold
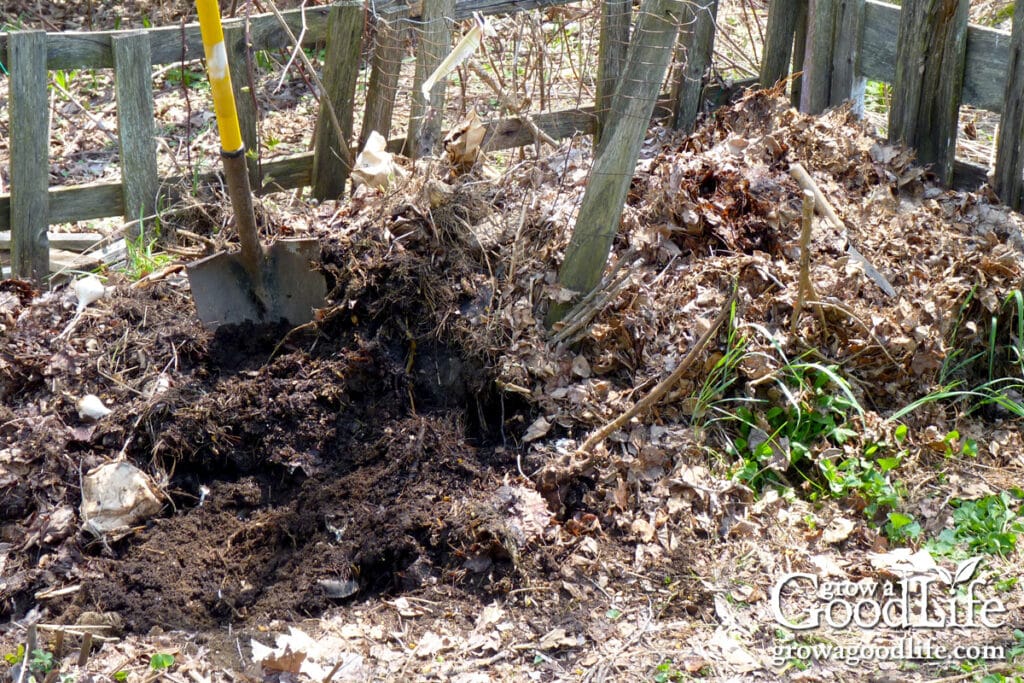
Unlike unfinished compost, leaf mold is gentle and won’t burn your plants. When you’re ready to use it, grab a shovel and dig into your pile.
The richest, most finished material is always at the bottom, where it has stayed moist and decomposed most thoroughly.
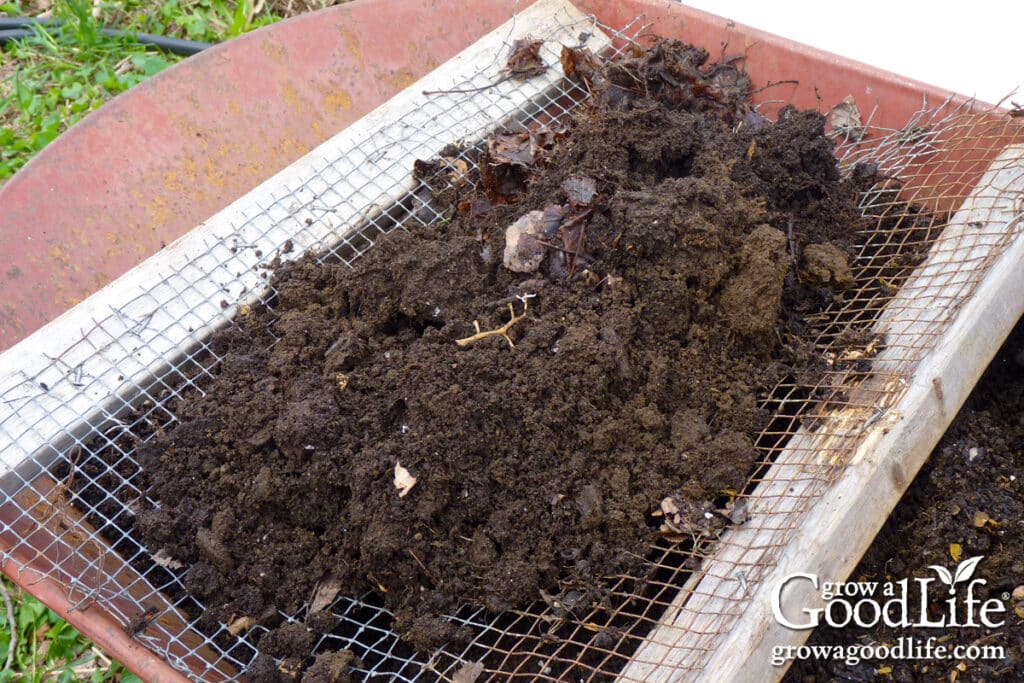
To separate the crumbly, usable leaf mold from any larger bits, I sift it through a screen made from hardware cloth. The fine, earthy mold collects underneath, perfect for adding to the garden. Any bigger pieces that haven’t fully broken down can be tossed back into the bin for another round or added to your compost bin.
How Long Does It Take to Turn into Leaf Mold?
Leaf mold usually takes 6 months to 2 years to mature. It depends on your conditions, the type of leaves, and how much effort you put into maintaining the pile. In warm, damp conditions with shredded leaves, you can have usable material in less than a year. If the leaves are left whole and the pile is ignored, expect it to be closer to two years.
Factors that affect decomposition:
- Leaf type: Thin leaves like birch, cherry, and maple break down in a year or less, while thicker ones like oak or chestnut take longer.
- Moisture level: A consistently damp pile will decompose more quickly than one that dries out.
- Shredding: Shredded leaves expose more surface area, making it easier for fungi to work.
- Airflow: Occasional turning adds oxygen and speeds the process, though it isn’t essential.
Tips to Speed Things Up
If you’d like to have leaf mold ready in a single growing season, here are some easy tricks:
- Shred leaves first: Use a lawnmower with a bagger or a leaf shredder to reduce particle size and accelerate decomposition. Whole leaves may mat together and slow the process.
- Keep the pile damp: Aim for enough moisture for the consistency of a wrung-out sponge. In dry weather, spray the pile with water or cover it with a tarp to conserve moisture.
- Turn occasionally: Fluffing the pile every month or two with a garden fork brings in oxygen and redistributes moisture, which keeps fungi working steadily.
- Add a nitrogen boost: Mix in a handful of fresh grass clippings or a scoop of finished compost. These add nitrogen and beneficial microbes that help kickstart the breakdown process.
How to Use Finished Leaf Mold in the Garden
When your leaf mold is dark, crumbly, and smells like rich earth, it’s ready to go to work. While it won’t add a huge nutrient boost like finished compost, it’s one of the best natural materials for improving soil structure, water retention, and microbial life.
Here are some of the most effective ways to use it:
Mulch for Beds and Borders
Spread a 1 to 3 inch layer of leaf mold around vegetable beds, perennials, shrubs, and even trees.
- Weed suppression: A thick layer shades out weed seeds, reducing the need for constant weeding.
- Moisture regulation: Because leaf mold holds several times its weight in water, it acts like a sponge, improving moisture content and keeping soil evenly moist during hot or dry spells.
- Temperature moderation: Mulch keeps roots cooler in summer and provides insulation in winter. Learn more about How Organic Mulch Helps Your Vegetable Garden.
Soil Amendment
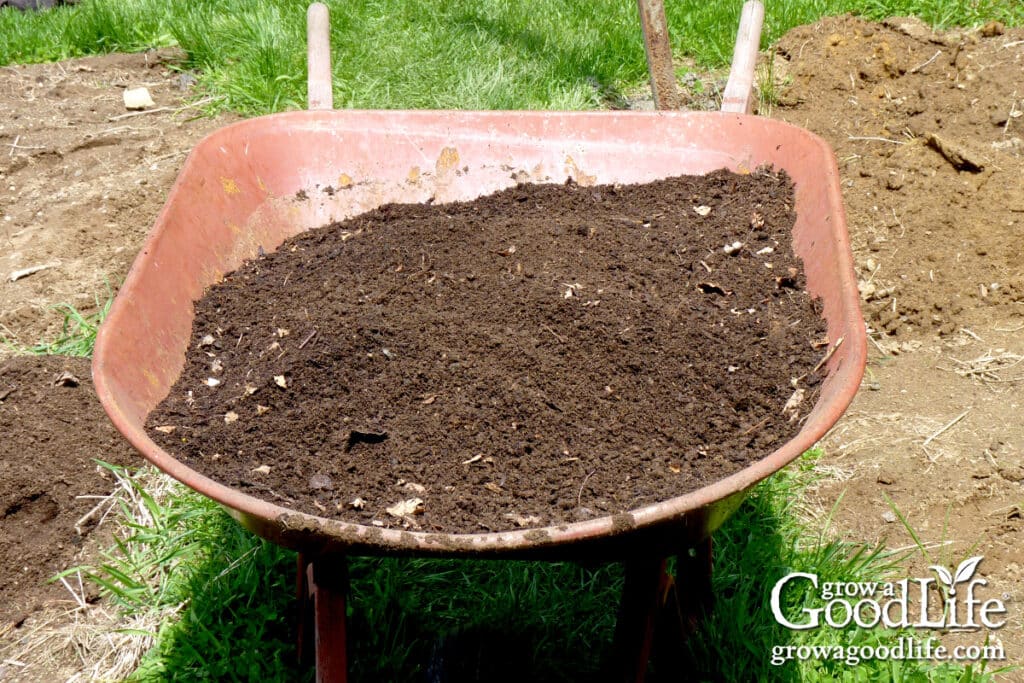
Work leaf mold into the top few inches of soil before planting to boost structure and health.
- For clay soil: It loosens heavy, compacted clay, improving aeration and drainage.
- For sandy soil: It increases water- and nutrient-holding capacity, preventing leaching.
- For loamy soil: It enriches with organic matter and supports a thriving soil food web.
Even a modest addition each year can gradually restore worn-out or compacted garden beds.
Peat Moss Replacement in Garden Mixes
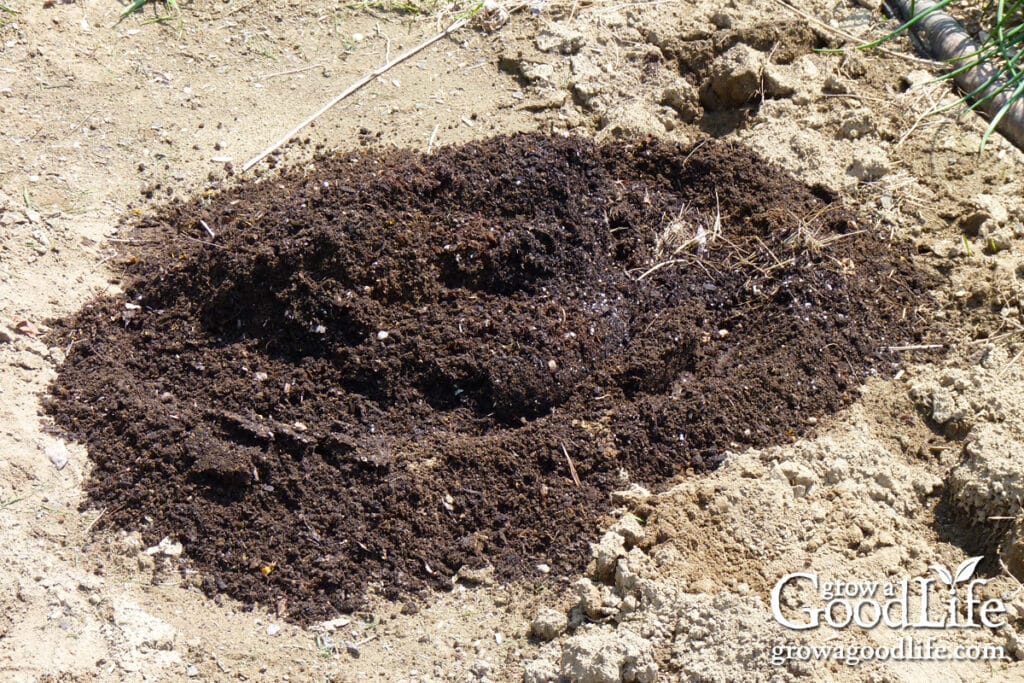
If you’ve been relying on peat moss for potting soil blends, new garden beds, or raised bed mixes, leaf mold is an excellent and sustainable alternative.
- Eco-friendly choice: Unlike peat moss, which is harvested from fragile ecosystems, leaf mold is renewable, locally sourced, and reduces garden waste.
- Moisture-retentive: Much like peat, leaf mold acts like a sponge, holding water and keeping soil mixes evenly moist.
- Soil-friendly: Leaf mold encourages beneficial fungi, microbes, and earthworms, building long-term soil health rather than depleting it.
For the best results, blend leaf mold with compost, perlite, vermiculite, sharp sand, and mineral amendments. This combination creates a balanced growing medium for raised beds, container pots, and even refreshing tired garden soil.
From Fall Leaves to a Free Soil Improver
Every autumn, my yard gives me the raw materials for one of the best soil amendment a gardener can have. By collecting and repurposing leaves into leaf mold, I can enrich my garden, improve my soil, and reduce waste, all without spending a dime. If you’ve never tried using fallen leaves in your garden, this fall is the perfect time to start.
And if you’re looking for ways to put fresh shredded leaves to work right away, check out my guide: Leaf Mulch: How to Use Shredded Leaves in the Garden.
For more tips on improving your garden soil, explore these helpful resources:
Good planning is key to a successful vegetable garden.
Whether you are new to growing your own food or have been growing a vegetable garden for years, you will benefit from some planning each year. You will find everything you need to organize and plan your vegetable garden in my PDF eBook, Grow a Good Life Guide to Planning Your Vegetable Garden.

