Dill Pickle Relish Canning Recipe
This post may contain affiliate links, which means that I may receive a commission if you make a purchase using these links. As an Amazon Associate I earn from qualifying purchases.
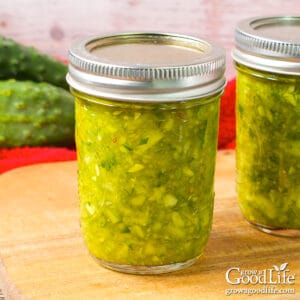
Preserve your garden’s cucumber bounty with this easy dill pickle relish recipe. Learn how to make a flavorful relish from cucumbers, onions, and dill, perfect for topping burgers and sandwiches or adding to your favorite dishes.
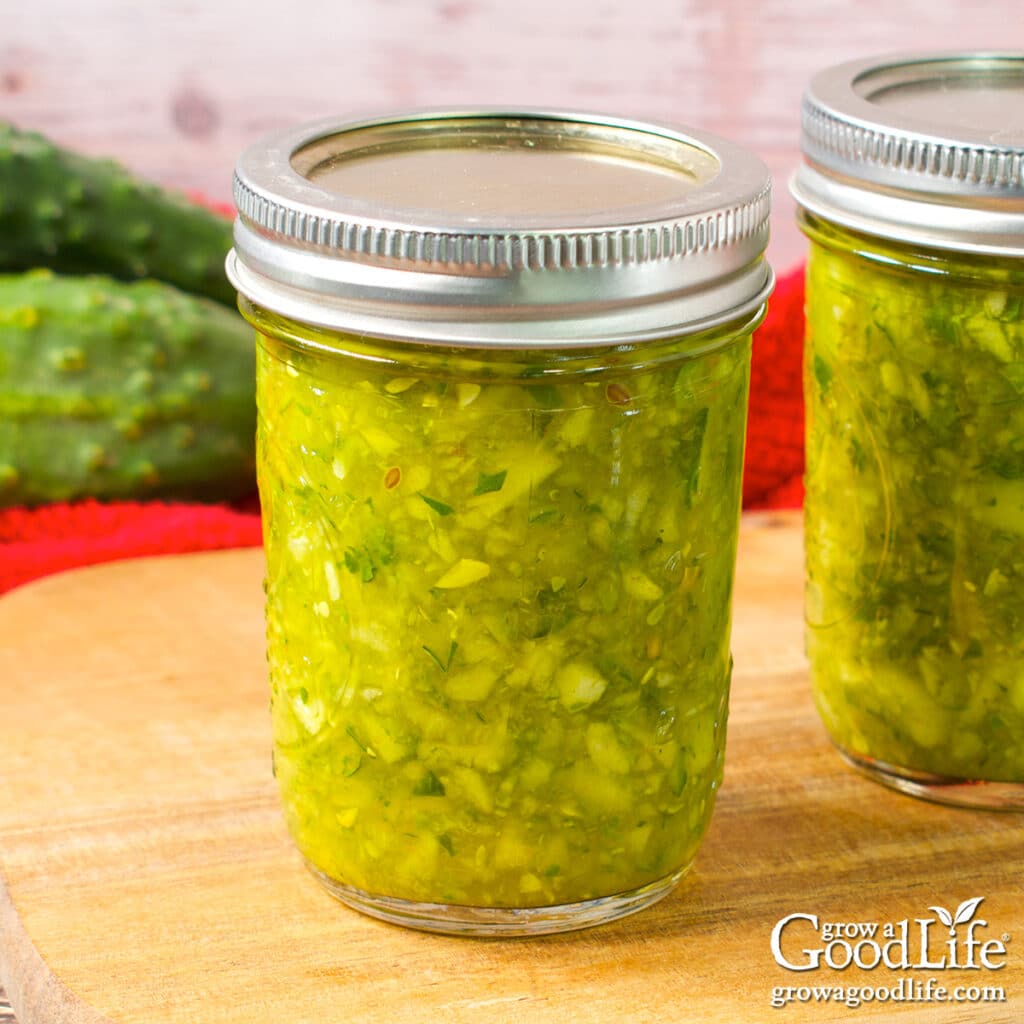
If you have an abundance of garden-fresh cucumbers, this dill pickle relish recipe is the perfect way to preserve them and enjoy their flavor all year long. Even slightly overgrown cucumbers can be transformed into a tangy, flavorful condiment that enhances your meals.
This is an easy relish recipe, especially with the help of a food processor for chopping the cucumbers. The cucumbers are first chopped and soaked in salted turmeric ice water to draw out moisture and infuse them with flavor. Then, they are combined with onions and dill, and simmered in a lightly sweetened white wine vinegar brine before being packed into jars and processed in a water bath canner.
Whether you’re topping burgers, adding a tangy bite to sandwiches, or stirring it into your favorite recipes, this homemade dill relish is a must-have in your pantry. Packed with vibrant flavors, this relish recipe is a wonderful way to savor the taste of your summer cucumbers throughout the year.
About the Ingredients
This dill relish recipe is made from a few simple ingredients, including garden fresh cucumbers and onions, and flavored with turmeric, dill, and a slightly sweetened vinegar brine. Here’s an overview of the ingredients and tips for choosing the best quality:
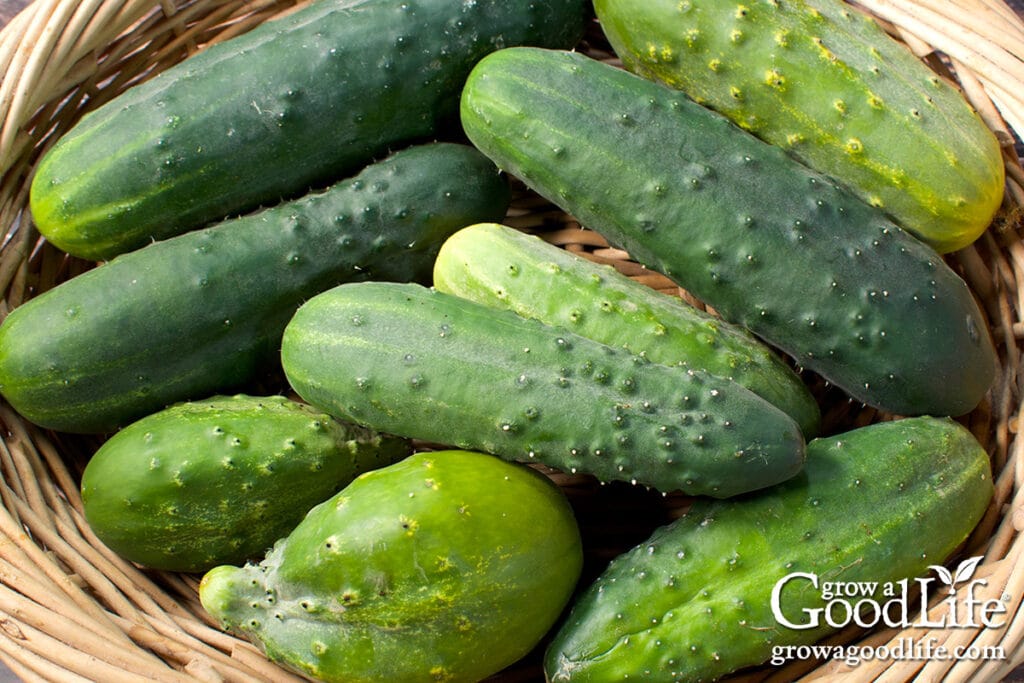
- Cucumbers are the star of the recipe. For the best results, use freshly harvested pickling cucumbers. However, I have discovered any variety of cucumber works well in this relish, even those that are a bit overgrown. Just cut it in half and scoop out the large seeds before weighing them.
- Pickling salt, also called called canning salt, helps draws out moisture from the cucumbers preserving their crisp texture, and adds flavor. Don’t worry, you will rinse out most of the salt before making the relish.
- Ground turmeric adds a vibrant color and enhances the flavor during the cucumber soak.
- Onions add a mild depth of flavor to the relish.
- Dill seeds give the relish its signature dill flavor. Use fresh, dried dill seeds less than two years old for the best flavor.
- White wine vinegar provides the tangy base for the picking brine. White wine vinegar has a mellow, fruity flavor with a sharp tang. It’s made from fermenting white wine, and has a more rounded and nuanced flavor than distilled white vinegar. Be sure the bottle states 5% acidity, which is important for canning safely to prevent the growth of botulinum bacteria.
- Sugar: A small amount of granulated sugar adds just enough sweetness to complement the acidity of the vinegar without overpowering the dill flavor.
Safe Ingredient Changes or Substitutions
While canning recipes are tested as written, you can safely make some minor changes and substitutions to this recipe. Be sure to keep the proportions of cucumbers and vinegar the same, but here are some ingredient changes you can make:
- Swap the type of cucumber: You may substitute slicing, English, or grocery store cucumbers for pickling cucumbers. If you use supermarket cucumbers, peel first to remove the wax coating. If your cukes have large seeds, you may want to remove these to avoid unwanted texture in your relish.
- Use any bulb onion: You can use any bulb onion, including red, white, or yellow onions. You can also reduce or omit the onion if you prefer, but don’t increase the amount called for in the recipe.
- Reduce the salt: While pickle relish may be home-canned safely with reduced or no salt, it will affect the texture and flavor. The salt soak is used to draw out moisture, preserve texture, and help the pickling brine flavors penetrate the cucumbers, adding flavor. After the cucumbers soak, the extra salt is rinsed away.
- Substitute the vinegar: You can swap the white wine vinegar for any vinegar as long as it is 5% acetic acid, such as distilled white vinegar or apple cider vinegar.
- Adjust the sugar: You can reduce or increase the amount of sugar used in the recipe.
- Adjust the seasoning: You can safely add some dried pickling spices or dried seasonings to the brine, such as celery seeds, red pepper flakes, mustard seeds, or ground ginger.
- Add calcium chloride for crispness. Food-grade calcium chloride, such as Ball Pickle Crisp and Mrs. Wages Xtra Crunch, can be used for added crispness. Follow the instructions on the container.
- Jar size: This relish can be safely canned in either pint or half-pint jars, allowing you to choose the size that best suits your needs. Quarts are not listed, therefore it isn’t safe to use quarts for this recipe.
If you want to make changes other than what is listed, the relish may not be safe for shelf storage, but you can store the jars in the refrigerator for up to two weeks, or freeze it for up to 6 months.
Steps for Making and Canning Dill Pickle Relish
This recipe is adapted from the “Dill Relish” recipe found in both the Ball Blue Book Guide to Preserving and the Ball Complete Book of Home Preserving.
Before you begin, reviewing the information on using boiling water canners on the NCHFP website may be helpful.
You can find the complete printable recipe at the bottom of this article, but here are the detailed illustrated steps to making and canning dill cucumber relish:
Step 1: Gather Your Kitchen and Canning Equipment
Gather and prepare your kitchen and canning equipment. You will need:
- Water bath canner with a canning rack
- 14 half-pint sized canning jars, or 7 pint sized jars for larger portions (yields can vary, so prep a few extra jars just in case)
- Canning lids and ring bands (new lids for each jar; bands can be reused)
- Canning tools: jar lifter, funnel, and bubble popper
- Kitchen scale to weigh the cucumbers before prep
- Food Processor or food grinder to make chopping the cucumbers easier.
- Large stainless steel non-reactive prep bowl
- Large stainless steel non-reactive sauce pot
- Basic kitchen supplies: knife, cutting board, colander, measuring cups and spoons, ladle, and clean kitchen towels
Wash everything in warm, soapy water. Rinse well, and set aside to air dry on clean kitchen towels. Check over the jars and eliminate any with nicks, scratches, or cracks. Pay careful attention to the rims of the jars. Minor nicks can prevent the lids from sealing.
Step 2: Prepare the Cucumbers
Start by scrubbing the cucumbers well under running water. Weigh your cucumbers. You need 8 pounds for this recipe. If your cucumbers are overgrown, cut them in half and scoop out the seeds before weighing.
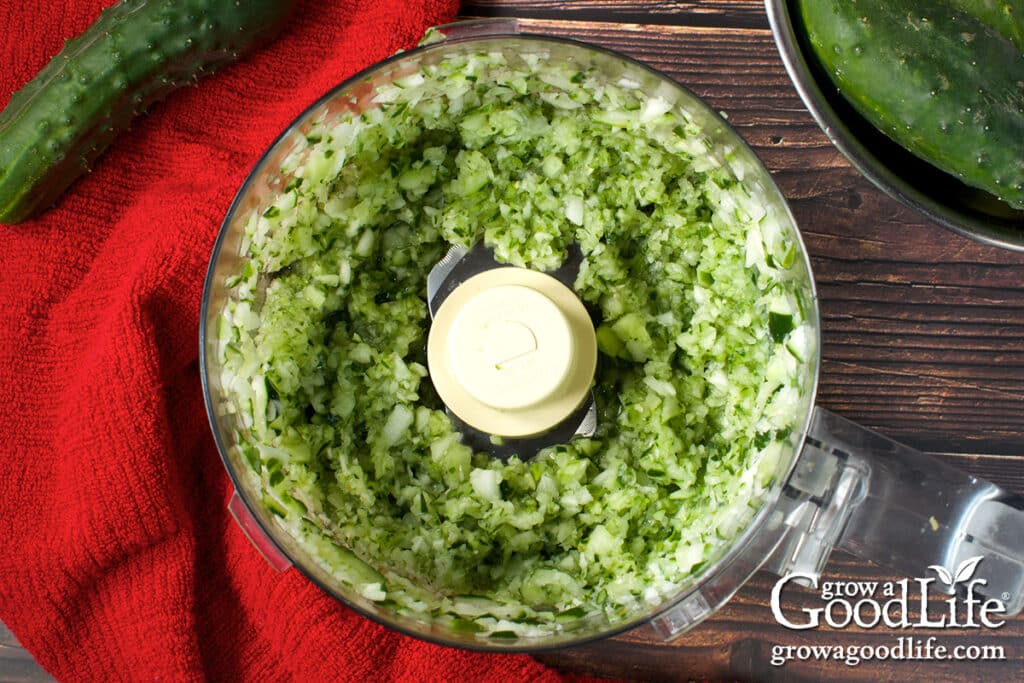
Trim off and discard the ends, cut them into chunks, then while working in batches, shred using a food processor, grind with a food grinder, or finely chop using a knife.
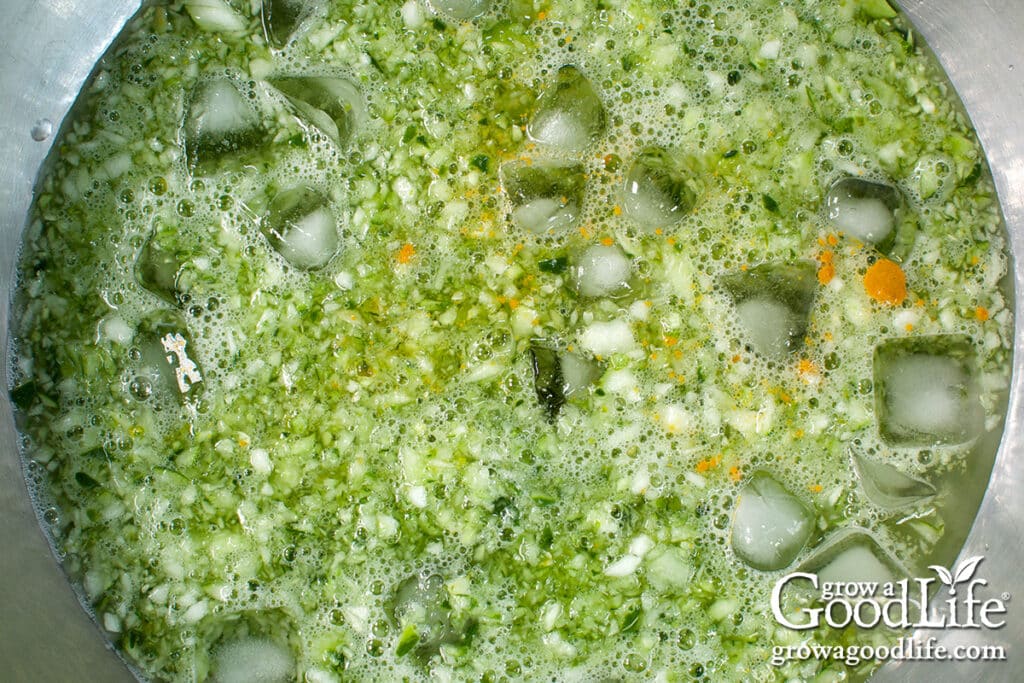
Transfer the chopped cucumbers to a large prep bowl. Sprinkle with pickling salt and turmeric, then cover with cold ice water. Stir to combine and let the cucumbers soak for at least 2 hours. This helps draw out moisture and enhances the flavor. You can store the bowl in the refrigerator overnight if you run out of time.
Meanwhile, prepare and measure the remaining ingredients so they are ready to go. Peel the onion, chop, and measure the onions, and set aside. Measure sugar, dill seeds, and white wine vinegar, and set aside until you are ready to make the relish.
Step 3: Preheat the Canner and Jars
While the cucumbers are soaking, prepare your canning equipment. Place your water bath canner on the stove, add the jar rack, and place the clean jars upright on the rack. Fill the canner with enough water to cover the jars.
When you are ready to make your relish, preheat the canner and jars so they are prepared to fill. Bring the canner to a simmer (180˚F), simmer for at least 10 minutes, and keep warm.
Step 4: Make the Relish
After the cucumbers have soaked, drain them in a colander and discard the liquid. Rinse the cucumbers well under cold water, drain thoroughly, and press to remove excess liquid.
Combine the drained cucumbers, chopped onions, sugar, dill seeds, and white wine vinegar in a large saucepot. Bring the mixture to a boil over medium-high heat, then reduce to a simmer. Stir occasionally and cook for about 10 minutes until heated through.
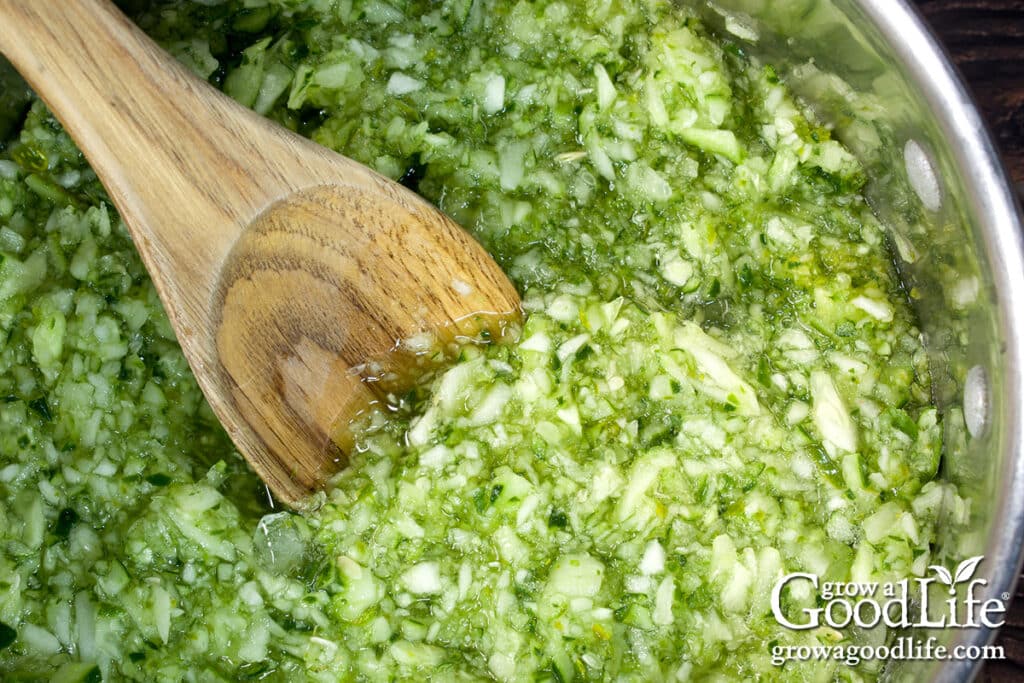
Step 5: Fill the Jars with Relish
Prepare your work area by placing a dry towel on the counter, and the lids, bands, canning tools, and clean damp paper towel within reach.
Use the jar lifter to remove a warm jar from the canner, draining the water back into the canner. Place the jar on the towel. Use the funnel and ladle to fill the warm jar with hot relish, leaving 1/2-inch of headspace.
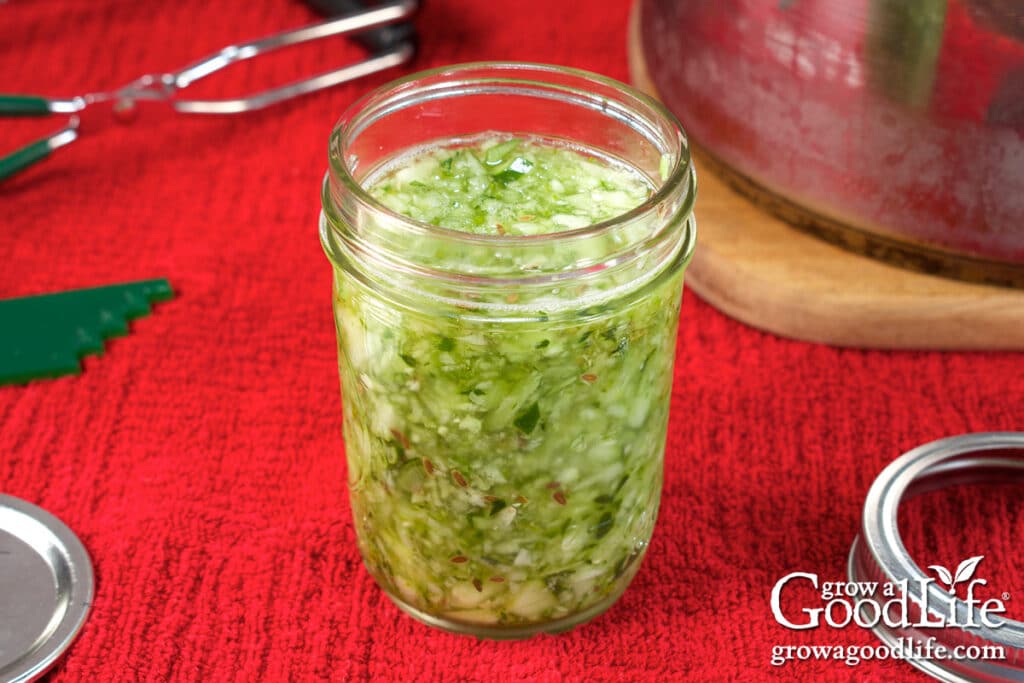
Remove air bubbles by slowly running a bubble popper through the jar. Wipe the rim with a damp paper towel, place the lid on the jar, and screw on the band until fingertip tight. Place the filled jar back into the canner, then repeat with the remaining jars.
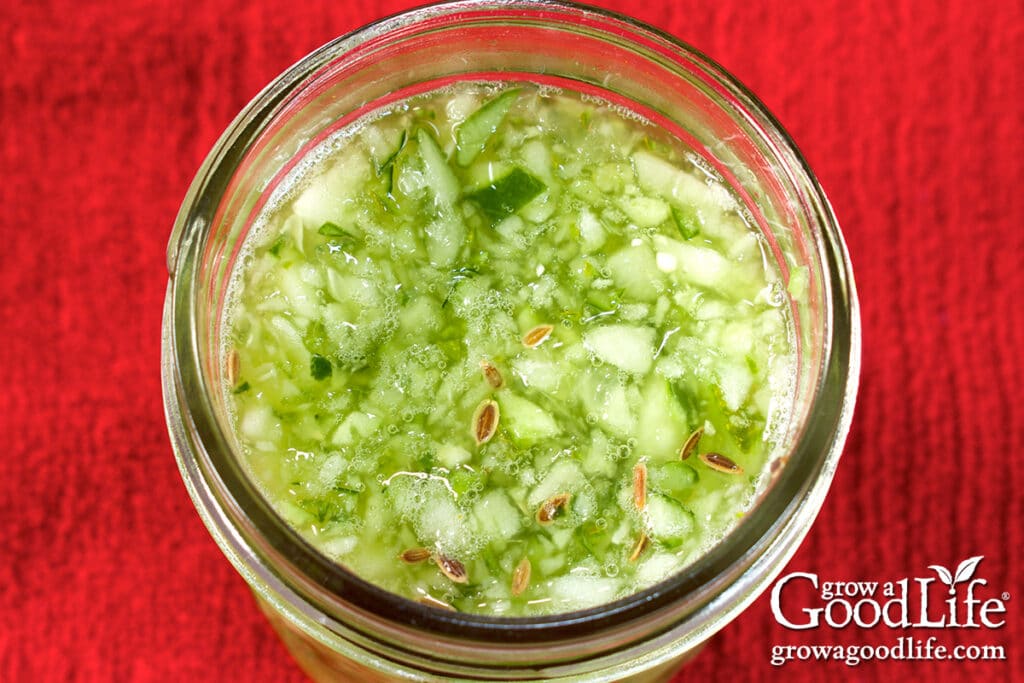
Step 6: Process in a Water Bath Canner
Once all the jars are filled and placed back into the canner, adjust the water level so they are covered by at least two inches of water. Bring the canner to a rolling boil. Once the water boils vigorously, set a timer and process the jars in a boiling water bath canner for the times indicated in the recipe below, adjusting the processing time for altitude if needed.
Step 7: Cool and Store
When the processing time is up, turn off the heat and remove the lid. Let the canner settle for 5 minutes to adjust to the temperature change.
Spread a dry towel on the counter. Then, use the jar lifter to remove the jars and place them on the towel, spacing them a few inches apart. Keep them upright as you lift them out of the canner and place them on the towel, and don’t touch the lids or band yet. Let them cool undisturbed for 12 to 24 hours.
After at least 12 hours, check the seals by pressing the center of each lid. If the lid does not pop up, the jar is sealed. Wash the jars to remove residue, then store the sealed jars in a cool, dark place for 12 to 18 months. Give the relish 2 to 4 weeks to develop flavor. Refrigerate opened jars and use them within a month.
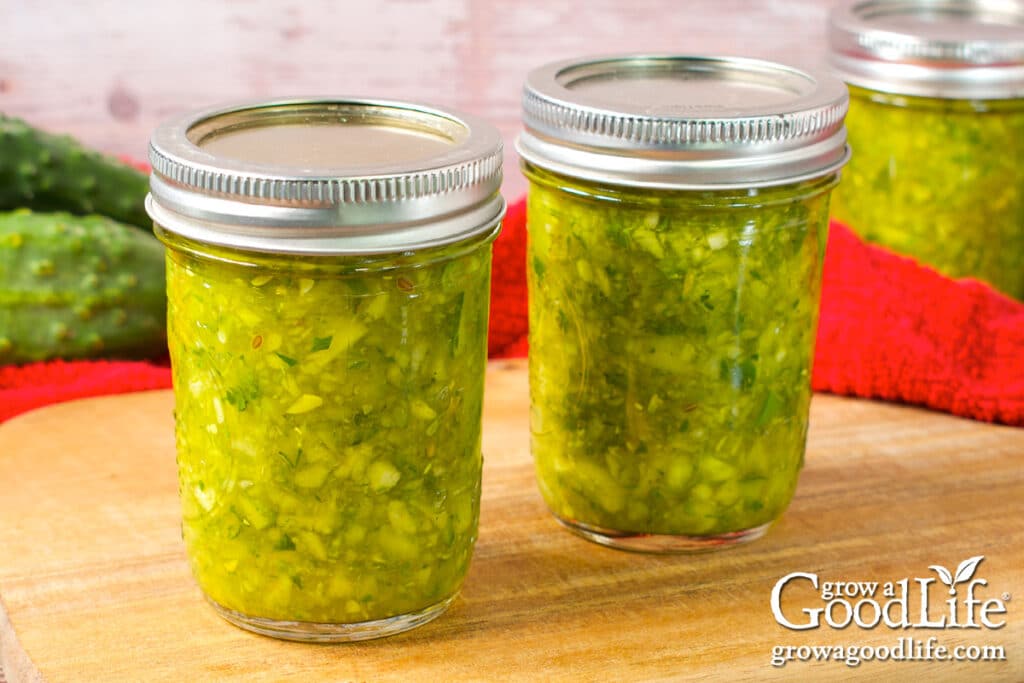
Dill Pickle Relish Canning Recipe
Ingredients
- 8 pounds pickling cucumbers
- 1/2 cup pickling salt
- 2 teaspoons ground turmeric
- 4 cups cold ice water
- 2 1/2 cups finely chopped onions from about 1 pound onions
- 1/3 cup sugar
- 2 tablespoons dill seeds
- 4 cups white wine vinegar 5% acidity
Instructions
Prepare the Cucumbers:
- Scrub the cucumbers well under clean running water and rinse well. Trim off the stem and blossom end. Finely chop using a food processor, food grinder, or knife. Transfer the chopped cucumbers to a large prep bowl.
- Sprinkle pickling salt and turmeric over the cucumbers, cover with cold ice water, mix to combine, and let stand at room temperature (70 to 75˚F) for at least 2 hours.
Prepare the Canning Equipment:
- Wash the jars, lids, screw bands, and canning tools in hot soapy water and rinse well.
- Place the water bath canner on the stove, add the jar rack, place jars upright on the rack, and add water to cover. Bring the canner to a simmer (180˚F) for at least 10 minutes, and keep warm.
Make the Relish:
- After soaking, drain the cucumbers in a large colander, discarding the liquid. Rinse well with cold water and drain thoroughly again. Press the cucumbers firmly with your hands to squeeze out excess liquid.
- Add the drained cucumbers, onions, sugar, dill seeds, and vinegar to a large saucepan and bring it to a boil over medium-high heat. Reduce the heat to a simmer, and simmer while stirring occasionally until heated through, about 10 minutes. Keep warm as you fill your jars.
Fill the Jars:
- Spread a towel on the counter. Use the jar lifter to remove a warm jar from the canner. Drain the water back into the canner and place it on the towel. Keep the remaining jars in the canner so they stay warm.
- Use the canning funnel and ladle to fill the jar with hot relish, leaving a 1/2-inch headspace. Run the bubble popper through the jar to release air bubbles. Adjust the headspace again if needed to maintain 1/2-inch.
- Wipe the rim with a damp paper towel. Center a lid on the jar, and screw on the band until it is fingertip tight. Use the jar lifter to place the jar back into the canner, and repeat with the remaining jars.
Process in a Water Bath Canner:
- Once the filled jars are all in the canner, adjust the water level to two inches above the jar tops.
- Cover the canner and bring it to a rolling boil over medium-high heat. Once it boils, set a timer and process both pints and half-pints in a boiling water bath canner for 15 minutes at altitudes of less than 1,000 ft. Adjust processing time for your altitude if necessary. (See notes)
Cool and Store the Jars:
- When the processing time is complete, turn off the heat, remove the cover by tilting the lid away from you so that steam does not burn your face, and allow the canner to cool down and settle for 5 minutes.
- Spread a dry kitchen towel on the counter. Use a jar lifter to remove the jars one at a time from the canner. Keep the jars upright and place them on the towel. Do not tighten ring bands or test the seals yet. Let the jars sit undisturbed for 12 to 24 hours to cool.
- After the jars have cooled for at least 12 hours, check to be sure the lids have sealed by pushing on the center of the lid. The lid should not pop up. If the lid flexes up and down, it did not seal. Place the jar in the refrigerator, and use within a month.
- Remove the ring bands, wash, label, date the jars, and store in a cool, dark place between 50 to 70˚F for 12 to 18 months. Once the jar is open, refrigerate and use it within a month. Yields about 7 pints or 14 half pints.
Notes
Nutrition
You May Also Like These Relish Recipes:
If you love salsa, consider adding our eBook, Grow a Good Life Guide to 50 Salsa Canning Recipes, to your resource library. This 72-page eBook is packed with a variety of delicious salsa recipes, including classic tomato salsas to roasted and grilled salsas to tomatillo and delicious fruit blends, all safe for water bath canning. It’s the perfect guide to help you preserve your garden harvests.


Good morning! Can I cut this recipe in half?
I don’t have 8 pounds of cukes.
Good morning, Christine! Yes, you can cut the recipe in half.
Oh, what a relief! Thank you so much for responding so fast! I was going to use the dill weed and cross my fingers. lol I feel so much better now. This is my first year of canning. My new veggie garden has given me sooooooo much food. I’m still learning. Thank you.
My pleasure, Jan! Yes, it’s generally safe to swap dried seasonings in canning recipes. Congrats on your first year of canning. It sounds like your garden is keeping you busy!
I’m more than 1/2 way thru making these and realized that I have dill weed and not dill seed. Can I use this instead? I can’t make it to the store now. If I use it, do i use the same measurements? Hope I haven’t ruined all my work so far. thanks.
Hi Jan! Yes, you can use dill weed instead of dill seed. I do it all the time. The flavor will just be a bit different because dill seed is stronger and spicier, while dill weed is lighter and more herbal. Your relish will still turn out just fine!